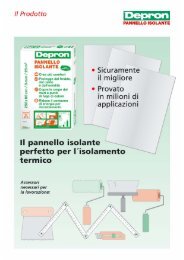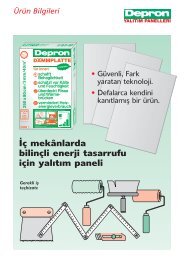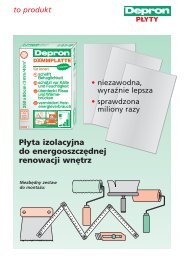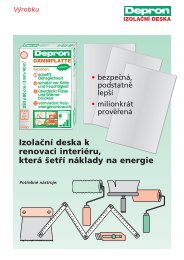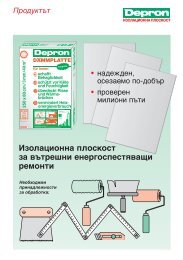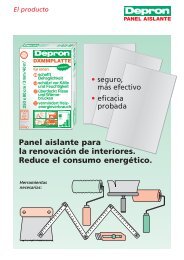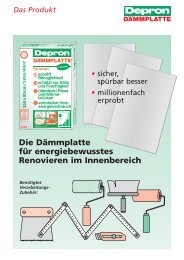
The insulating panel for energy conscious interior renovation. - Depron
The insulating panel for energy conscious interior renovation. - Depron
The insulating panel for energy conscious interior renovation. - Depron

Create successful ePaper yourself
Turn your PDF publications into a flip-book with our unique Google optimized e-Paper software.
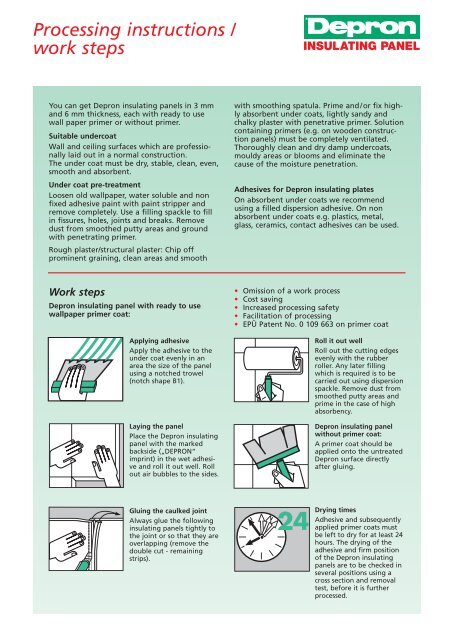
Processing instructions /<br />
work steps<br />
You can get <strong>Depron</strong> <strong>insulating</strong> <strong>panel</strong>s in 3 mm<br />
and 6 mm thickness, each with ready to use<br />
wall paper primer or without primer.<br />
Suitable undercoat<br />
Wall and ceiling surfaces which are professionally<br />
laid out in a normal construction.<br />
<strong>The</strong> under coat must be dry, stable, clean, even,<br />
smooth and absorbent.<br />
Under coat pre-treatment<br />
Loosen old wallpaper, water soluble and non<br />
fixed adhesive paint with paint stripper and<br />
remove completely. Use a filling spackle to fill<br />
in fissures, holes, joints and breaks. Remove<br />
dust from smoothed putty areas and ground<br />
with penetrating primer.<br />
Rough plaster/structural plaster: Chip off<br />
prominent graining, clean areas and smooth<br />
Work steps<br />
<strong>Depron</strong> <strong>insulating</strong> <strong>panel</strong> with ready to use<br />
wallpaper primer coat:<br />
Applying adhesive<br />
Apply the adhesive to the<br />
under coat evenly in an<br />
area the size of the <strong>panel</strong><br />
using a notched trowel<br />
(notch shape B1).<br />
Laying the <strong>panel</strong><br />
Place the <strong>Depron</strong> <strong>insulating</strong><br />
<strong>panel</strong> with the marked<br />
backside („DEPRON“<br />
imprint) in the wet adhesive<br />
and roll it out well. Roll<br />
out air bubbles to the sides.<br />
Gluing the caulked joint<br />
Always glue the following<br />
<strong>insulating</strong> <strong>panel</strong>s tightly to<br />
the joint or so that they are<br />
overlapping (remove the<br />
double cut - remaining<br />
strips).<br />
with smoothing spatula. Prime and/or fix highly<br />
absorbent under coats, lightly sandy and<br />
chalky plaster with penetrative primer. Solution<br />
containing primers (e.g. on wooden construction<br />
<strong>panel</strong>s) must be completely ventilated.<br />
Thoroughly clean and dry damp undercoats,<br />
mouldy areas or blooms and eliminate the<br />
cause of the moisture penetration.<br />
Adhesives <strong>for</strong> <strong>Depron</strong> <strong>insulating</strong> plates<br />
On absorbent under coats we recommend<br />
using a filled dispersion adhesive. On non<br />
absorbent under coats e.g. plastics, metal,<br />
glass, ceramics, contact adhesives can be used.<br />
• Omission of a work process<br />
• Cost saving<br />
• Increased processing safety<br />
• Facilitation of processing<br />
• EPÜ Patent No. 0 109 663 on primer coat<br />
Roll it out well<br />
Roll out the cutting edges<br />
evenly with the rubber<br />
roller. Any later filling<br />
which is required is to be<br />
carried out using dispersion<br />
spackle. Remove dust from<br />
smoothed putty areas and<br />
prime in the case of high<br />
absorbency.<br />
<strong>Depron</strong> <strong>insulating</strong> <strong>panel</strong><br />
without primer coat:<br />
A primer coat should be<br />
applied onto the untreated<br />
<strong>Depron</strong> surface directly<br />
after gluing.<br />
Drying times<br />
Adhesive and subsequently<br />
applied primer coats must<br />
be left to dry <strong>for</strong> at least 24<br />
hours. <strong>The</strong> drying of the<br />
adhesive and firm position<br />
of the <strong>Depron</strong> <strong>insulating</strong><br />
<strong>panel</strong>s are to be checked in<br />
several positions using a<br />
cross section and removal<br />
test, be<strong>for</strong>e it is further<br />
processed.