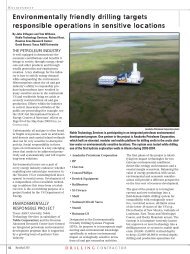
Invisible Structures, Inc. - Houston Advanced Research Center
Invisible Structures, Inc. - Houston Advanced Research Center
Invisible Structures, Inc. - Houston Advanced Research Center

You also want an ePaper? Increase the reach of your titles
YUMPU automatically turns print PDFs into web optimized ePapers that Google loves.
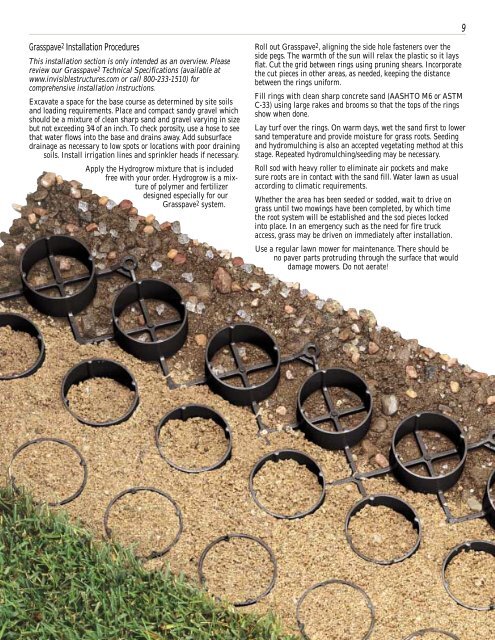
Grasspave 2 Installation Procedures<br />
This installation section is only intended as an overview. Please<br />
review our Grasspave 2 Technical Specifications (available at<br />
www.invisiblestructures.com or call 800-233-1510) for<br />
comprehensive installation instructions.<br />
Excavate a space for the base course as determined by site soils<br />
and loading requirements. Place and compact sandy gravel which<br />
should be a mixture of clean sharp sand and gravel varying in size<br />
but not exceeding 3⁄4 of an inch. To check porosity, use a hose to see<br />
that water flows into the base and drains away. Add subsurface<br />
drainage as necessary to low spots or locations with poor draining<br />
soils. Install irrigation lines and sprinkler heads if necessary.<br />
Apply the Hydrogrow mixture that is included<br />
free with your order. Hydrogrow is a mixture<br />
of polymer and fertilizer<br />
designed especially for our<br />
Grasspave2 system.<br />
Roll out Grasspave2, aligning the side hole fasteners over the<br />
side pegs. The warmth of the sun will relax the plastic so it lays<br />
flat. Cut the grid between rings using pruning shears. <strong>Inc</strong>orporate<br />
the cut pieces in other areas, as needed, keeping the distance<br />
between the rings uniform.<br />
Fill rings with clean sharp concrete sand (AASHTO M6 or ASTM<br />
C-33) using large rakes and brooms so that the tops of the rings<br />
show when done.<br />
Lay turf over the rings. On warm days, wet the sand first to lower<br />
sand temperature and provide moisture for grass roots. Seeding<br />
and hydromulching is also an accepted vegetating method at this<br />
stage. Repeated hydromulching/seeding may be necessary.<br />
Roll sod with heavy roller to eliminate air pockets and make<br />
sure roots are in contact with the sand fill. Water lawn as usual<br />
according to climatic requirements.<br />
Whether the area has been seeded or sodded, wait to drive on<br />
grass until two mowings have been completed, by which time<br />
the root system will be established and the sod pieces locked<br />
into place. In an emergency such as the need for fire truck<br />
access, grass may be driven on immediately after installation.<br />
Use a regular lawn mower for maintenance. There should be<br />
no paver parts protruding through the surface that would<br />
damage mowers. Do not aerate!<br />
9