RT Series Respirator Hood User Manual www.bullard.com
RT Series Respirator Hood User Manual www.bullard.com
RT Series Respirator Hood User Manual www.bullard.com

You also want an ePaper? Increase the reach of your titles
YUMPU automatically turns print PDFs into web optimized ePapers that Google loves.
<strong>RT</strong> <strong>Series</strong> <strong>Respirator</strong> Use<br />
Donning the <strong>RT</strong> <strong>Respirator</strong><br />
Before using your <strong>RT</strong> <strong>Series</strong> respirator, assemble the respirator using the<br />
instructions given on page 6.<br />
1. Connect NIOSH approved Bullard air supply hose to an air source supplying<br />
Grade D breathable air as defined on page 4. Turn on breathing air source.<br />
2. With air flowing, connect breathing tube assembly to air supply hose (see<br />
Figure 7). Connect quick-disconnect fitting on breathing tube assembly to<br />
quick-disconnect coupler on air supply hose. Once fitting is secured, release<br />
coupling sleeve to lock fittings together. Pull on both hoses to make sure they<br />
are attached securely.<br />
3. Adjust air pressure at point-of-attachment to within the approved pressure<br />
range (see Figure 8). See the Breathing Air Pressure Table (page 5) for approved<br />
pressure ranges.<br />
<strong>Respirator</strong><br />
WARNING<br />
Do not put on or remove these respirators in a hazardous atmosphere<br />
except for emergency escape purposes. Failure to heed these warnings<br />
could result in death or serious injury.<br />
Pressure Gauge<br />
Point-of-Attachment<br />
Air Supply Hose<br />
Grade “D”<br />
Breathable<br />
Air Source<br />
Figure 7<br />
Figure 8<br />
4. With air still flowing, put on <strong>RT</strong> <strong>Series</strong> respirator hood. Pull the hood over<br />
your head until the neck cuff is securely around your neck.<br />
NOTE<br />
The <strong>RT</strong>3 and <strong>RT</strong>4 hoods have an adjustable velcro strap near the top of<br />
the lens that allows the user to customize the curvature of the lens to<br />
his/her personal preference. This strap may be removed if desired.<br />
5. Make sure that the breathing tube is not twisted after donning.<br />
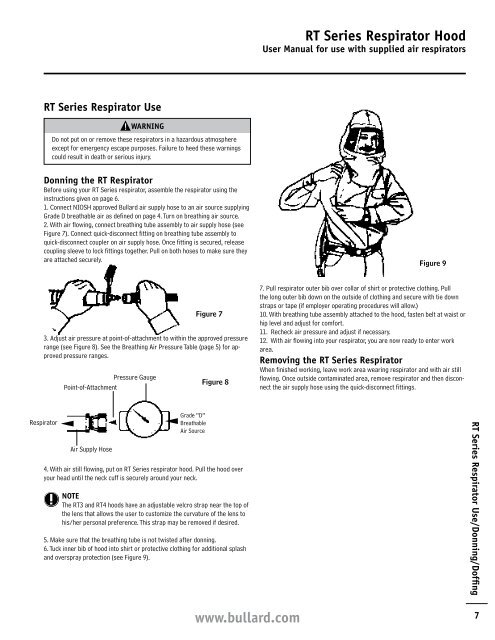
6. Tuck inner bib of hood into shirt or protective clothing for additional splash<br />
and overspray protection (see Figure 9).<br />
<strong>www</strong>.<strong>bullard</strong>.<strong>com</strong><br />
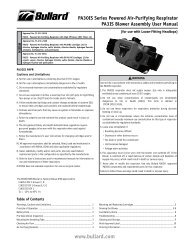
<strong>RT</strong> <strong>Series</strong> <strong>Respirator</strong> <strong>Hood</strong><br />
<strong>User</strong> <strong>Manual</strong> for use with supplied air respirators<br />
Figure 9<br />
7. Pull respirator outer bib over collar of shirt or protective clothing. Pull<br />
the long outer bib down on the outside of clothing and secure with tie down<br />
straps or tape (if employer operating procedures will allow.)<br />
10. With breathing tube assembly attached to the hood, fasten belt at waist or<br />
hip level and adjust for <strong>com</strong>fort.<br />
11. Recheck air pressure and adjust if necessary.<br />
12. With air flowing into your respirator, you are now ready to enter work<br />
area.<br />
Removing the <strong>RT</strong> <strong>Series</strong> <strong>Respirator</strong><br />
When finished working, leave work area wearing respirator and with air still<br />
flowing. Once outside contaminated area, remove respirator and then disconnect<br />
the air supply hose using the quick-disconnect fittings.<br />
<strong>RT</strong> <strong>Series</strong> <strong>Respirator</strong> Use/Donning/Doffing<br />
7