September 2009

Create successful ePaper yourself
Turn your PDF publications into a flip-book with our unique Google optimized e-Paper software.
The photo on the previous page is the First Place award I won. Needless to say, I was thrilled even though<br />
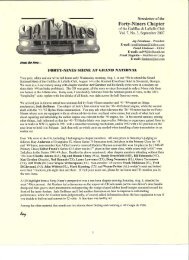
the competition was absent. [Ed. Note: But, as can be seen in the top two photos, the award to Charles‟<br />
gorgeous convertible was richly deserved, regardless of competition.]<br />
I think everyone who drove or trailered a car across the Mojave Desert to Nevada could easily be named a<br />
winner just for that effort alone. I left only a small amount behind in the slot machines, and as evidenced<br />
by my thorough exhaustion upon arriving back at home, I can definitely state that I had a great time.<br />
A BETTER WAY TO REMOVE COUPE DOOR GLASS:<br />
IT WORKED FOR ME<br />
By Art Gardner<br />
My driver‟s side front door glass cracked, necessitating replacement. The 1948 Olds 98 and Cadillac<br />
Fisher Body Manual, pages 45-47, sets forth the procedure, which seemed lengthy and complicated. As I<br />
proceeded, I realized there is a simpler way, which worked on the front door of my 2-door Club Coupe and<br />
MAY work on other body styles, as well as sedan rear doors and cars with power-operated windows.<br />
Everything is done to the inside of the door with the door open. As there are lots of screws and small parts,<br />
I suggest using several containers to keep the loose parts organized according to the large parts they fasten.<br />
1. Remove the reveal molding at the top and sides of the window frame. Be careful not to lose the two<br />
small pieces of rubber at either end which prevent the garnish molding below from being scratched.<br />
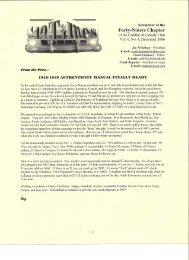
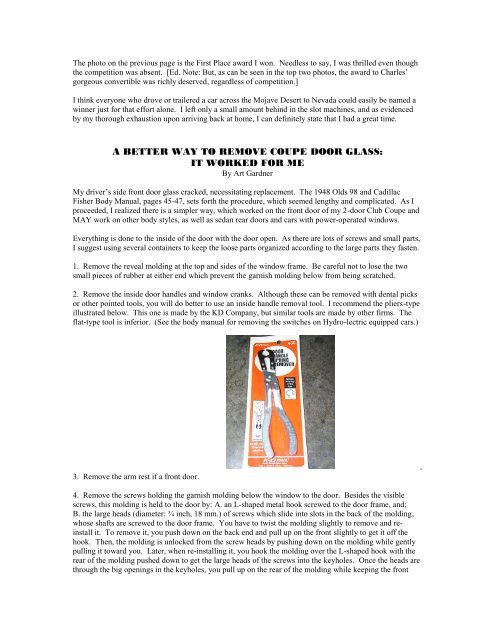
2. Remove the inside door handles and window cranks. Although these can be removed with dental picks<br />
or other pointed tools, you will do better to use an inside handle removal tool. I recommend the pliers-type<br />
illustrated below. This one is made by the KD Company, but similar tools are made by other firms. The<br />
flat-type tool is inferior. (See the body manual for removing the switches on Hydro-lectric equipped cars.)<br />
3. Remove the arm rest if a front door.<br />
4. Remove the screws holding the garnish molding below the window to the door. Besides the visible<br />
screws, this molding is held to the door by: A. an L-shaped metal hook screwed to the door frame, and;<br />
B. the large heads (diameter: ¾ inch, 18 mm.) of screws which slide into slots in the back of the molding,<br />
whose shafts are screwed to the door frame. You have to twist the molding slightly to remove and reinstall<br />
it. To remove it, you push down on the back end and pull up on the front slightly to get it off the<br />
hook. Then, the molding is unlocked from the screw heads by pushing down on the molding while gently<br />
pulling it toward you. Later, when re-installing it, you hook the molding over the L-shaped hook with the<br />
rear of the molding pushed down to get the large heads of the screws into the keyholes. Once the heads are<br />
through the big openings in the keyholes, you pull up on the rear of the molding while keeping the front<br />
.