Ford Super Duty Power Tailgate Lock Install 2004 F250 4x4 XLT ...
Ford Super Duty Power Tailgate Lock Install 2004 F250 4x4 XLT ...
Ford Super Duty Power Tailgate Lock Install 2004 F250 4x4 XLT ...

Create successful ePaper yourself
Turn your PDF publications into a flip-book with our unique Google optimized e-Paper software.
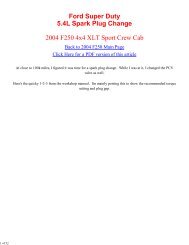
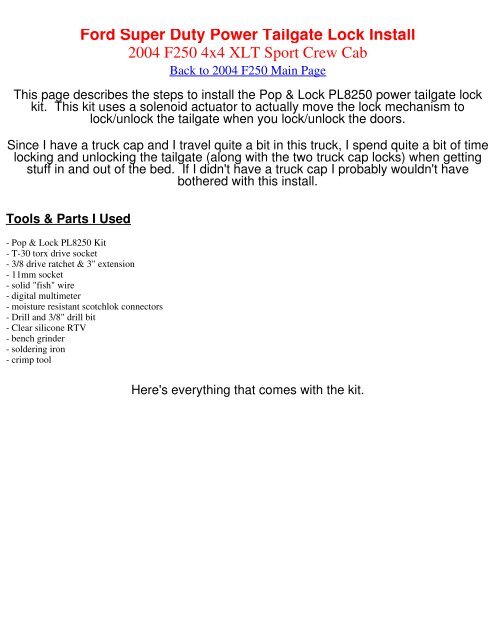
<strong>Ford</strong> <strong>Super</strong> <strong>Duty</strong> <strong>Power</strong> <strong>Tailgate</strong> <strong>Lock</strong> <strong>Install</strong><br />
<strong>2004</strong> <strong>F250</strong> <strong>4x4</strong> <strong>XLT</strong> Sport Crew Cab<br />
Back to <strong>2004</strong> <strong>F250</strong> Main Page<br />
This page describes the steps to install the Pop & <strong>Lock</strong> PL8250 power tailgate lock<br />
kit. This kit uses a solenoid actuator to actually move the lock mechanism to<br />
lock/unlock the tailgate when you lock/unlock the doors.<br />
Since I have a truck cap and I travel quite a bit in this truck, I spend quite a bit of time<br />
locking and unlocking the tailgate (along with the two truck cap locks) when getting<br />
stuff in and out of the bed. If I didn't have a truck cap I probably wouldn't have<br />
bothered with this install.<br />
Tools & Parts I Used<br />
- Pop & <strong>Lock</strong> PL8250 Kit<br />
- T-30 torx drive socket<br />
- 3/8 drive ratchet & 3" extension<br />
- 11mm socket<br />
- solid "fish" wire<br />
- digital multimeter<br />
- moisture resistant scotchlok connectors<br />
- Drill and 3/8" drill bit<br />
- Clear silicone RTV<br />
- bench grinder<br />
- soldering iron<br />
- crimp tool<br />
Here's everything that comes with the kit.
The first step is to remove the access panel on the tailgate using a T-30 torx drive bit.
Next step is to disconnect the latch rods by twisting the plastic clips upward.
Next step is to remove the latch assembly by removing the two 11mm nuts. Reach<br />
under and grab the tailgate handle because it will try to fall out once these nuts are<br />
removed.
The next few pics show the latch assembly and how the Pop & <strong>Lock</strong> bracket<br />
connects up to it.
The instructions say that you should find the wires inside the truck to test the unit<br />
before running the wires. I just connected the solenoid wires to a battery I had laying<br />
around to make sure it worked before installing.<br />
Next step is to re-install the latch assembly, with the Pop & <strong>Lock</strong> bracket in place as<br />
shown above. The upward bend in the new bracket is too close to the stud, which<br />
doesn't allow the washer to fit, so I ground one side of the washer flat.
Next step is to install the short harness inside the tailgate. You insert the bullet<br />
connectors in through an existing hole in the driver's side of the tailgate. I couldn't<br />
get my arms in there to reach the ends of the wires, so I used a piece of solid wire to<br />
fish it through. Just route the wiring up to the solenoid and connect it up.
The next step is to install the long harness. Just connect it to the short harness and<br />
run it along the frame toward the front of the truck. I partially installed this harness,<br />
then went and found the wires inside the truck, that I needed to tap into, in case this<br />
made a difference on where to route it.<br />
Here's the connector that connects the short and long harnesses together.<br />
Unfortunately, there's more about this connector below.
I removed the driver's side kick panel to find the two wires to tap into. For my truck,<br />
these wires were Pink/Black and Pink/Orange. Since my truck is a crew cab, the<br />
wiring harness wasn't quite long enough to route it up and through the firewall where<br />
I wanted to install it. So, I decided just to drill a hole through the floor, behind the<br />
kick panel and push the wires up through. I put a generous amount of silicone RTV<br />
on the top and bottom.
I didn't like the wire taps provided in the kit. They seemed to be designed for a bit<br />
smaller gauge wire so I used some other typical wire tap connectors.
It was at the point I walked to the back of the truck, hit the door lock button on my<br />
keyfob, and.... NOTHING! Well, the doors locked, but nothing back at the tailgate.<br />
After some troubleshooting I found that there was an open connection inside the<br />
connector (the one shown above) on the short harness. I had to destroy the<br />
connector to get it apart, but pictured below is what I found. Bad solder joint.<br />
So, I cut the connectors off and used moisture resistant scotchlok connectors to<br />
connect the short and long harnesses together. That won't be very convenient if I<br />
ever have to remove the tailgate, but I haven't had to do that so far.
Once I sorted out the wiring problem, it worked like a champ. If the tailgate unlocks<br />
when you push the lock button, just reverse the connections to the solenoid.<br />
Now its time to reinstall the access panel and the kick panel and you're done!<br />
I think this install would've taken me about 1.5 hours without the wiring problem.<br />
Ended up taking me about 2.5 hours.<br />
Questions or Comments? Email jmray@frontiernet.net
![Finale 2004a - [Oh, Hush Thee, My Baby.MUS]](https://img.yumpu.com/21087321/1/190x245/finale-2004a-oh-hush-thee-my-babymus.jpg?quality=85)