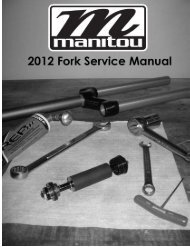
2007 Fork Service Manual - Manitou
2007 Fork Service Manual - Manitou
2007 Fork Service Manual - Manitou

You also want an ePaper? Increase the reach of your titles
YUMPU automatically turns print PDFs into web optimized ePapers that Google loves.
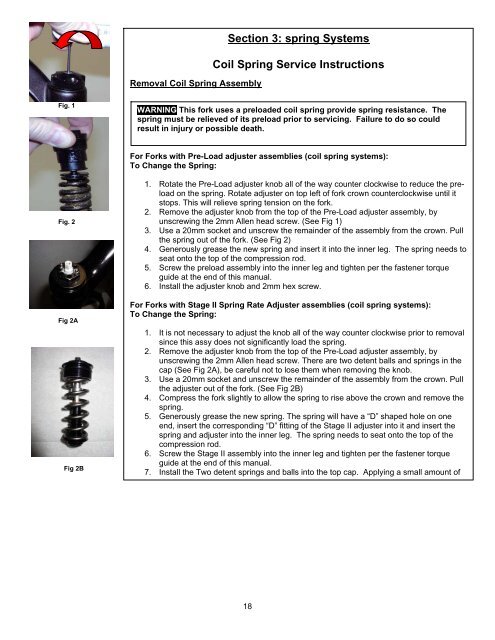
Removal Coil Spring Assembly<br />
Section 3: spring Systems<br />
Coil Spring <strong>Service</strong> Instructions<br />
Fig. 1<br />
WARNING This fork uses a preloaded coil spring provide spring resistance. The<br />
spring must be relieved of its preload prior to servicing. Failure to do so could<br />
result in injury or possible death.<br />
For <strong>Fork</strong>s with Pre-Load adjuster assemblies (coil spring systems):<br />
To Change the Spring:<br />
Fig. 2<br />
Fig 2A<br />
Fig 2B<br />
1. Rotate the Pre-Load adjuster knob all of the way counter clockwise to reduce the preload<br />
on the spring. Rotate adjuster on top left of fork crown counterclockwise until it<br />
stops. This will relieve spring tension on the fork.<br />
2. Remove the adjuster knob from the top of the Pre-Load adjuster assembly, by<br />
unscrewing the 2mm Allen head screw. (See Fig 1)<br />
3. Use a 20mm socket and unscrew the remainder of the assembly from the crown. Pull<br />
the spring out of the fork. (See Fig 2)<br />
4. Generously grease the new spring and insert it into the inner leg. The spring needs to<br />
seat onto the top of the compression rod.<br />
5. Screw the preload assembly into the inner leg and tighten per the fastener torque<br />
guide at the end of this manual.<br />
6. Install the adjuster knob and 2mm hex screw.<br />
For <strong>Fork</strong>s with Stage II Spring Rate Adjuster assemblies (coil spring systems):<br />
To Change the Spring:<br />
1. It is not necessary to adjust the knob all of the way counter clockwise prior to removal<br />
since this assy does not significantly load the spring.<br />
2. Remove the adjuster knob from the top of the Pre-Load adjuster assembly, by<br />
unscrewing the 2mm Allen head screw. There are two detent balls and springs in the<br />
cap (See Fig 2A), be careful not to lose them when removing the knob.<br />
3. Use a 20mm socket and unscrew the remainder of the assembly from the crown. Pull<br />
the adjuster out of the fork. (See Fig 2B)<br />
4. Compress the fork slightly to allow the spring to rise above the crown and remove the<br />
spring.<br />
5. Generously grease the new spring. The spring will have a “D” shaped hole on one<br />
end, insert the corresponding “D” fitting of the Stage II adjuster into it and insert the<br />
spring and adjuster into the inner leg. The spring needs to seat onto the top of the<br />
compression rod.<br />
6. Screw the Stage II assembly into the inner leg and tighten per the fastener torque<br />
guide at the end of this manual.<br />
7. Install the Two detent springs and balls into the top cap. Applying a small amount of<br />
18