Microsoft Office 2000
Microsoft Office 2000
Microsoft Office 2000
Create successful ePaper yourself
Turn your PDF publications into a flip-book with our unique Google optimized e-Paper software.
1<br />
<strong>Microsoft</strong> <strong>Office</strong> <strong>2000</strong><br />
Overview<br />
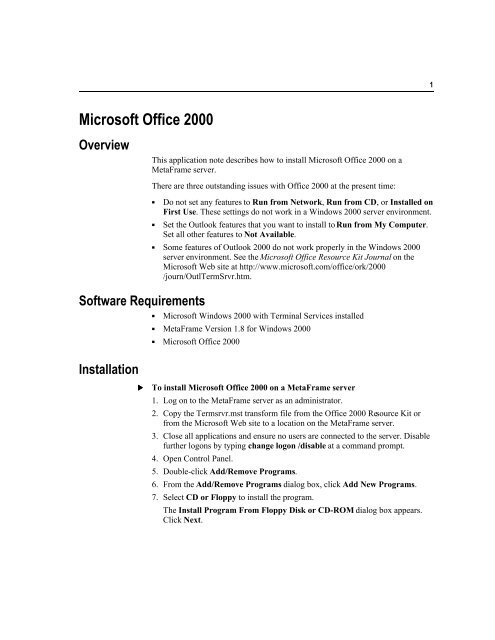
This application note describes how to install <strong>Microsoft</strong> <strong>Office</strong> <strong>2000</strong> on a<br />
MetaFrame server.<br />
Software Requirements<br />
Installation<br />
There are three outstanding issues with <strong>Office</strong> <strong>2000</strong> at the present time:<br />
K<br />
K<br />
Do not set any features to Run from Network, Run from CD, or Installed on<br />
First Use. These settings do not work in a Windows <strong>2000</strong> server environment.<br />
Set the Outlook features that you want to install to Run from My Computer.<br />
Set all other features to Not Available.<br />
K Some features of Outlook <strong>2000</strong> do not work properly in the Windows <strong>2000</strong><br />
server environment. See the <strong>Microsoft</strong> <strong>Office</strong> Resource Kit Journal on the<br />
<strong>Microsoft</strong> Web site at http://www.microsoft.com/office/ork/<strong>2000</strong><br />
/journ/OutlTermSrvr.htm.<br />
K <strong>Microsoft</strong> Windows <strong>2000</strong> with Terminal Services installed<br />
K MetaFrame Version 1.8 for Windows <strong>2000</strong><br />
K <strong>Microsoft</strong> <strong>Office</strong> <strong>2000</strong><br />
<br />
To install <strong>Microsoft</strong> <strong>Office</strong> <strong>2000</strong> on a MetaFrame server<br />
1. Log on to the MetaFrame server as an administrator.<br />
2. Copy the Termsrvr.mst transform file from the <strong>Office</strong> <strong>2000</strong> Resource Kit or<br />
from the <strong>Microsoft</strong> Web site to a location on the MetaFrame server.<br />
3. Close all applications and ensure no users are connected to the server. Disable<br />
further logons by typing change logon /disable at a command prompt.<br />
4. Open Control Panel.<br />
5. Double-click Add/Remove Programs.<br />
6. From the Add/Remove Programs dialog box, click Add New Programs.<br />
7. Select CD or Floppy to install the program.<br />
The Install Program From Floppy Disk or CD-ROM dialog box appears.<br />
Click Next.
2<br />
8. Setup automatically detects the location of Setup.exe if installation is from the<br />
CD-ROM. If Setup.exe is located elsewhere; that is, on a network sharepoint,<br />
use the Browse button to point to that location.<br />
9. On the command line, add the following command (separated by spaces) after<br />
Setup.exe:<br />
TRANSFORMS=“path\TermSrvr.mst”<br />
This command identifies the Terminal Server transform for Setup to use during<br />
installation. Specify the correct path to the Mst file downloaded in Step 2<br />
above.<br />
Click Next.<br />
10. Proceed with installation until you reach the license agreement. Click Next to<br />
accept the terms of this agreement.<br />
11. If you want to perform a Normal or Default installation, click Install Now.<br />
Allow the Installer to complete the installation and then skip to Step 16.<br />
12. If you want to perform a Custom installation, click Custom Install.<br />
13. Select the location where you want to install <strong>Office</strong> <strong>2000</strong>.<br />
Note<br />
You need at least 259MB on the destination drive to install <strong>Office</strong> <strong>2000</strong>.<br />
14. Select the applications you want to install. The recommended applications are<br />
selected by default. Unselected applications or applications that are marked<br />
unavailable are marked as such because of incompatibility or performance<br />
issues.<br />
15. After you choose which applications to install, click Next and allow the<br />
<strong>Microsoft</strong> <strong>Office</strong> <strong>2000</strong> Installer to continue with the installation.<br />
16. When Setup is complete, click Next on the After Installation dialog box.<br />
17. From the Finish Admin Install dialog box, click Finish.<br />
18. Enable user logons by typing change logon /enable at a command prompt.<br />
System Integration<br />
See the <strong>Microsoft</strong> <strong>Office</strong> <strong>2000</strong> Resource Kit Journal for additional information<br />
about system integration issues and recommendations. This document is located<br />
on the <strong>Microsoft</strong> Web site at http://www.microsoft.com.


