Making Paper Keywords: List of Ingredients: Directions - Knowitall.org
Making Paper Keywords: List of Ingredients: Directions - Knowitall.org
Making Paper Keywords: List of Ingredients: Directions - Knowitall.org
Create successful ePaper yourself
Turn your PDF publications into a flip-book with our unique Google optimized e-Paper software.
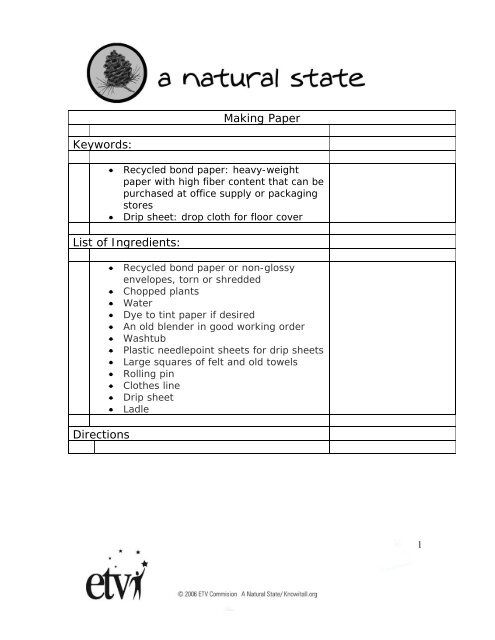
<strong>Making</strong> <strong>Paper</strong><br />
<strong>Keywords</strong>:<br />
• Recycled bond paper: heavy-weight<br />
paper with high fiber content that can be<br />
purchased at <strong>of</strong>fice supply or packaging<br />
stores<br />
• Drip sheet: drop cloth for floor cover<br />
<strong>List</strong> <strong>of</strong> <strong>Ingredients</strong>:<br />
<strong>Directions</strong><br />
• Recycled bond paper or non-glossy<br />
envelopes, torn or shredded<br />
• Chopped plants<br />
• Water<br />
• Dye to tint paper if desired<br />
• An old blender in good working order<br />
• Washtub<br />
• Plastic needlepoint sheets for drip sheets<br />
• Large squares <strong>of</strong> felt and old towels<br />
• Rolling pin<br />
• Clothes line<br />
• Drip sheet<br />
• Ladle<br />
1
1) You will need a ratio <strong>of</strong> 1/3 paper and pulp to<br />
2/3 water. Tear paper into small pieces and<br />
coarsely chop plant parts until you have<br />
about two cups <strong>of</strong> each material packed.<br />
Combine pulp and plant parts and soak the<br />
mixture for 30 minutes. Place in blender to<br />
further mix it together. Read ahead for an<br />
alternative method.<br />
2) Another way to ready the mixture would be to<br />
put the torn paper and coarsely chopped<br />
plant-pulp into a pot. Add the water and boil<br />
for an hour. Let the pulp cool.<br />
3) Pour the prepared paper and pulp into a<br />
container that you are not worried about<br />
staining, such as a bucket, dishpan, washtub,<br />
or basin. Use your hands to further mix the<br />
material.<br />
4) If you wish, next add dye to color the pulp<br />
and paper mixture, now stirring it with a<br />
spoon. When you have the depth <strong>of</strong> color that<br />
you like, then move on to the next step.<br />
2
5) Slip a plastic needlepoint sheet, or dipping<br />
screen, into the water under the floating pulp.<br />
Lift the screen straight up, catching a thin<br />
layer <strong>of</strong> pulp on the screen. If there are any<br />
holes or broken areas, pour a ladle <strong>of</strong> pulp<br />
onto the screen, allowing excess to drip back<br />
into the container.<br />
6) Place screen on a towel and cover with the<br />
felt.<br />
7) Roll over the felt with a rolling pin, pressing<br />
out as much water as possible.<br />
8) Lift felt and screen up from the towel and<br />
hang these together by clothespins from a<br />
clothesline hung in a sheltered area, such as<br />
a garage, until dry. Hanging the felt and<br />
screen together with the paper over the tub<br />
or a drain is a good idea so that the excess<br />
water can safely drip without mess. Read<br />
ahead for alternative methods.<br />
3
9) To speed up this process, you can remove the<br />
felt and gently place the pulp paper between<br />
fresh towels to dry overnight, or dry it in the<br />
microwave. More detailed instructions follow.<br />
10) Carefully place the wet paper on a piece <strong>of</strong><br />
paper towel. Set the microwave on low for<br />
one minute and check the paper. Depending<br />
on your microwave, you may need to "cook"<br />
it for 1 to 4 minutes.<br />
Two cups <strong>of</strong> paper and pulp each will yield<br />
about 6 to 8 pieces <strong>of</strong> paper.<br />
11) When you are finished making paper, pour<br />
the water out through a sieve or colander and<br />
pour excess pulp into the trash or dump into<br />
a compost pile, if you have one. Do not pour<br />
excess pulp down the drain.<br />
4


