Syllabus - Psychology and Child Development
Syllabus - Psychology and Child Development
Syllabus - Psychology and Child Development

Create successful ePaper yourself
Turn your PDF publications into a flip-book with our unique Google optimized e-Paper software.
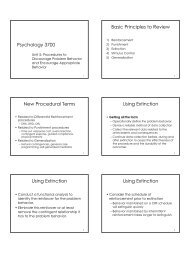
Psyc 4790 Hesse Analyzing <strong>and</strong> Changing Human Behavior <strong>Syllabus</strong><br />
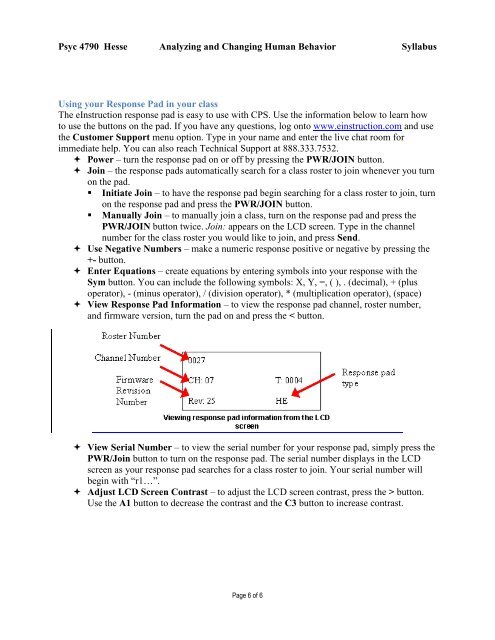
Using your Response Pad in your class<br />
The eInstruction response pad is easy to use with CPS. Use the information below to learn how<br />
to use the buttons on the pad. If you have any questions, log onto www.einstruction.com <strong>and</strong> use<br />
the Customer Support menu option. Type in your name <strong>and</strong> enter the live chat room for<br />
immediate help. You can also reach Technical Support at 888.333.7532.<br />
Power – turn the response pad on or off by pressing the PWR/JOIN button.<br />
Join – the response pads automatically search for a class roster to join whenever you turn<br />
on the pad.<br />
• Initiate Join – to have the response pad begin searching for a class roster to join, turn<br />
on the response pad <strong>and</strong> press the PWR/JOIN button.<br />
• Manually Join – to manually join a class, turn on the response pad <strong>and</strong> press the<br />
PWR/JOIN button twice. Join: appears on the LCD screen. Type in the channel<br />
number for the class roster you would like to join, <strong>and</strong> press Send.<br />
Use Negative Numbers – make a numeric response positive or negative by pressing the<br />
+- button.<br />
Enter Equations – create equations by entering symbols into your response with the<br />
Sym button. You can include the following symbols: X, Y, =, ( ), . (decimal), + (plus<br />
operator), - (minus operator), / (division operator), * (multiplication operator), (space)<br />
View Response Pad Information – to view the response pad channel, roster number,<br />
<strong>and</strong> firmware version, turn the pad on <strong>and</strong> press the < button.<br />
View Serial Number – to view the serial number for your response pad, simply press the<br />
PWR/Join button to turn on the response pad. The serial number displays in the LCD<br />
screen as your response pad searches for a class roster to join. Your serial number will<br />
begin with “r1…”.<br />
Adjust LCD Screen Contrast – to adjust the LCD screen contrast, press the > button.<br />
Use the A1 button to decrease the contrast <strong>and</strong> the C3 button to increase contrast.<br />
Page 6 of 6