
You also want an ePaper? Increase the reach of your titles
YUMPU automatically turns print PDFs into web optimized ePapers that Google loves.
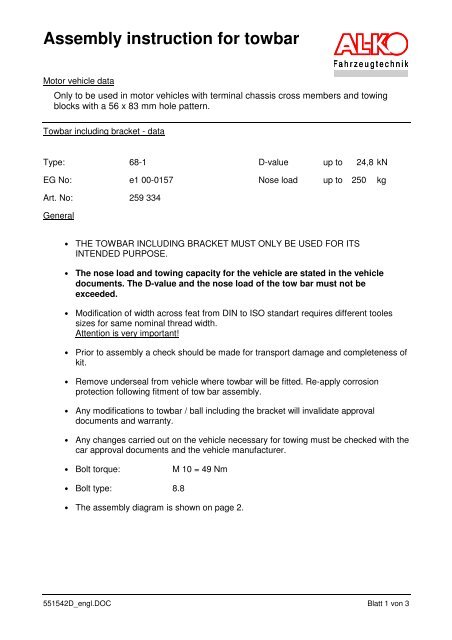
Assembly instruction for towbar<br />
Motor vehicle data<br />
Only to be used in motor vehicles with terminal chassis cross members and towing<br />
blocks with a 56 x 83 mm hole pattern.<br />
Towbar including bracket - data<br />
Type: 68-1 D-value up to <strong>24</strong>,8 kN<br />
EG No: e1 00-0157 Nose load up to 250 kg<br />
Art. No: 259 334<br />
General<br />
• THE TOWBAR INCLUDING BRACKET MUST ONLY BE USED FOR ITS<br />
INTENDED PURPOSE.<br />
• The nose load and towing capacity for the vehicle are stated in the vehicle<br />
documents. The D-value and the nose load of the tow bar must not be<br />
exceeded.<br />
• Modification of width across feat from DIN to ISO standart requires different tooles<br />
sizes for same nominal thread width.<br />
Attention is very important!<br />
• Prior to assembly a check should be made for transport damage and completeness of<br />
kit.<br />
• Remove underseal from vehicle where towbar will be fitted. Re-apply corrosion<br />
protection following fitment of tow bar assembly.<br />
• Any modifications to towbar / ball including the bracket will invalidate approval<br />
documents and warranty.<br />
• Any changes carried out on the vehicle necessary for towing must be checked with the<br />
car approval documents and the vehicle manufacturer.<br />
• Bolt torque:<br />
M 10 = 49 Nm<br />
• Bolt type: 8.8<br />
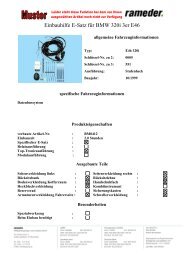
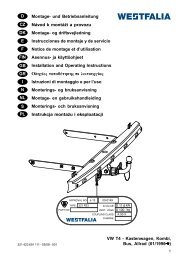
• The assembly diagram is shown on page 2.<br />
551542D_engl.DOC Blatt 1 von 3
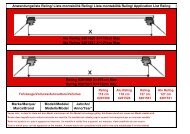
Typenschild<br />
551542D_engl.DOC Blatt 2 von 3
Assembly:<br />
1. The towing ball with mounting must be fastened with 4 x M10 ( 8.8) hexagonalheaded<br />
screws, spring washers and nuts to terminal chassis members or trailer<br />
blocks with a 56 x 83 mm hole pattern.<br />
2. Align towbar and tighten all bolts according to torque.<br />
3. Re-paint areas where you have removed underseal.<br />
4. Attach the plate showing the nose load to the vehicle near to the towing bracket or<br />
on the inside of the boot in a clear and visible position.<br />
• The assembly and clearance measurements are according to EG 94/20.<br />
• Determined fixing points of vehicle manufacturer are used.<br />
• Electrical kit must be installed.<br />
• Tow ball must be kept clean and if necessary greased.<br />
• The assembly instructions should be kept with the car documentation.<br />
• After 1000km of towing trailers all the bolts and nuts of the towing bracket must be<br />
retighened with the relevant torque.<br />
Manufacturer:<br />
AL-KO Kober<br />
Ichenhauser Str. 14<br />
D-89359 Kötz<br />
551542D_engl.DOC Blatt 3 von 3