REFERENCE 500s 700s 1000s - Soundstream
REFERENCE 500s 700s 1000s - Soundstream
REFERENCE 500s 700s 1000s - Soundstream
Create successful ePaper yourself
Turn your PDF publications into a flip-book with our unique Google optimized e-Paper software.
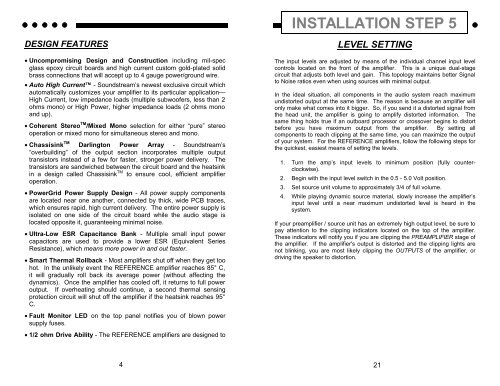
INSTALLATION STEP 5<br />
DESIGN FEATURES<br />
• Uncompromising Design and Construction including mil-spec<br />
glass epoxy circuit boards and high current custom gold-plated solid<br />
brass connections that will accept up to 4 gauge power/ground wire.<br />
• Auto High Current - <strong>Soundstream</strong>’s newest exclusive circuit which<br />
automatically customizes your amplifier to its particular application—<br />
High Current, low impedance loads (multiple subwoofers, less than 2<br />
ohms mono) or High Power, higher impedance loads (2 ohms mono<br />
and up).<br />
• Coherent Stereo TM /Mixed Mono selection for either “pure” stereo<br />
operation or mixed mono for simultaneous stereo and mono.<br />
• Chassisink TM Darlington Power Array - <strong>Soundstream</strong>’s<br />
“overbuilding” of the output section incorporates multiple output<br />
transistors instead of a few for faster, stronger power delivery. The<br />
transistors are sandwiched between the circuit board and the heatsink<br />
in a design called Chassisink TM to ensure cool, efficient amplifier<br />
operation.<br />
• PowerGrid Power Supply Design - All power supply components<br />
are located near one another, connected by thick, wide PCB traces,<br />
which ensures rapid, high current delivery. The entire power supply is<br />
isolated on one side of the circuit board while the audio stage is<br />
located opposite it, guaranteeing minimal noise.<br />
• Ultra-Low ESR Capacitance Bank - Multiple small input power<br />
capacitors are used to provide a lower ESR (Equivalent Series<br />
Resistance), which means more power in and out faster.<br />
• Smart Thermal Rollback - Most amplifiers shut off when they get too<br />
hot. In the unlikely event the <strong>REFERENCE</strong> amplifier reaches 85° C,<br />
it will gradually roll back its average power (without affecting the<br />
dynamics). Once the amplifier has cooled off, it returns to full power<br />
output. If overheating should continue, a second thermal sensing<br />
protection circuit will shut off the amplifier if the heatsink reaches 95°<br />
C.<br />
• Fault Monitor LED on the top panel notifies you of blown power<br />
supply fuses.<br />
• 1/2 ohm Drive Ability - The <strong>REFERENCE</strong> amplifiers are designed to<br />
LEVEL SETTING<br />
The input levels are adjusted by means of the individual channel input level<br />
controls located on the front of the amplifier. This is a unique dual-stage<br />
circuit that adjusts both level and gain. This topology maintains better Signal<br />
to Noise ratios even when using sources with minimal output.<br />
In the ideal situation, all components in the audio system reach maximum<br />
undistorted output at the same time. The reason is because an amplifier will<br />
only make what comes into it bigger. So, if you send it a distorted signal from<br />
the head unit, the amplifier is going to amplify distorted information. The<br />
same thing holds true if an outboard processor or crossover begins to distort<br />
before you have maximum output from the amplifier. By setting all<br />
components to reach clipping at the same time, you can maximize the output<br />
of your system. For the <strong>REFERENCE</strong> amplifiers, follow the following steps for<br />
the quickest, easiest means of setting the levels.<br />
1. Turn the amp’s input levels to minimum position (fully counterclockwise).<br />
2. Begin with the input level switch in the 0.5 - 5.0 Volt position.<br />
3. Set source unit volume to approximately 3/4 of full volume.<br />
4. While playing dynamic source material, slowly increase the amplifier’s<br />
input level until a near maximum undistorted level is heard in the<br />
system.<br />
If your preamplifier / source unit has an extremely high output level, be sure to<br />
pay attention to the clipping indicators located on the top of the amplifier.<br />
These indicators will notify you if you are clipping the PREAMPLIFIER stage of<br />
the amplifier. If the amplifier's output is distorted and the clipping lights are<br />
not blinking, you are most likely clipping the OUTPUTS of the amplifier, or<br />
driving the speaker to distortion.<br />
4<br />
21


