Exhaust Install: B8 S5 4.2 - STaSIS
Exhaust Install: B8 S5 4.2 - STaSIS
Exhaust Install: B8 S5 4.2 - STaSIS

You also want an ePaper? Increase the reach of your titles
YUMPU automatically turns print PDFs into web optimized ePapers that Google loves.
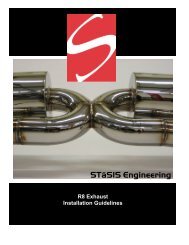
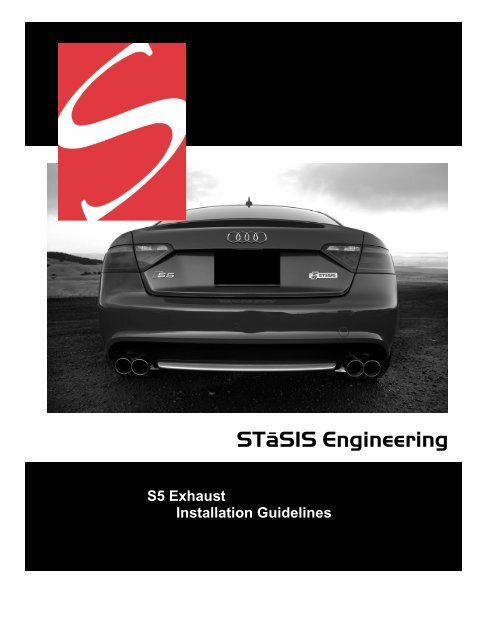
STāSIS Engineering<br />
<strong>S5</strong> <strong>Exhaust</strong><br />
<strong>Install</strong>ation Guidelines
<strong>S5</strong> <strong>Exhaust</strong><br />
<strong>Exhaust</strong> Kit <strong>Install</strong>ation<br />
Applications<br />
Qty Description Part Number Notes<br />
1 <strong>S5</strong> Sig Series <strong>4.2</strong> AWD <strong>Exhaust</strong> kit EX05.<strong>S5</strong><strong>B8</strong>.00 Skip steps 2 through 6<br />
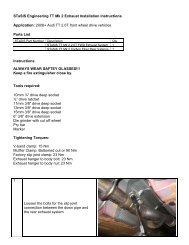
Instructions<br />
1 Place vehicle in secure position. Remove factory<br />
exhaust system up to catalytic converter assembly.<br />
Leave rubber hangers in position.<br />
2 Using a 10mm socket, remove the 3 plastic nuts holding<br />
the right side cavity cover.<br />
3 Remove the push clip retainer in the rear right corner of<br />
the cavity cover. Remove the cover from the vehicle.<br />
2 of 6
4 Gently pull to remove the stock rear valence.<br />
5 <strong>Install</strong> the supplied exhaust hanger onto the right side<br />
muffler.<br />
3 of 6
6 <strong>Install</strong> the supplied heat shield for the right side of the<br />
vehicle using the speed nuts pictured above.<br />
7 <strong>Install</strong> mid-pipe into place hooking hanger posts into<br />
original rubber hangers. Bolt mid-pipe to front pipe and<br />
torque all bolts to spec –<br />
12 – 23 Nm (17 ft-lb)<br />
19 – 23 Nm (17 ft-lb)<br />
31 – 23 Nm (17 ft-lb)<br />
8 <strong>Install</strong> driver’s side muffler into position. Slipping it into<br />
the mid-pipe and secure loose enough for adjustment<br />
9 Remove hardware from adjustment bracket. Be sure to<br />
keep them for reinstallation.<br />
10 <strong>Install</strong> passenger side into position. Slipping it into the<br />
mid-pipe and secure loose enough for adjustment.<br />
4 of 6
11 Reinstall hardware for adjustable bracket and tighten<br />
flanges and bracket with mufflers aligned and spaced<br />
evenly.<br />
Confirm the side-side distances are equal (x).<br />
Loosen nut (arrow) on adjustable bracket and align<br />
muffler as necessary. Torque nut to 23 Nm (17 ft-lb)<br />
12 Loosen factory hangers at rear of muffler with 13mm<br />
wrench. Using the slots in these hangers and the<br />
adjustable bracket, position tips in centers of bumper<br />
cutouts.<br />
13 Test drive and check for rattles. Re-adjust as necessary<br />
to provide proper clearance.<br />
<strong>S5</strong> <strong>Exhaust</strong> Post <strong>Install</strong>ation Checklist<br />
<strong>Exhaust</strong><br />
o<br />
o<br />
o<br />
During and after install, wipe off all assembly and shipping particles from the<br />
exhaust. If dust is not wiped off, once the exhaust gets hot, the particles burn onto<br />
the stainless steel finish and become permanent.<br />
Ensure the exhaust tips on both sides protrude from the bumper evenly and are not<br />
touching any body panels.<br />
Apply anti seize to all assembly bolts to allow for ease of removal.<br />
A<br />
5 of 6
A5/<strong>S5</strong> <strong>Exhaust</strong> Post <strong>Install</strong>ation Checklist<br />
6 of 6