Quick Start Guide - Toshiba
Quick Start Guide - Toshiba
Quick Start Guide - Toshiba

You also want an ePaper? Increase the reach of your titles
YUMPU automatically turns print PDFs into web optimized ePapers that Google loves.
ESV16U, ESV32U <strong>Quick</strong> Installation <strong>Guide</strong> 19<br />
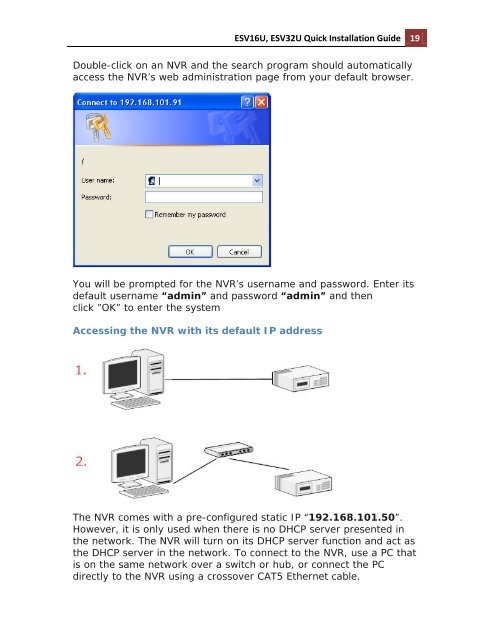
Double-click on an NVR and the search program should automatically<br />
access the NVR’s web administration page from your default browser.<br />
You will be prompted for the NVR’s username and password. Enter its<br />
default username “admin” and password “admin” and then<br />
click ”OK” to enter the system<br />
Accessing the NVR with its default IP address<br />
The NVR comes with a pre-configured static IP “192.168.101.50”.<br />
However, it is only used when there is no DHCP server presented in<br />
the network. The NVR will turn on its DHCP server function and act as<br />
the DHCP server in the network. To connect to the NVR, use a PC that<br />
is on the same network over a switch or hub, or connect the PC<br />
directly to the NVR using a crossover CAT5 Ethernet cable.