Thermomix TM 31 - Vorwerk
Thermomix TM 31 - Vorwerk
Thermomix TM 31 - Vorwerk

You also want an ePaper? Increase the reach of your titles
YUMPU automatically turns print PDFs into web optimized ePapers that Google loves.
Working with the<br />
<strong>Thermomix</strong> <strong>TM</strong> <strong>31</strong><br />
NOTICE<br />
<strong>Thermomix</strong> <strong>TM</strong> <strong>31</strong> can move<br />
Place your <strong>Thermomix</strong> <strong>TM</strong> <strong>31</strong> on a clean, solid,<br />
even and non-heatable surface so that it cannot<br />
slip. Keep a sufficient distance from the edge of<br />
this surface to prevent <strong>Thermomix</strong> <strong>TM</strong> <strong>31</strong> from<br />
falling down.<br />
Risk of damage by hot steam<br />
Ensure a sufficient distance over <strong>Thermomix</strong><br />
<strong>TM</strong> <strong>31</strong> and VAROMA (suspended cupboards,<br />
shelving) and around them to prevent damage of<br />
hot escaping steam.<br />
Find a permanent place in your kitchen for your<br />
<strong>Thermomix</strong> <strong>TM</strong> <strong>31</strong> right from the start so that it is<br />
ready at hand whenever you need it.<br />
Starting the <strong>Thermomix</strong> <strong>TM</strong> <strong>31</strong><br />
Pull the electric cable lightly from the housing and<br />
connect it to the mains supply. You can choose<br />
what ever length of cable you need, up to 1 m. If<br />
you do not need the whole length of the cable the<br />
remaining length is kept inside the <strong>Thermomix</strong> <strong>TM</strong><br />
<strong>31</strong> avoiding any tiresome “spaghetti” of cables!<br />
Make sure that there is no strain on the cable so<br />
that the scales work properly. Do not place the<br />
appliance on the cable. If you do, the appliance will<br />
not sit firmly on the surface and the scales will not<br />
weigh accur a tely. Now the appliance is operable<br />
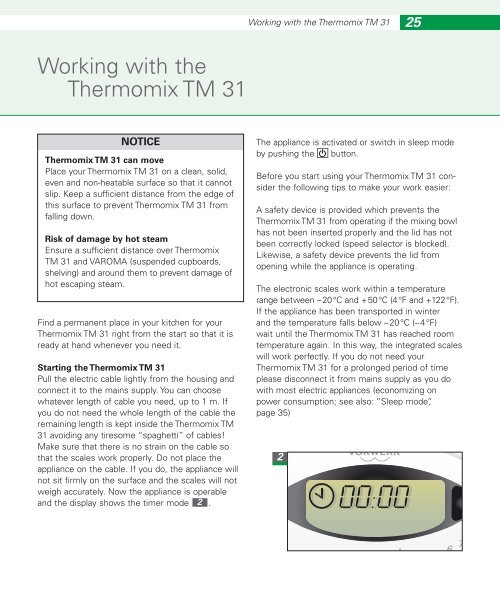
and the display shows the timer mode 2 .<br />
Working with the <strong>Thermomix</strong> <strong>TM</strong> <strong>31</strong><br />
25<br />
The appliance is activated or switch in sleep mode<br />
by pushing the button.<br />
Before you start using your <strong>Thermomix</strong> <strong>TM</strong> <strong>31</strong> consider<br />
the following tips to make your work easier:<br />
A safety device is provided which prevents the<br />
<strong>Thermomix</strong> <strong>TM</strong> <strong>31</strong> from operating if the mixing bowl<br />
has not been inserted properly and the lid has not<br />
been correctly locked (speed selector is blocked).<br />
Likewise, a safety device prevents the lid from<br />
opening while the appliance is operating.<br />
The electronic scales work within a temperature<br />
range between –20°C and +50°C (4°F and +122°F).<br />
If the appliance has been transported in winter<br />
and the temperature falls below –20°C (–4°F)<br />
wait until the <strong>Thermomix</strong> <strong>TM</strong> <strong>31</strong> has reached room<br />
temperature again. In this way, the integrated scales<br />
will work perfectly. If you do not need your<br />
<strong>Thermomix</strong> <strong>TM</strong> <strong>31</strong> for a prolonged period of time<br />
please disconnect it from mains supply as you do<br />
with most electric appliances (economizing on<br />
power consumption; see also: “Sleep mode”,<br />
page 35)<br />
2