Composite mold resurfacing with duratec® products - Hawkeye ...
Composite mold resurfacing with duratec® products - Hawkeye ...
Composite mold resurfacing with duratec® products - Hawkeye ...

Create successful ePaper yourself
Turn your PDF publications into a flip-book with our unique Google optimized e-Paper software.
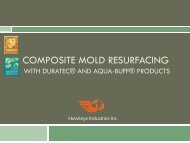
<strong>Hawkeye</strong> Industries Inc.
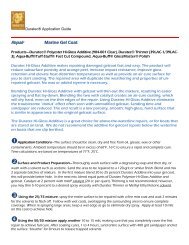
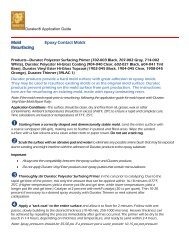
Repair vs. Resurfacing<br />
• Chips, cracks and gouges on<br />
otherwise sound <strong>mold</strong>s can<br />
be skillfully repaired <strong>with</strong><br />
Duratec Mold Repair Putty<br />
and sanded smoothed. If<br />
however, a <strong>mold</strong> has<br />
numerous defects and an<br />
overall dull and rough finish,<br />
<strong>resurfacing</strong> is necessary.<br />
• A presentation has been<br />
prepared for <strong>mold</strong><br />
<strong>resurfacing</strong> and is also<br />
available on our website.
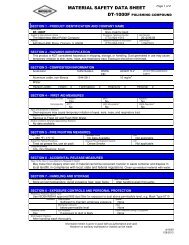
Prepping the Mold<br />
The surface should be clean, dry and free<br />
from oil, grease, wax or other contaminants.<br />
Ambient temperatures should be in excess of<br />
60°F, 16°C to ensure a rapid and complete<br />
cure.<br />
Time calculations are based on temperatures<br />
of 77°F, 25°C.<br />
All <strong>mold</strong> releases must be removed using the<br />
chemical stripper recommended by the <strong>mold</strong><br />
release manufacturer.
Repairing the <strong>mold</strong><br />
Mask off the area<br />
to be repaired. This<br />
will minimize the<br />
surface that will be<br />
puttied. For<br />
maximum<br />
bonding, rout or<br />
sand all cracks and<br />
chips into the glass<br />
substrate.
Repairing the <strong>mold</strong><br />
Aggressively sand the<br />
adjoining surface <strong>with</strong><br />
80-grit sandpaper to<br />
bevel the edge of the<br />
routed area. It is<br />
important to eliminate<br />
the sharp repair line.
Repairing the <strong>mold</strong><br />
Follow by wiping the area<br />
clean <strong>with</strong> solventsoaked<br />
white cloth or<br />
paper towel. Do not use<br />
a tack rag.
Repairing the <strong>mold</strong><br />
Thoroughly stir Duratec<br />
Vinyl Ester Mold Repair<br />
Putty using a spatula or<br />
putty knife prior to<br />
catalyzing.
Repairing the <strong>mold</strong><br />
Due to the rapid gel time of the<br />
putty, catalyze only what can be<br />
applied in 6-8 minutes. Catalyze at<br />
3 percent <strong>with</strong> BPO catalyst and<br />
mix thoroughly. We recommend<br />
use of a gram scale to insure the<br />
proper amount of catalyst is added.<br />
Note: Always massage or knead the<br />
BPO cream hardener (catalyst) as<br />
separation can occur in the tube.
Repairing the <strong>mold</strong><br />
To ensure proper adhesion,<br />
rub the catalyzed putty<br />
into the repair area and<br />
follow by applying <strong>with</strong> a<br />
spatula, putty knife or<br />
squeegee. Fill the void<br />
completely by working the<br />
putty in all directions. For<br />
exceptionally deep<br />
repairs, repeat the process<br />
to ensure a porosity-free<br />
surface.
Repairing the <strong>mold</strong><br />
Slightly mound<br />
the putty to allow<br />
for shrinkage.
Repairing the <strong>mold</strong><br />
When cured (20-30<br />
minutes), sand the cured<br />
putty to a 600- or 800-<br />
grit finish. No tooling<br />
gelcoat is required. The<br />
air-cured putty is the<br />
finished surface, and it<br />
will develop to a<br />
hardness and gloss equal<br />
to or greater than the<br />
original <strong>mold</strong> surface.
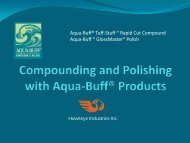
• To order Duratec and<br />
Aqua-Buff <strong>products</strong><br />
contact your local<br />
distributor.<br />
• For more information<br />
about the full line of<br />
our <strong>products</strong>, visit our<br />
web site at<br />
• www.duratec1.com