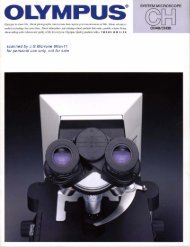
Olympus EHT & FHT Research Microscopes instruction manual
Olympus EHT & FHT Research Microscopes instruction manual
Olympus EHT & FHT Research Microscopes instruction manual

Create successful ePaper yourself
Turn your PDF publications into a flip-book with our unique Google optimized e-Paper software.
•<br />
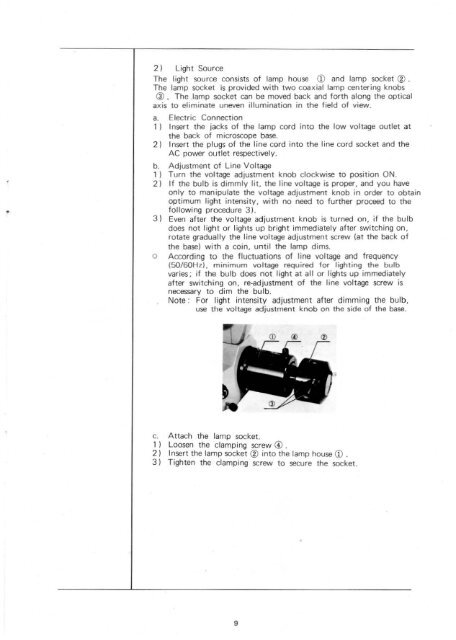
2 ) Light Source<br />
The light source consists of lamp house CD and lamp socket ® .<br />
The lamp socket is provided with two coaxial lamp centering knobs<br />
@ _ The Jamp socket can be moved back and forth along the optical<br />
axis to eliminate uneven illumination in the field of view.<br />
a. Electric Connection<br />
1) Insert the jacks of the lamp cord into the low voltage outlet at<br />
the back of microscope base.<br />
2) Insert the plugs of the line cord into the tine cord socket and the<br />
AC po......er outlet respectively.<br />
b. Adjustment of Line Voltage<br />
1) Turn the voltage adjustment knob clockwise to position ON.<br />
2) If the bulb is dimmly lit. the line voltage is proper, and you have<br />
only to manipulate the voltage adjustment knob in order to obtain<br />
optimum light intensity. with no need to further proceed to the<br />
following procedure 3).<br />
3) Even after the voltage adjustment knob is turned on, if the bulb<br />
does not light or lights up bright immediately after switching on,<br />
rotate gradually the line voltage adjustment screw (at the back of<br />
the base) with a coin, until the lamp dims.<br />
o According to the fluctuations of line voltage and frequency<br />
(SO/60Hz), minimum voltage required for lighting the bulb<br />
varies; if the bulb does not light at all or lights up immediately<br />
after switching on, re-adjustment of the line voltage screw is<br />
necessary to dim the bulb.<br />
Note: For light intensity adjustment after dimming the bulb,<br />
use the voltage adjustment knob on the side of the base.<br />
c. Attach the tamp socket.<br />
1) Loosen the clamping screw