PRO-HIDE® Gold Interior Oil Primer
PRO-HIDE® Gold Interior Oil Primer
PRO-HIDE® Gold Interior Oil Primer

Create successful ePaper yourself
Turn your PDF publications into a flip-book with our unique Google optimized e-Paper software.
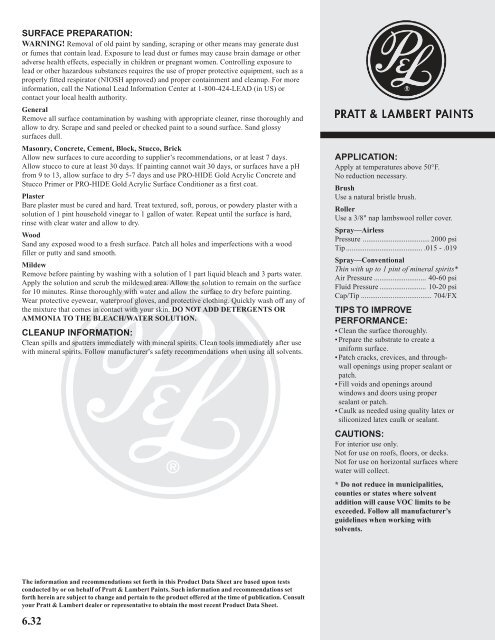
SURFACE PREPARATION:<br />
WARNING! Removal of old paint by sanding, scraping or other means may generate dust<br />
or fumes that contain lead. Exposure to lead dust or fumes may cause brain damage or other<br />
adverse health effects, especially in children or pregnant women. Controlling exposure to<br />
lead or other hazardous substances requires the use of proper protective equipment, such as a<br />
properly fitted respirator (NIOSH approved) and proper containment and cleanup. For more<br />
information, call the National Lead Information Center at 1-800-424-LEAD (in US) or<br />
contact your local health authority.<br />
General<br />
Remove all surface contamination by washing with appropriate cleaner, rinse thoroughly and<br />
allow to dry. Scrape and sand peeled or checked paint to a sound surface. Sand glossy<br />
surfaces dull.<br />
Masonry, Concrete, Cement, Block, Stucco, Brick<br />
Allow new surfaces to cure according to supplier’s recommendations, or at least 7 days.<br />
Allow stucco to cure at least 30 days. If painting cannot wait 30 days, or surfaces have a pH<br />
from 9 to 13, allow surface to dry 5-7 days and use <strong>PRO</strong>-HIDE <strong>Gold</strong> Acrylic Concrete and<br />
Stucco <strong>Primer</strong> or <strong>PRO</strong>-HIDE <strong>Gold</strong> Acrylic Surface Conditioner as a first coat.<br />
Plaster<br />
Bare plaster must be cured and hard. Treat textured, soft, porous, or powdery plaster with a<br />
solution of 1 pint household vinegar to 1 gallon of water. Repeat until the surface is hard,<br />
rinse with clear water and allow to dry.<br />
Wood<br />
Sand any exposed wood to a fresh surface. Patch all holes and imperfections with a wood<br />
filler or putty and sand smooth.<br />
Mildew<br />
Remove before painting by washing with a solution of 1 part liquid bleach and 3 parts water.<br />
Apply the solution and scrub the mildewed area. Allow the solution to remain on the surface<br />
for 10 minutes. Rinse thoroughly with water and allow the surface to dry before painting.<br />
Wear protective eyewear, waterproof gloves, and protective clothing. Quickly wash off any of<br />
the mixture that comes in contact with your skin. DO NOT ADD DETERGENTS OR<br />
AMMONIA TO THE BLEACH/WATER SOLUTION.<br />
CLEANUP INFORMATION:<br />
Clean spills and spatters immediately with mineral spirits. Clean tools immediately after use<br />
with mineral spirits. Follow manufacturer’s safety recommendations when using all solvents.<br />
APPLICATION:<br />
Apply at temperatures above 50°F.<br />
No reduction necessary.<br />
Brush<br />
Use a natural bristle brush.<br />
Roller<br />
Use a 3/8" nap lambswool roller cover.<br />
Spray—Airless<br />
Pressure .................................... 2000 psi<br />
Tip ......................................... .015 - .019<br />
Spray—Conventional<br />
Thin with up to 1 pint of mineral spirits*<br />
Air Pressure ............................ 40-60 psi<br />
Fluid Pressure ......................... 10-20 psi<br />
Cap/Tip ...................................... 704/FX<br />
TIPS TO IM<strong>PRO</strong>VE<br />
PERFORMANCE:<br />
•Clean the surface thoroughly.<br />
• Prepare the substrate to create a<br />
uniform surface.<br />
•Patch cracks, crevices, and throughwall<br />
openings using proper sealant or<br />
patch.<br />
•Fill voids and openings around<br />
windows and doors using proper<br />
sealant or patch.<br />
•Caulk as needed using quality latex or<br />
siliconized latex caulk or sealant.<br />
CAUTIONS:<br />
For interior use only.<br />
Not for use on roofs, floors, or decks.<br />
Not for use on horizontal surfaces where<br />
water will collect.<br />
* Do not reduce in municipalities,<br />
counties or states where solvent<br />
addition will cause VOC limits to be<br />
exceeded. Follow all manufacturer’s<br />
guidelines when working with<br />
solvents.<br />
The information and recommendations set forth in this Product Data Sheet are based upon tests<br />
conducted by or on behalf of Pratt & Lambert Paints. Such information and recommendations set<br />
forth herein are subject to change and pertain to the product offered at the time of publication. Consult<br />
your Pratt & Lambert dealer or representative to obtain the most recent Product Data Sheet.<br />
6.32