How to access CCP Wireless Network - Community College of ...
How to access CCP Wireless Network - Community College of ...
How to access CCP Wireless Network - Community College of ...

You also want an ePaper? Increase the reach of your titles
YUMPU automatically turns print PDFs into web optimized ePapers that Google loves.
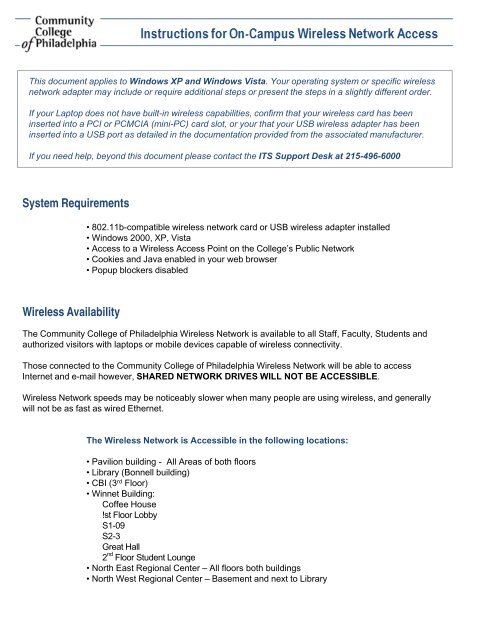
This document applies <strong>to</strong> Windows XP and Windows Vista. Your operating system or specific wireless<br />
network adapter may include or require additional steps or present the steps in a slightly different order.<br />
If your Lap<strong>to</strong>p does not have built-in wireless capabilities, confirm that your wireless card has been<br />
inserted in<strong>to</strong> a PCI or PCMCIA (mini-PC) card slot, or your that your USB wireless adapter has been<br />
inserted in<strong>to</strong> a USB port as detailed in the documentation provided from the associated manufacturer.<br />
If you need help, beyond this document please contact the ITS Support Desk at 215-496-6000<br />
System Requirements<br />
<strong>Wireless</strong> Availability<br />
• 802.11b-compatible wireless network card or USB wireless adapter installed<br />
• Windows 2000, XP, Vista<br />
• Access <strong>to</strong> a <strong>Wireless</strong> Access Point on the <strong>College</strong>’s Public <strong>Network</strong><br />
• Cookies and Java enabled in your web browser<br />
• Popup blockers disabled<br />
The <strong>Community</strong> <strong>College</strong> <strong>of</strong> Philadelphia <strong>Wireless</strong> <strong>Network</strong> is available <strong>to</strong> all Staff, Faculty, Students and<br />
authorized visi<strong>to</strong>rs with lap<strong>to</strong>ps or mobile devices capable <strong>of</strong> wireless connectivity.<br />
Those connected <strong>to</strong> the <strong>Community</strong> <strong>College</strong> <strong>of</strong> Philadelphia <strong>Wireless</strong> <strong>Network</strong> will be able <strong>to</strong> <strong>access</strong><br />
Internet and e-mail however, SHARED NETWORK DRIVES WILL NOT BE ACCESSIBLE.<br />
<strong>Wireless</strong> <strong>Network</strong> speeds may be noticeably slower when many people are using wireless, and generally<br />
will not be as fast as wired Ethernet.<br />
The <strong>Wireless</strong> <strong>Network</strong> is Accessible in the following locations:<br />
• Pavilion building - All Areas <strong>of</strong> both floors<br />
• Library (Bonnell building)<br />
• CBI (3 rd Floor)<br />
• Winnet Building:<br />
C<strong>of</strong>fee House<br />
!st Floor Lobby<br />
S1-09<br />
S2-3<br />
Great Hall<br />
2 nd Floor Student Lounge<br />
• North East Regional Center – All floors both buildings<br />
• North West Regional Center – Basement and next <strong>to</strong> Library
<strong>Wireless</strong> <strong>Network</strong> Settings<br />
• SSID (Service Set Identifier) or network name = <strong>CCP</strong> WLAN<br />
• Encryption or WEP = Disable WEP encryption<br />
• Mode or <strong>Network</strong> Type = Infrastructure Mode or Access Point<br />
• TCP/IP properties = Obtain an IP address au<strong>to</strong>matically (DHCP)<br />
• DNS = Obtain DNS server address au<strong>to</strong>matically<br />
Setting Up Your <strong>Wireless</strong> Connection On Windows XP<br />
• Click on the Start menu and then select Control Panel.<br />
or<br />
• Click on the Start menu and select Settings then Control Panel.<br />
• From within the Control Panel window, Click on the <strong>Network</strong> Connections icon<br />
• Next, Right click on <strong>Wireless</strong> <strong>Network</strong> Connections and select Properties
Setting Up Your <strong>Wireless</strong> Connection On Windows XP<br />
• The <strong>Wireless</strong> <strong>Network</strong> Properties window will open<br />
• Select the second tab over labeled <strong>Wireless</strong> <strong>Network</strong>s *<br />
• Under the section Preferred networks click the Add but<strong>to</strong>n<br />
• In the box labeled <strong>Network</strong> Name (SSID) type <strong>CCP</strong> WLAN<br />
• Set the <strong>Network</strong> Authentication drop down box <strong>to</strong> Open<br />
• Set the Data encryption drop down box <strong>to</strong> Disabled<br />
• Click OK until you exit out <strong>of</strong> the <strong>Wireless</strong> <strong>Network</strong> Connection Properties.<br />
* Note: If you do not have a <strong>Wireless</strong> <strong>Network</strong> Connection tab, close out <strong>of</strong> the existing boxes, Right click<br />
on your <strong>Wireless</strong> Utility card (normally the green bars located on the far right <strong>of</strong> your computer.<br />
IMPORTANT - Utility card setup varies on lap<strong>to</strong>ps, therefore these steps will not be exact.<br />
Select Connect To<br />
• Type in <strong>Network</strong> Name - ITS<br />
• Click on Next until you reach the screen that gives you the option <strong>to</strong> Connect<br />
• Open Internet Explorer<br />
If you are unable <strong>to</strong> get on <strong>to</strong> the internet, right click on your <strong>Wireless</strong> <strong>Network</strong> Connection.<br />
Click Repair.
Setting Up Your <strong>Wireless</strong> Connection On Windows Vista<br />
• Click on the Start menu and then select Control Panel.<br />
• Double click on the <strong>Network</strong> and Sharing Center Icon<br />
• From the Tasks menu on the left, Click Set up a connection or network<br />
• The next screen ask you <strong>to</strong> Choose a connection option. Select Manually connect <strong>to</strong> a<br />
wireless network and click on Next
Setting Up Your <strong>Wireless</strong> Connection On Windows Vista<br />
• The next screen will ask you <strong>to</strong> Choose a <strong>Wireless</strong> Adapter. Select <strong>Wireless</strong> <strong>Network</strong><br />
Connection (the default setting) and click Next<br />
• In the box labeled <strong>Network</strong> Name type: <strong>CCP</strong> WLAN<br />
• Set the Security Type <strong>to</strong> No authentication (Open)<br />
• Click Next<br />
• You should now see a message that you have Successfully added <strong>CCP</strong> WLAN.<br />
Select Connect <strong>to</strong>…