Technical Theatre Unit - Arizona Theatre Company
Technical Theatre Unit - Arizona Theatre Company
Technical Theatre Unit - Arizona Theatre Company

Create successful ePaper yourself
Turn your PDF publications into a flip-book with our unique Google optimized e-Paper software.
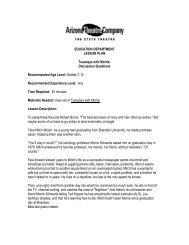
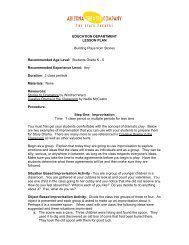
Recommended Age Level: Grades 10 +<br />
Recommended Experience Level: Any<br />
Time Required: two to four weeks<br />
Materials Needed:<br />
Objectives:<br />
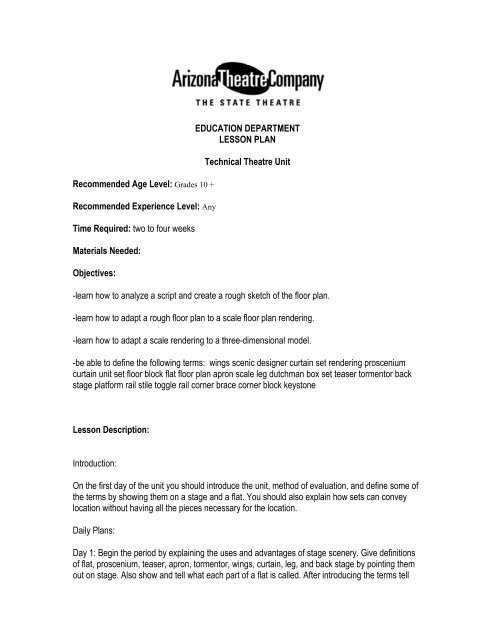
EDUCATION DEPARTMENT<br />
LESSON PLAN<br />
<strong>Technical</strong> <strong>Theatre</strong> <strong>Unit</strong><br />
-learn how to analyze a script and create a rough sketch of the floor plan.<br />
-learn how to adapt a rough floor plan to a scale floor plan rendering.<br />
-learn how to adapt a scale rendering to a three-dimensional model.<br />
-be able to define the following terms: wings scenic designer curtain set rendering proscenium<br />
curtain unit set floor block flat floor plan apron scale leg dutchman box set teaser tormentor back<br />
stage platform rail stile toggle rail corner brace corner block keystone<br />
Lesson Description:<br />
Introduction:<br />
On the first day of the unit you should introduce the unit, method of evaluation, and define some of<br />
the terms by showing them on a stage and a flat. You should also explain how sets can convey<br />
location without having all the pieces necessary for the location.<br />
Daily Plans:<br />
Day 1: Begin the period by explaining the uses and advantages of stage scenery. Give definitions<br />
of flat, proscenium, teaser, apron, tormentor, wings, curtain, leg, and back stage by pointing them<br />
out on stage. Also show and tell what each part of a flat is called. After introducing the terms tell
them what their unit assignment will be: taking a floor plan of a play of their choice from conception<br />
to a three-dimensional model. Tell them that by the next class period they should have several<br />
plays that they are interested in doing.<br />
Day 2: Look through all the plays the students are considering. Try to allow all the students to do<br />
their first choice but make sure no two students are doing the same play. After looking through and<br />
assigning the plays to the students explain what a rough floor plan drawing is and how to make one.<br />
If you can find any of your own rough drawings then you can show them as examples. Explain how<br />
many acting scripts include the original Broadway floor plans which can help in the conception of<br />
their own plans. The students' assignment is to create a rough drawing of a floor plan for their play<br />
by the next class period.<br />
Day 3: To begin the class period look at all the rough floor plans and give comments on what you<br />
think would and would not work. After examining the floor plan display and demonstrate how to use<br />
the different drafting tools that they will be using for their renderings: T-square, triangular scale, 30-<br />
60 and 45-90 triangles, compass, erasing shield, and templates. Next, you should explain how to<br />
make a scale rendering of the floor plan. To begin the explanation you should show them a floor<br />
plan of the stage they will be designing for and give them the height dimensions as well as the<br />
location of all the battens. The assignment for the students is to make another rough floor plan<br />
taking into account your comments, the given dimensions, and possible dimensions of their set<br />
pieces and indicating them on the drawing.<br />
Day 4: At the beginning of this class you should re-examine the rough drawings and offer any final<br />
comments. The next thing you should do is demonstrate how to transfer the rough drawing to a<br />
scale drawing using the drafting tools. To do this you could use your own production if you are<br />
doing the project with them or you could show them a finished floor plan that you have done in the<br />
past along with the rough floor plan if you still have it. The students assignment for the next class is<br />
to begin their scale renderings which they should have at least two to three class periods to work<br />
on. Some of the things you should include in your instructions are how to indicate heights of<br />
platforms, steps, and ramps as well as showing how to draw doors and windows on the floor plan.<br />
Day 5: On this day you should let the student work more on their floor plans and just walk around<br />
and answer any questions as well as offer suggestions.<br />
Day 6: The first part of this period should be spent reviewing all the terms learned thus far. After<br />
reviewing, the remainder of the period should be reserved for further work on their renderings.<br />
Day 7: By this time the students should be almost done with their floor plans and can also be<br />
tested over the terms they have learned. There are a couple possible vocabulary tests at the back<br />
of this plan which could be used. After the test the students should work on finishing their<br />
renderings.<br />
Day 8: This period should be spent discussing how to make the final step in the process. The<br />
transfer of the two-dimensional rendering to a three-dimensional model. All the students should be<br />
given something (a board or piece of stiff cardboard) in the size and shape of the stage which they<br />
designed their floor plans for to build their model on. The major part of the period should be spent
discussing possible materials to use in their models, how to attach the flats and platforms to their<br />
models, and how to make set pieces that may have to move through the course of the play.<br />
Days 9, 10, 11: These periods should be spent working of the models. Again, as with the floor plan<br />
renderings, you should walk around and answer any questions and make suggestions.<br />
Days 12, 13, 14, 15: These days, the number depends on the number of students, should be spent<br />
with the students giving a report as to how the set was designed, why he chose the conventions he<br />
did, and giving a scene-by-scene demonstration on how the set changes throughout the run of the<br />
show.<br />
Evaluation:<br />
The major part of the grade for this unit will, of course, come from the production project. The scale<br />
rendering should be graded on neatness, feasibility, and use of the drafting tools. The model<br />
should be graded on the presentation, neatness, and how closely it stayed with the scale drawing.<br />
The remainder of the grade for this unit will be determined by the exam in the middle of the unit.

![Play Guide [356k PDF] - Arizona Theatre Company](https://img.yumpu.com/46218320/1/190x245/play-guide-356k-pdf-arizona-theatre-company.jpg?quality=85)


![[title of show] Arizona Theatre Company Play Guide 1](https://img.yumpu.com/24482689/1/190x245/title-of-show-arizona-theatre-company-play-guide-1.jpg?quality=85)

![Play Guide [1.2MB PDF] - Arizona Theatre Company](https://img.yumpu.com/11952176/1/190x245/play-guide-12mb-pdf-arizona-theatre-company.jpg?quality=85)