Tim's Muppet - Tight Lines Fly Fishing Co.
Tim's Muppet - Tight Lines Fly Fishing Co.
Tim's Muppet - Tight Lines Fly Fishing Co.

Create successful ePaper yourself
Turn your PDF publications into a flip-book with our unique Google optimized e-Paper software.
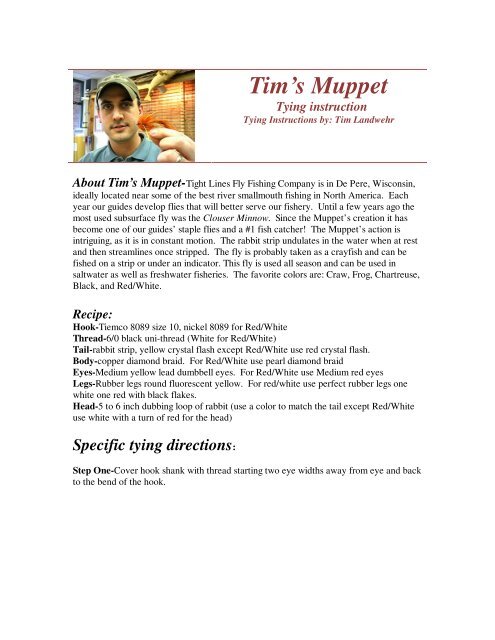
Tim’s <strong>Muppet</strong><br />
Tying instruction<br />
Tying Instructions by: Tim Landwehr<br />
About Tim’s <strong>Muppet</strong>-<strong>Tight</strong> <strong>Lines</strong> <strong>Fly</strong> <strong>Fishing</strong> <strong>Co</strong>mpany is in De Pere, Wisconsin,<br />
ideally located near some of the best river smallmouth fishing in North America. Each<br />
year our guides develop flies that will better serve our fishery. Until a few years ago the<br />
most used subsurface fly was the Clouser Minnow. Since the <strong>Muppet</strong>’s creation it has<br />
become one of our guides’ staple flies and a #1 fish catcher! The <strong>Muppet</strong>’s action is<br />
intriguing, as it is in constant motion. The rabbit strip undulates in the water when at rest<br />
and then streamlines once stripped. The fly is probably taken as a crayfish and can be<br />
fished on a strip or under an indicator. This fly is used all season and can be used in<br />
saltwater as well as freshwater fisheries. The favorite colors are: Craw, Frog, Chartreuse,<br />
Black, and Red/White.<br />
Recipe:<br />
Hook-Tiemco 8089 size 10, nickel 8089 for Red/White<br />
Thread-6/0 black uni-thread (White for Red/White)<br />
Tail-rabbit strip, yellow crystal flash except Red/White use red crystal flash.<br />
Body-copper diamond braid. For Red/White use pearl diamond braid<br />
Eyes-Medium yellow lead dumbbell eyes. For Red/White use Medium red eyes<br />
Legs-Rubber legs round fluorescent yellow. For red/white use perfect rubber legs one<br />
white one red with black flakes.<br />
Head-5 to 6 inch dubbing loop of rabbit (use a color to match the tail except Red/White<br />
use white with a turn of red for the head)<br />
Specific tying directions:<br />
Step One-<strong>Co</strong>ver hook shank with thread starting two eye widths away from eye and back<br />
to the bend of the hook.
Step Two-Tie in dumbbell eyes on top of<br />
the hook shank two eye widths from eyes;<br />
we need to build this area up with our<br />
dubbing loop.<br />
Step Three-Tie in 16 strands of crystal<br />
flash at the hook bend. The strand should<br />
be the length of the hook gape.<br />
Step Four-Tie in rabbit strip tail at<br />
beginning of the bend of the hook, the<br />
leather should measure the shank length<br />
with the rabbit hair flowing back. Trim the<br />
leather on the tail into a point, overall<br />
length will be longer than hook shank.<br />
Step Five-Tie in three pieces of crystal<br />
flash on top of the rabbit strip tail, they<br />
should be the same length as the entire tail.
Step Six-Tie in diamond braid at the point<br />
you tied the tail in. Wrap the diamond<br />
braid forward to mid shank; we need to<br />
leave space between the back of the lead<br />
eyes and in front of the eyes to build our<br />
head.<br />
Step Seven-Tie in the rubber legs with a<br />
square knot around the hood shank right<br />
behind the lead eyes. Figure eight the<br />
thread around the knot to secure it into<br />
position. The rubber legs will be two<br />
rubber strips that are stuck together and<br />
will later be separated.<br />
Step Eight-Bring your thread back to the<br />
point you tied the diamond braid off and<br />
form a 6-8 inch dubbing loop. I use a<br />
Turbo Twister dubbing twister for this part<br />
because it closes the loop quickly and is<br />
easy to manage large amounts of loose<br />
materials.<br />
Quick tip…After creating the dubbing loop, pull the legs<br />
forward and wrap with a turn of thread to keep the legs<br />
out of the way. The legs will later be separated to form<br />
two legs on each side.
Step Nine-Trim rabbit fur closely off of the<br />
hide and lay in a straight line 5 to 6 inches<br />
on your bench. Place a couple inches of<br />
fur in the loop at a time making sure the<br />
tips all face in the same direction. Push the<br />
butts of the fur as close to the loop as<br />
possible (very important). We want the fly<br />
to be very long and bushy at the head. We<br />
also want it to sweep back as much as<br />
possible. When the hair is all in the loop,<br />
spin it closed and pick it out with a bodkin<br />
or Velcro® to keep it bushy.<br />
Step Ten-Make wraps at the point the<br />
copper diamond braid ends folding the<br />
rabbit backward; like folding a feather. We<br />
want the fly to be very full. When you get<br />
to the rubber legs make a wrap between<br />
them to keep them in place. Keep<br />
wrapping and folding forward and figure<br />
eight the lead eyes. When you get in front<br />
of the eyes make a couple wraps more.<br />
The trick to getting the head full is to<br />
constantly pick the fly out with your bodkin<br />
before each new wrap. If you are tying the<br />
Red/White, make your loop with white first<br />
and then red at the bottom.
(continued from step 10)<br />
Step Eleven-Form a small head making<br />
sure not to trap any fur. Brush the head<br />
back with your bodkin or Velcro® to<br />
complete the fly.<br />
All the materials are available at <strong>Tight</strong> <strong>Lines</strong><br />
<strong>Fly</strong> <strong>Fishing</strong> <strong>Co</strong>.<br />
<strong>Tight</strong> <strong>Lines</strong> <strong>Fly</strong> <strong>Fishing</strong> <strong>Co</strong>.<br />
1534 Mid Valley Dr.<br />
DePere, WI 54115<br />
920-336-4106<br />
www.tightlinesflyshop.com