
You also want an ePaper? Increase the reach of your titles
YUMPU automatically turns print PDFs into web optimized ePapers that Google loves.
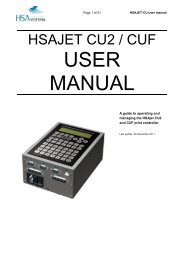
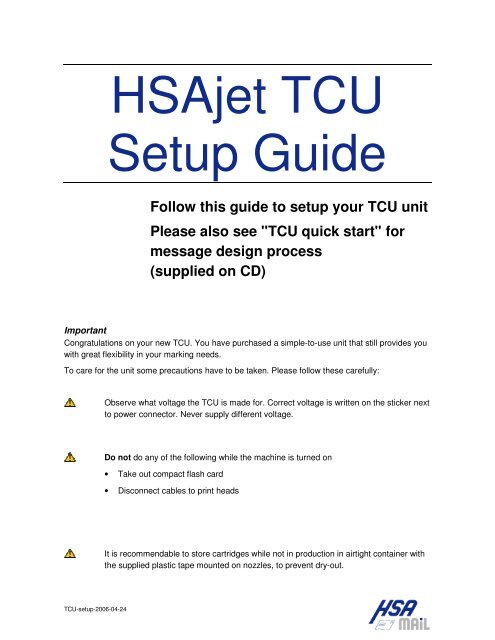
<strong>HSAjet</strong> <strong>TCU</strong><br />
<strong>Setup</strong> <strong>Guide</strong><br />
Follow this guide to setup your <strong>TCU</strong> unit<br />
Please also see "<strong>TCU</strong> quick start" for<br />
message design process<br />
(supplied on CD)<br />
Important<br />
Congratulations on your new <strong>TCU</strong>. You have purchased a simple-to-use unit that still provides you<br />
with great flexibility in your marking needs.<br />
To care for the unit some precautions have to be taken. Please follow these carefully:<br />
Observe what voltage the <strong>TCU</strong> is made for. Correct voltage is written on the sticker next<br />
to power connector. Never supply different voltage.<br />
Do not do any of the following while the machine is turned on<br />
• Take out compact flash card<br />
• Disconnect cables to print heads<br />
It is recommendable to store cartridges while not in production in airtight container with<br />
the supplied plastic tape mounted on nozzles, to prevent dry-out.<br />
<strong>TCU</strong>-setup-2006-04-24
Unpack the equipment<br />
You need the following to print with a <strong>TCU</strong><br />
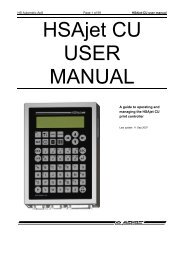
<strong>TCU</strong> Unit.<br />
This may be with or without display<br />
Print heads (stalls)<br />
One or two HP stalls, can be configured as double or single<br />
Compact flash card<br />
A normal Compact Flash card, 32 to 256 Mb, should be formatted in FAT<br />
Start sensor<br />
Photoelectric or proximity switch to detect product<br />
Ink Cartridge<br />
A series 45 compatible ink cartridge. Can also be part of the bulk system.<br />
Power cable<br />
Normal power cable with ground.<br />
Compact Flash reader / writer<br />
To transfer layouts created on a PC / laptop, to the CF card<br />
The following parts are optional<br />
Terminal / print selector switch<br />
To choose messages on <strong>TCU</strong>s without display<br />
Encoder<br />
For accurate measurement of speed.<br />
<strong>TCU</strong>-setup-2006-04-24
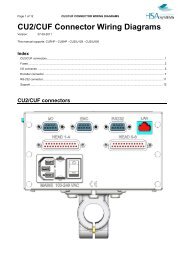
Connect the <strong>TCU</strong><br />
Connect HP stall(s) using the 25 pin cables to Head 1 and Head 2<br />
Insert ink cartridge(s) into the stall(s) and lock them<br />
Connect the start sensor to I/O.<br />
Please consult <strong>TCU</strong> manual for connection of wires if you were not<br />
supplied with a complete unit<br />
Connect power cable<br />
Notice that your unit does NOT work without a CF card inserted.<br />
This card MUST<br />
• Be formatted in FAT (FAT-32 and NTFS will not work)<br />
• Have <strong>TCU</strong> system files and at least 1 layout on the card.<br />
Optional equipment:<br />
Connect the encoder to ENCODER connector.<br />
Please refer to wiring diagram in <strong>TCU</strong> manual if not mounted with<br />
connector<br />
Connect terminal / message selector, to COM 2<br />
Once all is connected, you can prepare the CF card with the message(s).<br />
<strong>TCU</strong>-setup-2006-04-24
Make a sample print<br />
Look on the supplied CD in the directory for sample files<br />
Copy all the files in this directory to your compact flash card.<br />
Eject the card<br />
(Windows 2000 / Windows XP: select "Eject" from Windows Explorer)<br />
Insert the card in your <strong>TCU</strong><br />
Turn on power<br />
<strong>TCU</strong> without switch / terminal:<br />
Press RED button to start print mode. Only first file transfered to the<br />
card can be used. Make sure only one layout is present.<br />
<strong>TCU</strong> with selector switch:<br />
Turn switch to position 11 or 12<br />
Press RED button to start print mode<br />
<strong>TCU</strong> with terminal / Integrated <strong>TCU</strong>:<br />
Select the file using arrow keys<br />
and press Enter to load<br />
Press start print button on terminal, or RED button on <strong>TCU</strong><br />
to start print mode<br />
Activate the start sensor and see a print.<br />
Sample files work without encoder, at 15 or 20 m/minute<br />
<strong>TCU</strong>-setup-2006-04-24