

Installation Guide For USB DVR BOX
Installation Guide For USB DVR BOX
Installation Guide For USB DVR BOX

You also want an ePaper? Increase the reach of your titles
YUMPU automatically turns print PDFs into web optimized ePapers that Google loves.
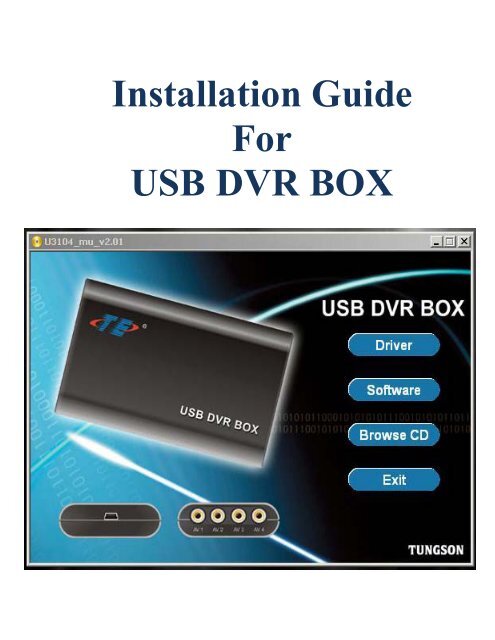
<strong>Installation</strong> <strong>Guide</strong><br />
<strong>For</strong><br />
<strong>USB</strong> <strong>DVR</strong> <strong>BOX</strong>
Driver <strong>Installation</strong><br />
Step: 1 - Inset CD into CD Drive and CD will auto run and brings<br />
up a window.<br />
Step: 2 - Click on Driver.<br />
Step: 3 – Click “Next”
Step: 4 – Select “Install Driver” and Click “Next[N]“
Step: 5 – Click “Install“
Step: 6 – If the above window pops-up, Click “Continue Anyway“
Last Step – Click “Finish“
Software <strong>Installation</strong><br />
Step 1 – Click “Software“
Step 2 – Click “Next“
Step 3 – Select “ServerApp“<br />
Step 4 – Click “Next“
Step 5 – Click “Install“
Step 6 – Click “Finish“
Last Step – After you finish installing the software, there should be<br />
an icon on your desktop labeled “<strong>USB</strong> Server”.<br />
Do not click on it!!!
Hardware <strong>Installation</strong><br />
Step 1: - Connect the Mini <strong>USB</strong> 5-Pin Male cable to your <strong>DVR</strong> <strong>BOX</strong><br />
Step 2: - Connect the <strong>USB</strong> Type A Male cable to your computer.<br />
(Plug it to the back of your computer is recommended)
Window will detect new hardware, and the above window will pop up.<br />
Step 3 – Select “Install from a list or specific location(Advanced)”<br />
Step 4 – Click “Next”
Step 5 – Select “Search for best driver in these locations”.<br />
Step 6 – Check “Search removable media”.<br />
Step 7 – Check “Include this location in the search”.<br />
Step 8 – Type “C:\Program Files\usb3104\usb driver” in the search box.
Searching . . .
Step 9 – Select the 2 nd one. “c:\windows\inf\oem41.inf” and click “Next”<br />
NOTE:<br />
(If “Insert Disk” windows pops-up. Then Click “Cancel” and Do step 1 to 8 again, this time select the 1 st one<br />
“c:\windows\inf\cyusbvid.inf”. You do not want the “Insert Disk” window to appear, No Disk.)
Installing . . .
Last Step – Click “Finish”
<strong>DVR</strong> Box setup Instruction<br />
Step 1 – Double click on the “<strong>USB</strong> Server” Icon.
If you do not see anything on your Database Management, that<br />
mean you need to get an extra hard disk or partition your C: Drive<br />
=============================================<br />
Installing an extra hard drive is highly recommended.<br />
<strong>For</strong> more information about partition, please visit the link below.<br />
http://www.partition-tool.com/<br />
==============================================<br />
Caution:<br />
If you partition your C: / drive for the <strong>USB</strong> <strong>DVR</strong> and if anything goes wrong during the<br />
Partitioning, it could jeopardize all the data on that Hard Drive. (Good idea to back up all<br />
important data to a Separate location i.e: CD, DVD, online storage, email, etc…)<br />
We are not responsible for any partition error
Step 2 – After you installed a new hard drive or partitioned your C: Dirve<br />
Step 3 – In this case, we have two drive available a F:\ Drive and a G:\ Drive.<br />
F:\ Drive has 13 GB Free Spaces<br />
G:\ Drive has 30 GB Free Spaces
Step 4 – Select G:\ due to more capacity.<br />
Step 5 – Click “found Database”
Step 6 – Click “Ok”
Step 7 – User is “super” Password is empty (don’t need to type anything)<br />
Step 8 – Click “Login”