Precision Teaching in the Primary Classroom Viewer's Guide
Precision Teaching in the Primary Classroom Viewer's Guide
Precision Teaching in the Primary Classroom Viewer's Guide
- No tags were found...

Create successful ePaper yourself
Turn your PDF publications into a flip-book with our unique Google optimized e-Paper software.
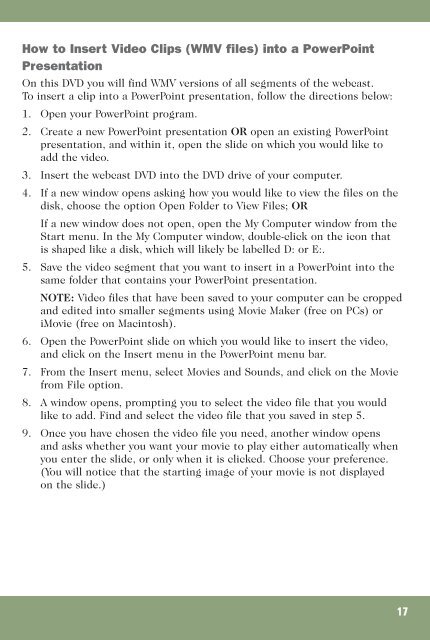
How to Insert Video Clips (WMV files) <strong>in</strong>to a PowerPo<strong>in</strong>t<br />
Presentation<br />
On this DVD you will f<strong>in</strong>d WMV versions of all segments of <strong>the</strong> webcast.<br />
To <strong>in</strong>sert a clip <strong>in</strong>to a PowerPo<strong>in</strong>t presentation, follow <strong>the</strong> directions below:<br />
1. Open your PowerPo<strong>in</strong>t program.<br />
2. Create a new PowerPo<strong>in</strong>t presentation OR open an exist<strong>in</strong>g PowerPo<strong>in</strong>t<br />
presentation, and with<strong>in</strong> it, open <strong>the</strong> slide on which you would like to<br />
add <strong>the</strong> video.<br />
3. Insert <strong>the</strong> webcast DVD <strong>in</strong>to <strong>the</strong> DVD drive of your computer.<br />
4. If a new w<strong>in</strong>dow opens ask<strong>in</strong>g how you would like to view <strong>the</strong> files on <strong>the</strong><br />
disk, choose <strong>the</strong> option Open Folder to View Files; OR<br />
If a new w<strong>in</strong>dow does not open, open <strong>the</strong> My Computer w<strong>in</strong>dow from <strong>the</strong><br />
Start menu. In <strong>the</strong> My Computer w<strong>in</strong>dow, double-click on <strong>the</strong> icon that<br />
is shaped like a disk, which will likely be labelled D: or E:.<br />
5. Save <strong>the</strong> video segment that you want to <strong>in</strong>sert <strong>in</strong> a PowerPo<strong>in</strong>t <strong>in</strong>to <strong>the</strong><br />
same folder that conta<strong>in</strong>s your PowerPo<strong>in</strong>t presentation.<br />
NOTE: Video files that have been saved to your computer can be cropped<br />
and edited <strong>in</strong>to smaller segments us<strong>in</strong>g Movie Maker (free on PCs) or<br />
iMovie (free on Mac<strong>in</strong>tosh).<br />
6. Open <strong>the</strong> PowerPo<strong>in</strong>t slide on which you would like to <strong>in</strong>sert <strong>the</strong> video,<br />
and click on <strong>the</strong> Insert menu <strong>in</strong> <strong>the</strong> PowerPo<strong>in</strong>t menu bar.<br />
7. From <strong>the</strong> Insert menu, select Movies and Sounds, and click on <strong>the</strong> Movie<br />
from File option.<br />
8. A w<strong>in</strong>dow opens, prompt<strong>in</strong>g you to select <strong>the</strong> video file that you would<br />
like to add. F<strong>in</strong>d and select <strong>the</strong> video file that you saved <strong>in</strong> step 5.<br />
9. Once you have chosen <strong>the</strong> video file you need, ano<strong>the</strong>r w<strong>in</strong>dow opens<br />
and asks whe<strong>the</strong>r you want your movie to play ei<strong>the</strong>r automatically when<br />
you enter <strong>the</strong> slide, or only when it is clicked. Choose your preference.<br />
(You will notice that <strong>the</strong> start<strong>in</strong>g image of your movie is not displayed<br />
on <strong>the</strong> slide.)<br />
17