Net2Phone/Cisco ATA 186 Configuration Guide
Net2Phone/Cisco ATA 186 Configuration Guide
Net2Phone/Cisco ATA 186 Configuration Guide

You also want an ePaper? Increase the reach of your titles
YUMPU automatically turns print PDFs into web optimized ePapers that Google loves.
<strong>Cisco</strong> <strong>ATA</strong> <strong>186</strong> <strong>Configuration</strong> <strong>Guide</strong><br />
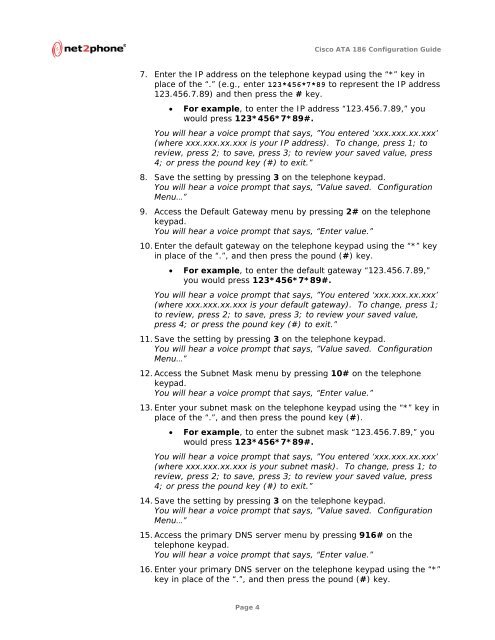
7. Enter the IP address on the telephone keypad using the “*” key in<br />
place of the “.” (e.g., enter 123*456*7*89 to represent the IP address<br />
123.456.7.89) and then press the # key.<br />
• For example, to enter the IP address “123.456.7.89,” you<br />
would press 123*456*7*89#.<br />
You will hear a voice prompt that says, ”You entered ‘xxx.xxx.xx.xxx’<br />
(where xxx.xxx.xx.xxx is your IP address). To change, press 1; to<br />
review, press 2; to save, press 3; to review your saved value, press<br />
4; or press the pound key (#) to exit.”<br />
8. Save the setting by pressing 3 on the telephone keypad.<br />
You will hear a voice prompt that says, ”Value saved. <strong>Configuration</strong><br />
Menu…”<br />
9. Access the Default Gateway menu by pressing 2# on the telephone<br />
keypad.<br />
You will hear a voice prompt that says, “Enter value.”<br />
10. Enter the default gateway on the telephone keypad using the “*” key<br />
in place of the “.”, and then press the pound (#) key.<br />
• For example, to enter the default gateway “123.456.7.89,”<br />
you would press 123*456*7*89#.<br />
You will hear a voice prompt that says, ”You entered ‘xxx.xxx.xx.xxx’<br />
(where xxx.xxx.xx.xxx is your default gateway). To change, press 1;<br />
to review, press 2; to save, press 3; to review your saved value,<br />
press 4; or press the pound key (#) to exit.”<br />
11. Save the setting by pressing 3 on the telephone keypad.<br />
You will hear a voice prompt that says, ”Value saved. <strong>Configuration</strong><br />
Menu…”<br />
12. Access the Subnet Mask menu by pressing 10# on the telephone<br />
keypad.<br />
You will hear a voice prompt that says, “Enter value.”<br />
13. Enter your subnet mask on the telephone keypad using the “*” key in<br />
place of the “.”, and then press the pound key (#).<br />
• For example, to enter the subnet mask “123.456.7.89,” you<br />
would press 123*456*7*89#.<br />
You will hear a voice prompt that says, ”You entered ‘xxx.xxx.xx.xxx’<br />
(where xxx.xxx.xx.xxx is your subnet mask). To change, press 1; to<br />
review, press 2; to save, press 3; to review your saved value, press<br />
4; or press the pound key (#) to exit.”<br />
14. Save the setting by pressing 3 on the telephone keypad.<br />
You will hear a voice prompt that says, ”Value saved. <strong>Configuration</strong><br />
Menu…”<br />
15. Access the primary DNS server menu by pressing 916# on the<br />
telephone keypad.<br />
You will hear a voice prompt that says, “Enter value.”<br />
16. Enter your primary DNS server on the telephone keypad using the “*”<br />
key in place of the “.”, and then press the pound (#) key.<br />
Page 4