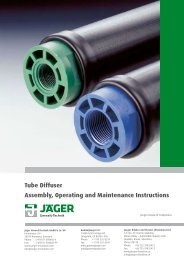
Tube Diffuser Assembly, Operating and Maintenance Instruction
Tube Diffuser Assembly, Operating and Maintenance Instruction
Tube Diffuser Assembly, Operating and Maintenance Instruction

You also want an ePaper? Increase the reach of your titles
YUMPU automatically turns print PDFs into web optimized ePapers that Google loves.
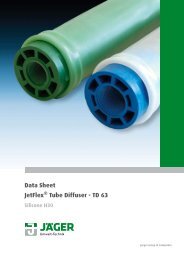
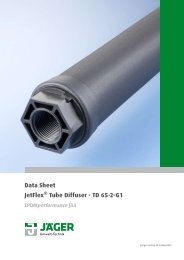
Specifications<br />
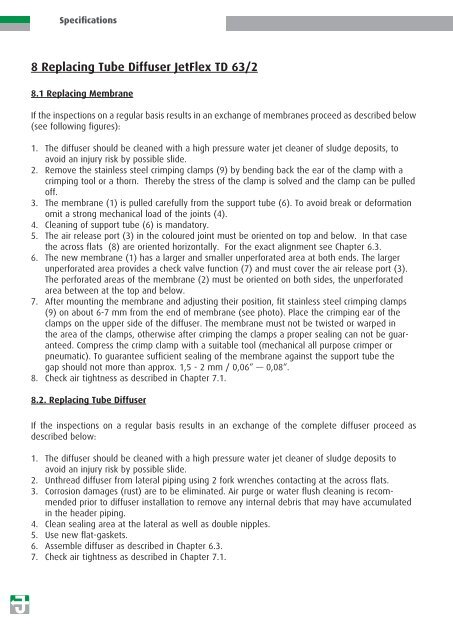
8 Replacing <strong>Tube</strong> <strong>Diffuser</strong> JetFlex TD 63/2<br />
8.1 Replacing Membrane<br />
If the inspections on a regular basis results in an exchange of membranes proceed as described below<br />
(see following figures):<br />
1. The diffuser should be cleaned with a high pressure water jet cleaner of sludge deposits, to<br />
avoid an injury risk by possible slide.<br />
2. Remove the stainless steel crimping clamps (9) by bending back the ear of the clamp with a<br />
crimping tool or a thorn. Thereby the stress of the clamp is solved <strong>and</strong> the clamp can be pulled<br />
off.<br />
3. The membrane (1) is pulled carefully from the support tube (6). To avoid break or deformation<br />
omit a strong mechanical load of the joints (4).<br />
4. Cleaning of support tube (6) is m<strong>and</strong>atory.<br />
5. The air release port (3) in the coloured joint must be oriented on top <strong>and</strong> below. In that case<br />
the across flats (8) are oriented horizontally. For the exact alignment see Chapter 6.3.<br />
6. The new membrane (1) has a larger <strong>and</strong> smaller unperforated area at both ends. The larger<br />
unperforated area provides a check valve function (7) <strong>and</strong> must cover the air release port (3).<br />
The perforated areas of the membrane (2) must be oriented on both sides, the unperforated<br />
area between at the top <strong>and</strong> below.<br />
7. After mounting the membrane <strong>and</strong> adjusting their position, fit stainless steel crimping clamps<br />
(9) on about 6-7 mm from the end of membrane (see photo). Place the crimping ear of the<br />
clamps on the upper side of the diffuser. The membrane must not be twisted or warped in<br />
the area of the clamps, otherwise after crimping the clamps a proper sealing can not be guaranteed.<br />
Compress the crimp clamp with a suitable tool (mechanical all purpose crimper or<br />
pneumatic). To guarantee sufficient sealing of the membrane against the support tube the<br />
gap should not more than approx. 1,5 - 2 mm / 0,06“ — 0,08“.<br />
8. Check air tightness as described in Chapter 7.1.<br />
8.2. Replacing <strong>Tube</strong> <strong>Diffuser</strong><br />
If the inspections on a regular basis results in an exchange of the complete diffuser proceed as<br />
described below:<br />
1. The diffuser should be cleaned with a high pressure water jet cleaner of sludge deposits to<br />
avoid an injury risk by possible slide.<br />
2. Unthread diffuser from lateral piping using 2 fork wrenches contacting at the across flats.<br />
3. Corrosion damages (rust) are to be eliminated. Air purge or water flush cleaning is recommended<br />
prior to diffuser installation to remove any internal debris that may have accumulated<br />
in the header piping.<br />
4. Clean sealing area at the lateral as well as double nipples.<br />
5. Use new flat-gaskets.<br />
6. Assemble diffuser as described in Chapter 6.3.<br />
7. Check air tightness as described in Chapter 7.1.