LESSON 2 - SeaTrek Programs
LESSON 2 - SeaTrek Programs
LESSON 2 - SeaTrek Programs

Create successful ePaper yourself
Turn your PDF publications into a flip-book with our unique Google optimized e-Paper software.
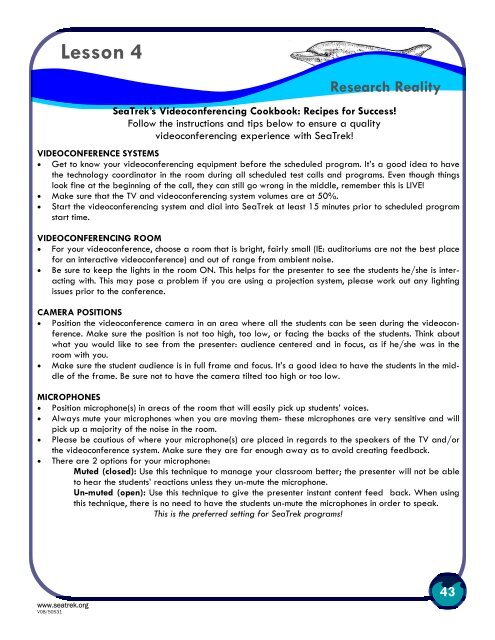
Lesson 4<br />
Research Reality<br />
<strong>SeaTrek</strong>’s Videoconferencing Cookbook: Recipes for Success!<br />
Follow the instructions and tips below to ensure a quality<br />
videoconferencing experience with <strong>SeaTrek</strong>!<br />
VIDEOCONFERENCE SYSTEMS<br />
• Get to know your videoconferencing equipment before the scheduled program. It’s a good idea to have<br />
the technology coordinator in the room during all scheduled test calls and programs. Even though things<br />
look fine at the beginning of the call, they can still go wrong in the middle, remember this is LIVE!<br />
• Make sure that the TV and videoconferencing system volumes are at 50%.<br />
• Start the videoconferencing system and dial into <strong>SeaTrek</strong> at least 15 minutes prior to scheduled program<br />
start time.<br />
VIDEOCONFERENCING ROOM<br />
• For your videoconference, choose a room that is bright, fairly small (IE: auditoriums are not the best place<br />
for an interactive videoconference) and out of range from ambient noise.<br />
• Be sure to keep the lights in the room ON. This helps for the presenter to see the students he/she is interacting<br />
with. This may pose a problem if you are using a projection system, please work out any lighting<br />
issues prior to the conference.<br />
CAMERA POSITIONS<br />
• Position the videoconference camera in an area where all the students can be seen during the videoconference.<br />
Make sure the position is not too high, too low, or facing the backs of the students. Think about<br />
what you would like to see from the presenter: audience centered and in focus, as if he/she was in the<br />
room with you.<br />
• Make sure the student audience is in full frame and focus. It’s a good idea to have the students in the middle<br />
of the frame. Be sure not to have the camera tilted too high or too low.<br />
MICROPHONES<br />
• Position microphone(s) in areas of the room that will easily pick up students’ voices.<br />
• Always mute your microphones when you are moving them- these microphones are very sensitive and will<br />
pick up a majority of the noise in the room.<br />
• Please be cautious of where your microphone(s) are placed in regards to the speakers of the TV and/or<br />
the videoconference system. Make sure they are far enough away as to avoid creating feedback.<br />
• There are 2 options for your microphone:<br />
Muted (closed): Use this technique to manage your classroom better; the presenter will not be able<br />
to hear the students’ reactions unless they un-mute the microphone.<br />
Un-muted (open): Use this technique to give the presenter instant content feed back. When using<br />
this technique, there is no need to have the students un-mute the microphones in order to speak.<br />
This is the preferred setting for <strong>SeaTrek</strong> programs!<br />
www.seatrek.org<br />
V08/50531<br />
43