R100 Manual User Guide - True Heading
R100 Manual User Guide - True Heading
R100 Manual User Guide - True Heading

You also want an ePaper? Increase the reach of your titles
YUMPU automatically turns print PDFs into web optimized ePapers that Google loves.
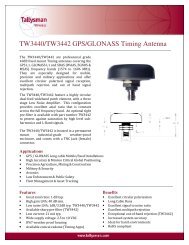
2: Installation<br />
4. Press the metal plate onto the mounting surface on the vehicle.<br />
5. Apply firm pressure to ensure good adhesion.<br />
6. Place the antenna on top of the metal disc.<br />
Surface Mount<br />
As an alternative to the magnetic mount, the antenna is easily attached<br />
to the surface with four machine screws (no. 8-32). To surface mount the<br />
antenna:<br />
1. Photocopy the bottom of the antenna and use it as a template to<br />
plan the mounting hole locations.<br />
Warning!<br />
Make sure the photocopy is scaled one to one with the<br />
mounting holes on the bottom of the antenna.<br />
2. Mark the mounting hole centers, as necessary, on the mounting<br />
surface.<br />
3. Place the antenna over the marks to ensure that the planned hole<br />
centers agree with the true hole centers, then adjust.<br />
4. Use a center punch on the hole centers in order to guide the drill<br />
bit.<br />
5. Drill the mounting holes with a 3/16-inch bit appropriate for the<br />
surface.<br />
6. Place the antenna over the mounting holes and insert the mounting<br />
screws through the bottom of the mounting surface and into the<br />
antenna.<br />
Warning!<br />
When installing the antenna, hand tighten only. Damage<br />
resulting from overtightening the antenna is not covered by<br />
warranty.<br />
8