BENUTZERHANDBUCH USER MANUAL NAVODILA ZA ... - Smartkat
BENUTZERHANDBUCH USER MANUAL NAVODILA ZA ... - Smartkat
BENUTZERHANDBUCH USER MANUAL NAVODILA ZA ... - Smartkat

Create successful ePaper yourself
Turn your PDF publications into a flip-book with our unique Google optimized e-Paper software.
CAUTION<br />
Any use of a high pressure air pump or compressor,<br />
independent of the type, or exceeding the operating pressure,<br />
will automatically invalidate all warranties.<br />
2. Each of the hulls is equipped with a safety valve.<br />
3. Please note: the safety valve is a two-way safety valve and consists of<br />
two main parts. The inner part with the threaded valve (safety screw)<br />
and a covering cap. To open the valve fully, press the safety screw<br />
inwards and turn it clockwise to the right until you feel the stop. To<br />
pump up the hull, push the appropriate pump hose nozzle into the<br />
opened valve. To close the valve, remove the pump hose and turn the<br />
safety screw anticlockwise to the left until the screw slots in. After this<br />
you can pump further against the closed valve with the hand pump<br />
until you achieve the operating pressure of 0.3 bar – check this with the<br />
manometer supplied. To release air from the hulls, open the valve cap,<br />
press the safety screw inwards firmly and turn this clockwise to the<br />
right until it slots in. The round covering cap makes the valve absolutely<br />
airtight as long as it is screwed onto the valve tightly. The hulls should<br />
never be fully pumped up until the smartkat is completely assembled.<br />
l<br />
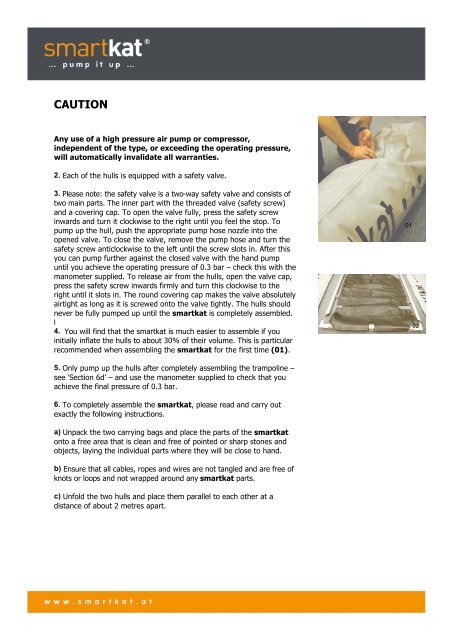
4. You will find that the smartkat is much easier to assemble if you<br />
initially inflate the hulls to about 30% of their volume. This is particular<br />
recommended when assembling the smartkat for the first time (01).<br />
01<br />
01<br />
02<br />
5. Only pump up the hulls after completely assembling the trampoline –<br />
see ‘Section 6d’ – and use the manometer supplied to check that you<br />
achieve the final pressure of 0.3 bar.<br />
6. To completely assemble the smartkat, please read and carry out<br />
exactly the following instructions.<br />
a) Unpack the two carrying bags and place the parts of the smartkat<br />
onto a free area that is clean and free of pointed or sharp stones and<br />
objects, laying the individual parts where they will be close to hand.<br />
b) Ensure that all cables, ropes and wires are not tangled and are free of<br />
knots or loops and not wrapped around any smartkat parts.<br />
c) Unfold the two hulls and place them parallel to each other at a<br />
distance of about 2 metres apart.