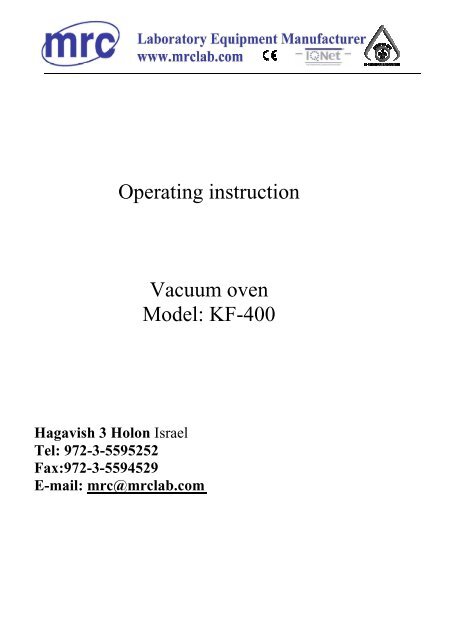
Operating instruction Vacuum oven Model: KF-400 - MRC
Operating instruction Vacuum oven Model: KF-400 - MRC
Operating instruction Vacuum oven Model: KF-400 - MRC

Create successful ePaper yourself
Turn your PDF publications into a flip-book with our unique Google optimized e-Paper software.
<strong>Operating</strong> <strong>instruction</strong><br />
<strong>Vacuum</strong> <strong>oven</strong><br />
<strong>Model</strong>: <strong>KF</strong>-<strong>400</strong><br />
Hagavish 3 Holon Israel<br />
Tel: 972-3-5595252<br />
Fax:972-3-5594529<br />
E-mail: mrc@mrclab.com
Table of contents<br />
6.................................. Controls overview<br />
7.......................................PRECAUTIONS<br />
8.................................. <strong>Vacuum</strong> operation<br />
8......................................... setting Temperature<br />
9.....................................................Maintenance<br />
.1<br />
.2<br />
.3<br />
.4<br />
.5
1<br />
2 3 4 5 6<br />
Picture 1: control panel<br />
7 8 9<br />
1-Home switch<br />
2-mode switch<br />
3-step down switch<br />
4- step up switch<br />
5-Deflating indicator<br />
6-<strong>Vacuum</strong> indicator<br />
7-<strong>Vacuum</strong> switch<br />
8-Deflating switch<br />
9- Hitting indicator
Picture 2: <strong>Vacuum</strong> Gauge
Picture 3: Operation Switch<br />
Picture 4: Air inlet
1. Controls overview<br />
1.1. POWER the main power switch (picture 3)<br />
1.2. HEATING INDICATOR (picture 1 balloon 9) –indicates when the<br />
<strong>oven</strong> is in heating process<br />
1.3. TEMPERATURE CONTROLLER (picture 1)-This is PID<br />
controller with self tune<br />
1.4. VACUUM –see picture 1 balloon 7,8 this 2 switches controls the<br />
vacuum<br />
1.5. VACUUM GAUGE –this gauge measures the camber pressure
2. PRECAUTIONS<br />
THIS IS NOT EXPLOSION PROOF OVEN<br />
2.1. Do not place or use explosive, combustible, or flammable materials<br />
in the <strong>oven</strong><br />
2.2. Do not use sealed containers in the <strong>oven</strong> chamber<br />
2.3. Do not cut or remove the ground prong from the power cord or use<br />
an ungrounded 2 prong adapter plug<br />
2.4. Disconnect the unit from the electrical power source before<br />
attempting to make any repairs or component replacements<br />
2.5. If a mercury thermometer is used and breakage should occur, all<br />
spilled mercury must be completely removed from the chamber<br />
2.6. This <strong>oven</strong> is not suitable for use in class 1,2 or 3 locations as defined<br />
by the national electrical code NFPA 70<br />
2.7. This <strong>oven</strong> is not intended, nor can it be used, as a patient connected<br />
device
3. <strong>Vacuum</strong> operation<br />
3.1. Attach a proper pipe between the external vacuum pomp and the Air<br />
inlet on the right side of the <strong>oven</strong> see picture 4<br />
3.2. <strong>Vacuum</strong> – to apply vacuum to the camber press vacuum switch<br />
vacuum indicator will light and the internal valve will open and the<br />
external vacuum pomp will start to work (see picture 1 balloon 7,6)<br />
3.3. Deflating - To deflate the vacuum press deflating switch deflating<br />
indicator will light (see picture 1 balloon 5,8)<br />
4. Temperature setting<br />
4.1. Temperature setting: To set required temperature press to raise<br />
set point or to lower the set point see picture 1<br />
After a few seconds after the set point is set the display will shows the<br />
actual temperature<br />
4.2. Alarm Setting: press home switch for a few seconds till on the<br />
display will appear level press switch till you get level 2 immediately<br />
will appear code press switch, till you get 2 now the controller is<br />
ready to be alarm set press switch 2 till you get alarm with the arrows<br />
set the alarm temperature
5. Maintenance<br />
Note: prior to any maintenance or service on this unit, disconnect the<br />
power cord from the power supply<br />
5.1. Cleaning: disinfect the <strong>oven</strong> interior on regular basis .to prepare the<br />
<strong>oven</strong> for cleaning remove the shelves and door gasket.<br />
5.1.1.First clean removed parts and interior with soap and<br />
water. To decontaminate use a disinfectant that is suitable<br />
to your application .do not use chlorine based or abrasives<br />
as this will damage stainless steel surfaces<br />
5.1.2.When washing the gasket, handle carefully so as not to<br />
impair the positive seal<br />
5.1.3.If the <strong>oven</strong> is to be shut down for storage or transporting,<br />
remove shelves and latch the door closed. Screw the<br />
leveling feet in on the<br />
5.1.4.There is no fails to operate as specified, see<br />
troubleshooting before calling for service.