SALIGaE® Test for the Presence of Saliva - Abacus Diagnostics, Inc.
SALIGaE® Test for the Presence of Saliva - Abacus Diagnostics, Inc.
SALIGaE® Test for the Presence of Saliva - Abacus Diagnostics, Inc.

You also want an ePaper? Increase the reach of your titles
YUMPU automatically turns print PDFs into web optimized ePapers that Google loves.
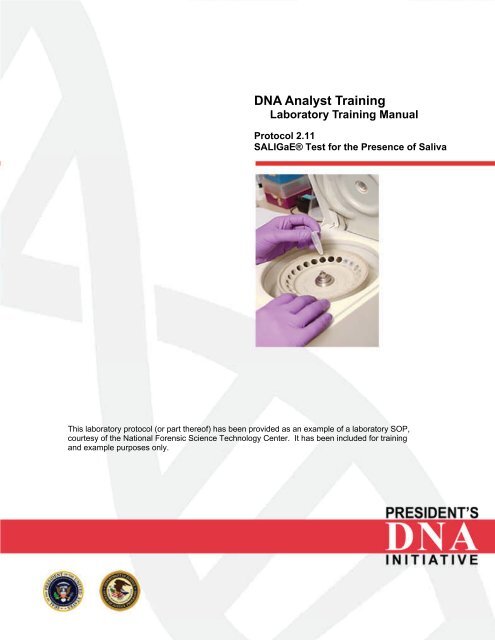
DNA Analyst Training<br />
Laboratory Training Manual<br />
Protocol 2.11<br />
SALIGaE® <strong>Test</strong> <strong>for</strong> <strong>the</strong> <strong>Presence</strong> <strong>of</strong> <strong>Saliva</strong><br />
This laboratory protocol (or part <strong>the</strong>re<strong>of</strong>) has been provided as an example <strong>of</strong> a laboratory SOP,<br />
courtesy <strong>of</strong> <strong>the</strong> National Forensic Science Technology Center. It has been included <strong>for</strong> training<br />
and example purposes only.
INTRODUCTION<br />
The SALIGaE® test is used to determine <strong>the</strong> possible presences <strong>of</strong> trace levels <strong>of</strong><br />
saliva. In this procedure, a small amount <strong>of</strong> sample is added to test vials that<br />
contain a colorless solution. If saliva is present in <strong>the</strong> specimen, <strong>the</strong> colorless<br />
solution will turn yellow. If saliva is not present in <strong>the</strong> sample or too dilute to detect,<br />
<strong>the</strong> solution will remain colorless.<br />
SAFETY CONSIDERATIONS<br />
Refer to <strong>the</strong> Laboratory Safety Manual(s)<br />
PREPARATIONS<br />
SALIGaE® <strong>Test</strong> kit<br />
INSTRUMENTATION<br />
• SALIGaE® <strong>Test</strong> kit vials<br />
• Pipettes<br />
• Timer<br />
MINIMUM STANDARDS & CONTROLS<br />
• Positive control (known saliva)<br />
• Negative control – Deionized water<br />
PROCEDURE OR ANALYSIS<br />
1. Place approximately 5 mm 2 cutting or 1 / 2 <strong>of</strong> a swab into a sterile 1.5 ml<br />
microcentrifuge tube.<br />
2. Pipette 30 µl – 50 µl <strong>of</strong> sterile deionized water into <strong>the</strong> tube.<br />
3. <strong>Inc</strong>ubate <strong>for</strong> 30 minutes at room temperature.<br />
4. Allow <strong>the</strong> test vials to warm to room temperature<br />
5. Remove bubbles from <strong>the</strong> test vials by gently tapping <strong>the</strong> vials.<br />
6. Add 8 µl <strong>of</strong> sample to <strong>the</strong> test vial<br />
7. Mix gently<br />
pdi_lab_pro_2.11.pdf President's DNA Initiative - DNA Analyst Training Page 1 <strong>of</strong> 2
8. Read <strong>the</strong> result after 10 minutes.<br />
9. A yellow color change indicates a positive result. No color change<br />
indicates a negative result. A negative result indicates that <strong>the</strong>re is no<br />
saliva present or is below <strong>the</strong> limit <strong>of</strong> detection <strong>of</strong> <strong>the</strong> test.<br />
Return to Laboratory Training Manual User Guide<br />
pdi_lab_pro_2.11.pdf President's DNA Initiative - DNA Analyst Training Page 2 <strong>of</strong> 2