
Create successful ePaper yourself
Turn your PDF publications into a flip-book with our unique Google optimized e-Paper software.
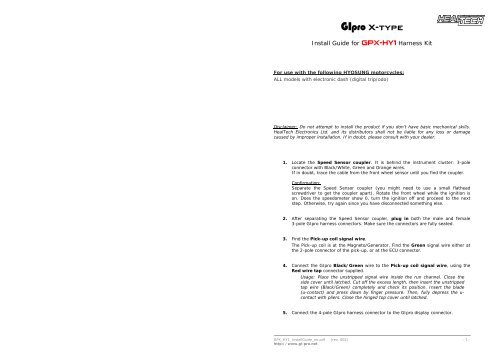
<strong>GIpro</strong> X-<strong>type</strong>Install Guide for GPX-HY1 Harness KitFor use with the following HYOSUNG motorcycles:ALL models with electronic dash (digital trip/odo)Disclaimer: Do not attempt to install the product if you don’t have basic mechanical skills.HealTech Electronics Ltd. and its distributors shall not be liable for any loss or damagecaused by improper installation. If in doubt, please consult with your dealer.1. Locate the Speed Sensor coupler. It is behind the instrument cluster: 3-poleconnector with Black/White, Green and Orange wires.If in doubt, trace the cable from the front wheel sensor until you find the coupler.Confirmation:Separate the Speed Sensor coupler (you might need to use a small flatheadscrewdriver to get the coupler apart). Rotate the front wheel while the ignition ison. Does the speedometer show 0, turn the ignition off and proceed to the nextstep. Otherwise, try again since you have disconnected something else.2. After separating the Speed Sensor coupler, plug in both the male and female3-pole <strong>GIpro</strong> harness connectors. Make sure the connectors are fully seated.3. Find the Pick-up coil signal wire.The Pick-up coil is at the Magneto/Generator. Find the Green signal wire either atthe 2-pole connector of the pick-up, or at the ECU connector.4. Connect the <strong>GIpro</strong> Black/Green wire to the Pick-up coil signal wire, using theRed wire tap connector supplied.Usage: Place the unstripped signal wire inside the run channel. Close theside cover until latched. Cut off the excess length, then insert the unstrippedtap wire (Black/Green) completely and check its position. Insert the blade(u-contact) and press down by finger pressure. Then, fully depress the u-contact with pliers. Close the hinged top cover until latched.5. Connect the 4-pole <strong>GIpro</strong> harness connector to the <strong>GIpro</strong> display connector.GPX_HY1_InstallGuide_en.pdf [rev. 002] - 1 -http://www.gi-pro.net
6. Check whether everything is installed and working properly:- Select Neutral and turn ignition On The <strong>GIpro</strong> display should count from 6 to 1, then “L” flashes slowly.(If not, the display is not receiving power and/or ground. Check theconnections at the speed sensor connector.)- Rotate the wheels the display should indicate a rolling wheel.(If not, the display is not receiving the speed signal. Check the connection atthe speed sensor connector.)- Start the engine “L” should flash faster for a few seconds.(If not, the display is not receiving the RPM signal. Check the wire tap.)Turn the ignition Off. If the tests still fail, disconnect the 3-pole and 4-poleconnectors and check whether the connector pins are bent or pushed out ofposition. Spray some WD40 into the plugs.7. Peel off the green plastic from the back of the unit, and mount the display.8. Neatly route the <strong>GIpro</strong> harness from the 3-pole plugs to the mounting location,preferably along the frame.Do not bend the harness near the 4-pole connectors.Do not route the harness very close to the exhaust pipe or cylinder head.9. Use black tape to secure and isolate the 4-pole connectors. To minimize cablestress, use the supplied cable ties to fasten the unit and harness to other cables.- 2 –