USP SerieS - Heckler & Koch USA
USP SerieS - Heckler & Koch USA
USP SerieS - Heckler & Koch USA
- No tags were found...

You also want an ePaper? Increase the reach of your titles
YUMPU automatically turns print PDFs into web optimized ePapers that Google loves.
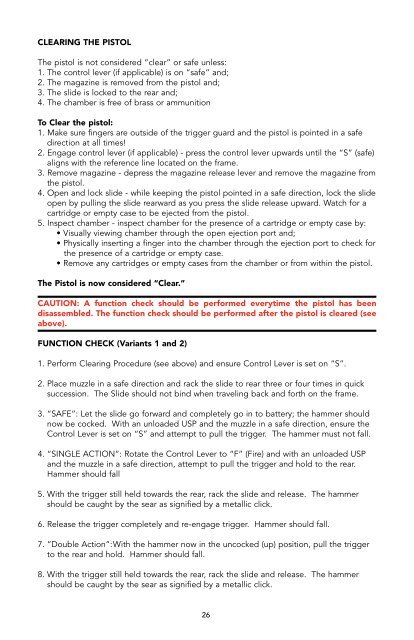
Clearing the PistolThe pistol is not considered “clear” or safe unless:1. The control lever (if applicable) is on “safe” and;2. The magazine is removed from the pistol and;3. The slide is locked to the rear and;4. The chamber is free of brass or ammunitionTo Clear the pistol:1. Make sure fingers are outside of the trigger guard and the pistol is pointed in a safedirection at all times!2. Engage control lever (if applicable) - press the control lever upwards until the “S” (safe)aligns with the reference line located on the frame.3. Remove magazine - depress the magazine release lever and remove the magazine fromthe pistol.4. Open and lock slide - while keeping the pistol pointed in a safe direction, lock the slideopen by pulling the slide rearward as you press the slide release upward. Watch for acartridge or empty case to be ejected from the pistol.5. Inspect chamber - inspect chamber for the presence of a cartridge or empty case by:• Visually viewing chamber through the open ejection port and;• Physically inserting a finger into the chamber through the ejection port to check forthe presence of a cartridge or empty case.• Remove any cartridges or empty cases from the chamber or from within the pistol.The Pistol is now considered “Clear.”CAUTION: A function check should be performed everytime the pistol has beendisassembled. The function check should be performed after the pistol is cleared (seeabove).FUNCTION CHECK (Variants 1 and 2)1. Perform Clearing Procedure (see above) and ensure Control Lever is set on “S”.2. Place muzzle in a safe direction and rack the slide to rear three or four times in quicksuccession. The Slide should not bind when traveling back and forth on the frame.3. “SAFE”: Let the slide go forward and completely go in to battery; the hammer shouldnow be cocked. With an unloaded <strong>USP</strong> and the muzzle in a safe direction, ensure theControl Lever is set on “S” and attempt to pull the trigger. The hammer must not fall.4. “SINGLE ACTION”: Rotate the Control Lever to “F” (Fire) and with an unloaded <strong>USP</strong>and the muzzle in a safe direction, attempt to pull the trigger and hold to the rear.Hammer should fall5. With the trigger still held towards the rear, rack the slide and release. The hammershould be caught by the sear as signified by a metallic click.6. Release the trigger completely and re-engage trigger. Hammer should fall.7. “Double Action”: With the hammer now in the uncocked (up) position, pull the triggerto the rear and hold. Hammer should fall.8. With the trigger still held towards the rear, rack the slide and release. The hammershould be caught by the sear as signified by a metallic click.9. “DECOCK”: Pull down on the control lever, allowing the hammer to decock.10. Place the Control Lever back on “S” (Safe).FUNCTION CHECK (Variants 3 and 4)1. Perform Clearing Procedure (see above).2. Place muzzle in a safe direction and rack the slide to rear three or four times in quicksuccession. The slide should not bind when traveling back and forth on the frame.3. Allow the slide go forward and completely go in to battery; the hammer should now becocked.4. “SINGLE ACTION”: With the muzzle pointed in a safe direction, attempt to pull thetrigger and hold to the rear. Hammer should fall5. With the trigger still held towards the rear, rack the slide and release. The hammershould be caught by the sear as signified by a metallic click.6. Release the trigger completely and re-engage trigger. Hammer should fall.7. “Double Action”: With the hammer now in the uncocked (up) position, pull the triggerto the rear and hold. Hammer should fall.8. With the trigger still held towards the rear, rack the slide and release. The hammershould be caught by the sear as signified by a metallic click.9. “DECOCK”: Pull down on the control lever, allowing the hammer to decock.FUNCTION CHECK (Variants 5 and 6)1. Perform Clearing Procedure (see above) and ensure Control Lever is set on “S”.2. Place muzzle in a safe direction and rack the slide to rear three or four times in quicksuccession. The Slide should not bind when traveling back and forth on the frame.3. “SAFE”: Let the slide go forward and completely go in to battery; the hammer shouldnow be in the up (half-cocked) position. With an unloaded <strong>USP</strong> and the muzzle in asafe direction, ensure the Control Lever is set on “S” and attempt to pull the trigger.The hammer must not fall.4. “DOUBLE ACTION”: Rotate the Control Lever to “F” (Fire) and with an unloaded <strong>USP</strong>and the muzzle in a safe direction, attempt to pull the trigger and hold to the rear.Hammer should fall.5. With the trigger still held towards the rear, rack the slide and release. The hammershould return to the up (half-cocked) position.6. Pull the trigger to the rear and release. The hammer should return to the up (uncocked)position.7. Place the Control Lever back on “S” (Safe).26 27