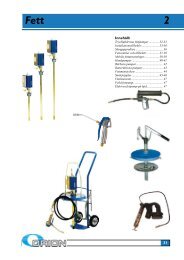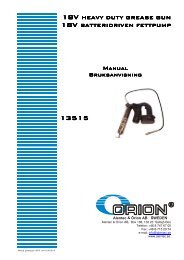
Bruksanvisning - Alentec & Orion AB
Bruksanvisning - Alentec & Orion AB
Bruksanvisning - Alentec & Orion AB

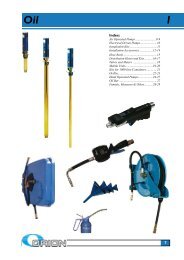
Create successful ePaper yourself
Turn your PDF publications into a flip-book with our unique Google optimized e-Paper software.
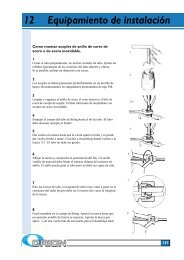
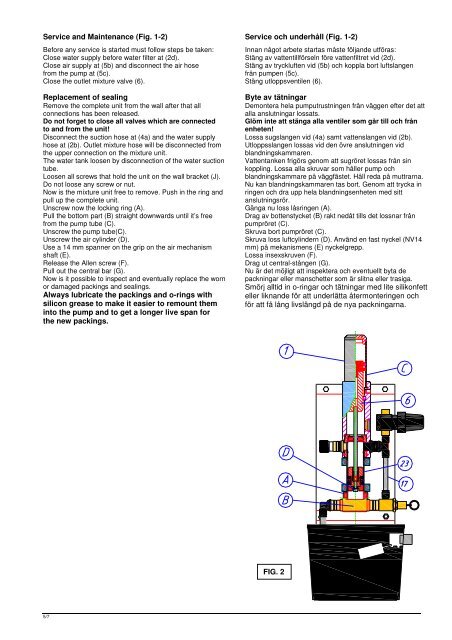
Service and Maintenance (Fig. 1-2)Before any service is started must follow steps be taken:Close water supply before water filter at (2d).Close air supply at (5b) and disconnect the air hosefrom the pump at (5c).Close the outlet mixture valve (6).Replacement of sealingRemove the complete unit from the wall after that allconnections has been released.Do not forget to close all valves which are connectedto and from the unit!Disconnect the suction hose at (4a) and the water supplyhose at (2b). Outlet mixture hose will be disconnected fromthe upper connection on the mixture unit.The water tank loosen by disconnection of the water suctiontube.Loosen all screws that hold the unit on the wall bracket (J).Do not loose any screw or nut.Now is the mixture unit free to remove. Push in the ring andpull up the complete unit.Unscrew now the locking ring (A).Pull the bottom part (B) straight downwards until it’s freefrom the pump tube (C).Unscrew the pump tube(C).Unscrew the air cylinder (D).Use a 14 mm spanner on the grip on the air mechanismshaft (E).Release the Allen screw (F).Pull out the central bar (G).Now is it possible to inspect and eventually replace the wornor damaged packings and sealings.Always lubricate the packings and o-rings withsilicon grease to make it easier to remount theminto the pump and to get a longer live span forthe new packings.Service och underhåll (Fig. 1-2)Innan något arbete startas måste följande utföras:Stäng av vattentillförseln före vattenfiltret vid (2d).Stäng av tryckluften vid (5b) och koppla bort luftslangenfrån pumpen (5c).Stäng utloppsventilen (6).Byte av tätningarDemontera hela pumputrustningen från väggen efter det attalla anslutningar lossats.Glöm inte att stänga alla ventiler som går till och frånenheten!Lossa sugslangen vid (4a) samt vattenslangen vid (2b).Utloppsslangen lossas vid den övre anslutningen vidblandningskammaren.Vattentanken frigörs genom att sugröret lossas från sinkoppling. Lossa alla skruvar som håller pump ochblandningskammare på väggfästet. Håll reda på muttrarna.Nu kan blandningskammaren tas bort. Genom att trycka inringen och dra upp hela blandningsenheten med sittanslutningsrör.Gänga nu loss låsringen (A).Drag av bottenstycket (B) rakt nedåt tills det lossnar frånpumpröret (C).Skruva bort pumpröret (C).Skruva loss luftcylindern (D). Använd en fast nyckel (NV14mm) på mekanismens (E) nyckelgrepp.Lossa insexskruven (F).Drag ut central-stången (G).Nu är det möjligt att inspektera och eventuellt byta depackningar eller manschetter som är slitna eller trasiga.Smörj alltid in o-ringar och tätningar med lite silikonfetteller liknande för att underlätta återmonteringen ochför att få lång livslängd på de nya packningarna.FIG. 25/7