
You also want an ePaper? Increase the reach of your titles
YUMPU automatically turns print PDFs into web optimized ePapers that Google loves.
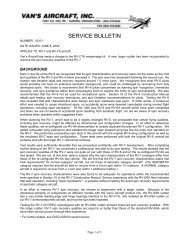
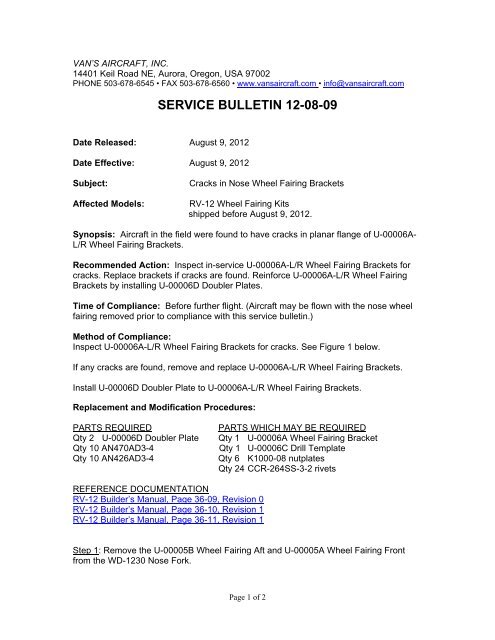
VAN’S AIRCRAFT, INC.14401 Keil Road NE, Aurora, Oregon, USA 97002PHONE 503-678-6545 • FAX 503-678-6560 • www.vansaircraft.com • info@vansaircraft.comSERVICE BULLETIN <strong>12</strong>-<strong>08</strong>-<strong>09</strong>Date Released: August 9, 20<strong>12</strong>Date Effective: August 9, 20<strong>12</strong>Subject:Affected Models:Cracks in Nose Wheel Fairing BracketsRV-<strong>12</strong> Wheel Fairing Kitsshipped before August 9, 20<strong>12</strong>.Synopsis: <strong>Aircraft</strong> in the field were found to have cracks in planar flange of U-00006A-L/R Wheel Fairing Brackets.Recommended Action: Inspect in-service U-00006A-L/R Wheel Fairing Brackets forcracks. Replace brackets if cracks are found. Reinforce U-00006A-L/R Wheel FairingBrackets by installing U-00006D Doubler Plates.Time of Compliance: Before further flight. (<strong>Aircraft</strong> may be flown with the nose wheelfairing removed prior to compliance with this service bulletin.)Method of Compliance:Inspect U-00006A-L/R Wheel Fairing Brackets for cracks. See Figure 1 below.If any cracks are found, remove and replace U-00006A-L/R Wheel Fairing Brackets.Install U-00006D Doubler Plate to U-00006A-L/R Wheel Fairing Brackets.Replacement and Modification Procedures:PARTS REQUIREDQty 2 U-00006D Doubler PlateQty 10 AN470AD3-4Qty 10 AN426AD3-4PARTS WHICH MAY BE REQUIREDQty 1 U-00006A Wheel Fairing BracketQty 1 U-00006C Drill TemplateQty 6 K1000-<strong>08</strong> nutplatesQty 24 CCR-264SS-3-2 rivetsREFERENCE DOCUMENTATIONRV-<strong>12</strong> Builder’s Manual, Page 36-<strong>09</strong>, Revision 0RV-<strong>12</strong> Builder’s Manual, Page 36-10, Revision 1RV-<strong>12</strong> Builder’s Manual, Page 36-11, Revision 1Step 1: Remove the U-00005B Wheel Fairing Aft and U-00005A Wheel Fairing Frontfrom the WD-<strong>12</strong>30 Nose Fork.Page 1 of 2
Step 2: Inspect U-00006A-L/R Wheel Fairing Brackets for cracks at the locationsdepicted in Figure 1 below.If a crack is found:Step a: Drill off the U-00006A-L/R Wheel Fairing Brackets from the U-00006B Splice Strips.Step b: Install new U-00006A-L/R Wheel Fairing Brackets per Page 36-<strong>09</strong>, Revision 0.Step c: Complete step aa below.If no cracks are found:Step aa: Install U-00006D Doubler Plates per Page 36-10, Revision 1.Step 3: Reinstall the U-00005A Wheel Fairing Front and U-00005B Wheel Fairing Aft tothe WD-<strong>12</strong>30 Nose Fork per Page 36-11 of the RV-<strong>12</strong> Builder’s Manual.Step 4: Make a logbook entry indicating compliance with Service Bulletin <strong>12</strong>-<strong>08</strong>-<strong>09</strong>.FIGURE 1Page 2 of 2