

Junior Woodchuck Baby Blanket - Knitting Looms Markman Farms
Junior Woodchuck Baby Blanket - Knitting Looms Markman Farms
Junior Woodchuck Baby Blanket - Knitting Looms Markman Farms

You also want an ePaper? Increase the reach of your titles
YUMPU automatically turns print PDFs into web optimized ePapers that Google loves.
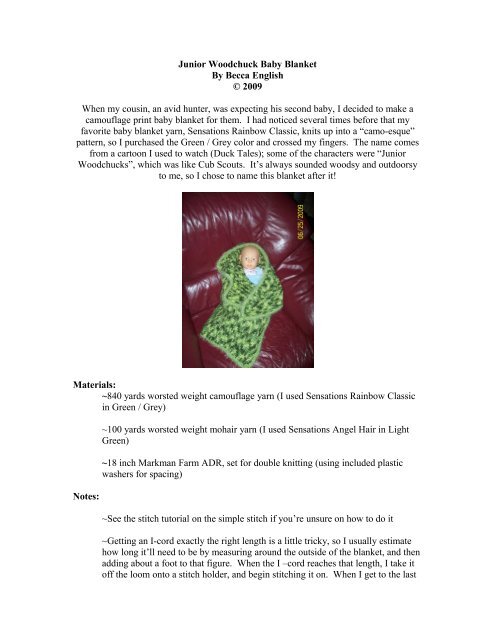
<strong>Junior</strong> <strong>Woodchuck</strong> <strong>Baby</strong> <strong>Blanket</strong><br />
By Becca English<br />
© 2009<br />
When my cousin, an avid hunter, was expecting his second baby, I decided to make a<br />
camouflage print baby blanket for them. I had noticed several times before that my<br />
favorite baby blanket yarn, Sensations Rainbow Classic, knits up into a “camo-esque”<br />
pattern, so I purchased the Green / Grey color and crossed my fingers. The name comes<br />
from a cartoon I used to watch (Duck Tales); some of the characters were “<strong>Junior</strong><br />
<strong>Woodchuck</strong>s”, which was like Cub Scouts. It’s always sounded woodsy and outdoorsy<br />
to me, so I chose to name this blanket after it!<br />
Materials:<br />
~840 yards worsted weight camouflage yarn (I used Sensations Rainbow Classic<br />
in Green / Grey)<br />
Notes:<br />
~100 yards worsted weight mohair yarn (I used Sensations Angel Hair in Light<br />
Green)<br />
~18 inch <strong>Markman</strong> Farm ADR, set for double knitting (using included plastic<br />
washers for spacing)<br />
~See the stitch tutorial on the simple stitch if you’re unsure on how to do it<br />
~Getting an I-cord exactly the right length is a little tricky, so I usually estimate<br />
how long it’ll need to be by measuring around the outside of the blanket, and then<br />
adding about a foot to that figure. When the I –cord reaches that length, I take it<br />
off the loom onto a stitch holder, and begin stitching it on. When I get to the last
Instructions:<br />
few inches, I take the stitch holder off, frog the I-cord back to the correct length,<br />
then bind it off and finish stitching it on. I do it this way because the first time I<br />
did an I-cord edging, I ended up several inches short. I had to stretch the I-cord to<br />
get it all the way around the blanket, and it made the blanket wrinkle. If the Icord<br />
is too long, you can always just frog a little bit, and it still comes out perfect!<br />
Make 2<br />
~Using the camo yarn, cast on all 84 sets of pegs with the simple stitch. Lay<br />
anchor yarn.<br />
~Knit one over one for approximately _____ rows.<br />
~Bind off<br />
~Finish cast on edge, remove anchor yarn<br />
~Using the mattress stitch and camo yarn, stitch the two panels together<br />
Finishing<br />
~Using the mohair yarn, create a 4 peg I-cord long enough to go around the entire<br />
outer edge of the blanket (see my Note on creating I-cords, above)<br />
~Stitch the I-cord to the blanket using the camo yarn, being careful not to twist<br />
the I-cord as it is being stitched.<br />
Done! Enjoy!