Instructions - Baha'i Faith, Relationships and Marriage
Instructions - Baha'i Faith, Relationships and Marriage
Instructions - Baha'i Faith, Relationships and Marriage
You also want an ePaper? Increase the reach of your titles
YUMPU automatically turns print PDFs into web optimized ePapers that Google loves.
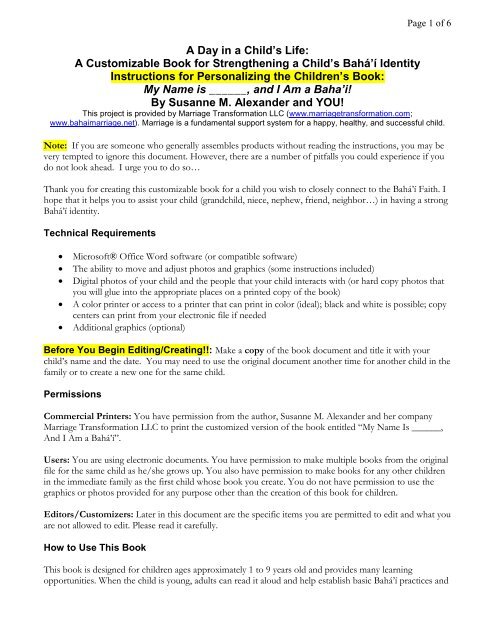
Page 4 of 6Some Technical HelpThe challenge with offering technical assistance is that everyone buying this book could be using a differentpiece of hardware <strong>and</strong> be using a different version of software! This book was created in Microsoft Word2007, an application of Microsoft Office XP. Keeping that in mind, here are some hints for inserting <strong>and</strong>formatting photos <strong>and</strong> graphics into the Microsoft Word book document that may assist you.Inserting the Photo (or Graphic)1. Save the digital photos of the child <strong>and</strong> the people the child interacts with onto the hard drive ofyour computer, <strong>and</strong> note the folder where they are stored.2. Go to the page where you want to insert the photo <strong>and</strong> put your cursor at the place you want thephoto to be.3. Using your mouse, click on “Insert” on the toolbar.4. Click on “Picture”.5. Locate the folder where you have stored the photos.6. Double click on the photo you want (you may need to switch to Thumbnail view to see yourselection). The photo will be placed in your document <strong>and</strong> be ready for formatting.Clip Art OptionsClipart graphics come st<strong>and</strong>ard with most versions of Microsoft Word. You can find other graphicssoftware packages on the Internet or at a computer supply store.Inserting Microsoft Word Clipart1. Go to the page where you want to insert the clipart <strong>and</strong> put your cursor at the place you want thegraphic to be.2. Using your mouse, click on “Insert” on the toolbar.3. Click on “Picture” or “Clip Art”.4. Search by subject or other criteria for desired graphics. (Note: You may have to insert your originalprogram disk with the graphics on it.)5. Double click on the graphic to insert it into your document.Adjusting the Size <strong>and</strong> Position of a Photo (or Graphic)1. Right-click on the photo or graphic.2. Click on “Format picture…” on the menu.3. A box will appear with tabs on the top. The only two you will likely use are “Size” <strong>and</strong> “Layout”4. Click on the “Size” tab <strong>and</strong> adjust the size of the photo as needed. Note: You may be able to simplyclick on the photo <strong>and</strong> drag its corners to resize it as well.5. Click on the “Layout” taba. Choice: “In line with text” – this allows the photo to be placed within the text. The text willnot “wrap” around the photo on each side. Photo <strong>and</strong> graphic placement is slightly difficult.It is unlikely you will choose this, but it may be helpful.b. Choice: “Square” – this allows you to choose specific placements on the page for the photo,left, center, or right. If you choose “Other” you can manually move the photo wherever youwant. If there is text, it will flow, or “wrap,” around the photo.c. Choice: “Tight” – this allows you to choose specific placements on the page for the photo,left, center, or right. If you choose “Other” you can manually move the photo wherever you
Page 5 of 6want. It is similar to the above “Square” option, but it will wrap text more tightly around thephoto.6. Adjust the spacing on the top <strong>and</strong> bottom of the photo by adding in returns to create blank lines ordeleting excess lines that are there.Making the Pages into a BookPrinting Options• Use your own personal printer• Ask a professional copy center to print it for you. NOTE: SOME PRINTERS WILL NOTCOPY WHAT THEY VIEW AS COPYRIGHTED MATERIAL. TAKE THESEINSTRUCTIONS WITH YOU SO THAT THE PRINTER IS CLEAR THAT YOU HAVETHE AUTHOR’S PERMISSION TO PRINT THE DOCUMENT (see page 1)!Paper <strong>and</strong> Ink• The pages will look best with colored ink on white paper, but you may choose to print the book inblack ink instead, or on colored paper.• The pages will be most durable if you use photograph paper, brochure paper, or cardstock (48-110lb. weight).• The quality of the photos will be highest if you use photograph or brochure paper, either matte orglossy.BindingNote: You can be as simple <strong>and</strong> inexpensive or as complex <strong>and</strong> expensive with binding as you wish. Thefollowing are a variety of binding choices. You may come up with something better!• Print the book on plain paper <strong>and</strong> staple the edges or corner.• Print the book on cardstock <strong>and</strong> staple the edges or corner.• Punch holes in the book <strong>and</strong> hold the book together with string or ribbon.• Insert the printed pages of the book into clear plastic protector sheets (2 pages per plastic sheet,inserted with the backs of the pages together). You can put the sheet covers into a thin binder.• Purchase a presentation book that has the clear plastic sheets bound together. If you insert twopages inside each plastic sheet, back to back, then the pages will turn just like a regular book (If youput a black sheet between them, the pages won’t be as see-through). One possible source iswww.avery.com, where you can do a search for “presentation book” or “sheet protectors” <strong>and</strong> findwhat you need. Most only go up to 24 pages, so your book may be too large to fit.• Take the printed pages to a print shop <strong>and</strong> have them laminate the pages (potentially back-to-back)or use your own laminator. Some printers have 8.5 by 11 lamination pockets to create very uniformpages. You can then hole-punch the pages <strong>and</strong> put them in a small binder or pay the printer tospiral-bind it. If you choose this option, ensure that the lamination extends over the edges of thepages enough to keep the paper inside sealed.• Stores with copy centers such can also offer a number of binding options to you.
Page 6 of 6Help AvailableIf you have difficulty in creating this personalized book for your child, <strong>and</strong> you are unable to find assistance,please contact me (<strong>and</strong> I’ll do my best, but no guarantees!):Feedback AppreciatedSusanne M. Alex<strong>and</strong>er, <strong>Marriage</strong> Transformation LLC.Email: Susanne@marriagetransformation.comI welcome hearing from you what works for you, what is a challenge, <strong>and</strong> any creative suggestions for futureeditions of this book. The more feedback I receive, the better the book serves its intended purpose—helping children have a strong connection to Bahá’u’lláh <strong>and</strong> the Bahá’í <strong>Faith</strong>.AcknowledgementsI appreciate the assistance of Michelle Tashakor, Johanna Merritt Wu, Gennie Merritt, Terri Muuss, <strong>and</strong>Kathleen Russell in the testing <strong>and</strong> development of this book.This book was initially created for Karida Tashakor from me, her “Nana Susanna Banana” (gr<strong>and</strong>mother),<strong>and</strong> her mother (Michelle) as a goal set during a Ruhi Book 6, Teaching the Cause, study circle.Loving Greetings,Susanne M. Alex<strong>and</strong>er


