WHITTLING CHIP CLASS I. Session 1 - Pack 14
WHITTLING CHIP CLASS I. Session 1 - Pack 14
WHITTLING CHIP CLASS I. Session 1 - Pack 14
- No tags were found...

Create successful ePaper yourself
Turn your PDF publications into a flip-book with our unique Google optimized e-Paper software.
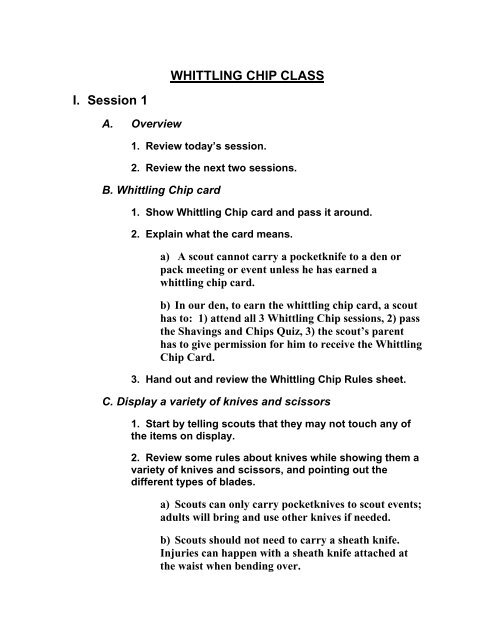
<strong>WHITTLING</strong> <strong>CHIP</strong> <strong>CLASS</strong>I. <strong>Session</strong> 1A. Overview1. Review today’s session.2. Review the next two sessions.B. Whittling Chip card1. Show Whittling Chip card and pass it around.2. Explain what the card means.a) A scout cannot carry a pocketknife to a den orpack meeting or event unless he has earned awhittling chip card.b) In our den, to earn the whittling chip card, a scouthas to: 1) attend all 3 Whittling Chip sessions, 2) passthe Shavings and Chips Quiz, 3) the scout’s parenthas to give permission for him to receive the WhittlingChip Card.3. Hand out and review the Whittling Chip Rules sheet.C. Display a variety of knives and scissors1. Start by telling scouts that they may not touch any ofthe items on display.2. Review some rules about knives while showing them avariety of knives and scissors, and pointing out thedifferent types of blades.a) Scouts can only carry pocketknives to scout events;adults will bring and use other knives if needed.b) Scouts should not need to carry a sheath knife.Injuries can happen with a sheath knife attached atthe waist when bending over.
D. Passing a knifec) Scissors and other kitchen knives should be treatedwith the same respect and safety rules as any otherknife.d) Always walk when carrying an open knife or apair of scissors. Carry it with the blade pointed awayfrom you.1. First show scouts how to properly open and close apocketknife using the palm of the hand.2. Teach the scouts to pass a pocketknife to anotherperson. Don’t release the knife to the person until theysay “Thank you,” then you say “Your Welcome.” Saying“Thank you” means that you are taking responsibility forthe knife. Saying “Your Welcome” means that you arereleasing your responsibility for the knife to the otherperson.E. Safety Circle1. Explain to the scouts that when using a knife theyshould have a safety circle around and above them. Theyare responsible for their knife at all times.2. To create a safety circle, hold your arm out and turn allthe way around. Then, raise your hand above your head.You should be the only one in this circle.3. If someone enters your safety circle, you should closeyour knife and lay it down or put it away.4. If possible, work with a wall behind you, since youcan’t see someone entering your circle from behind you.F. Pocketknife Safety Rulesa) Hand out the PKnife Safety sheet.b) Review each rule with the scouts.
G. Cleaning a pocketknife1. Explain to the scouts that knives need to be cleaned byhand, not in a dishwasher. Dry the knife so that the bladedoesn’t rust. Rust will affect the sharpness of the blade.2. A knife should be cleaned before and after being usedon food since the knife can become dirty from being inyour pocket. Don’t just wipe it. Food can becontaminated if you do not use a clean knife.H. Sharpening a pocketknife1. Display a sharpening stone. Explain that you caneither wet it with water or oil before you use it. Ask thescouts how long they think it takes to sharpen a dull knife(answer: about ½ hour).2. Show the scouts how to sharpen a knife (seeinstructions in the Bear Scout book) using a Popsiclestick and let them try it.
II. <strong>Session</strong> 2A. Review the Whittling Chip Card rules and the PKnifeSafety RulesB. Quiz1. Have the scouts and their parents take the Shavingsand Chips Quiz.2. Review answers, have the parents correct their son’squiz.C. Practice whittling with ivory soap and plastic knives.(We made sailboats. We cut sails from plastic cups,punched a hole in the top and bottom, and put a coffeestirrer through the holes for the mast)1. Review safety circle. Have the scouts create their ownsafety circle.2. Demonstrate shaving on the soap with the plasticknife, emphasizing cutting away from you. Explain thatthey should make little shavings or chips instead of big.3. Show scouts how to make a stop cut for shavings.4. Let the scouts carve a shape using Ivory soap and aplastic knife or a sharpened Popsicle stick.
III. <strong>Session</strong> 3A. Review1. Safety Circle.2. Opening and closing a pocketknife.3. Demonstrate cutting away from you.4. Demonstrate making little shavings or chips instead ofbig, and making a stop cut.B. Practice whittling with pocketknives1. Have the scouts create their own safety circle.2. Trace a pattern or use a precut design – can be foundat the Scout Store (balsa wood works well for beginners).C. With parent’s permission, give out the Whittling ChipCardsD. (Optional) Give the scouts the Whittling Chip patch atthe end of the session or at the next <strong>Pack</strong> meeting.
Supplies• Ivory soap (1 per scout, plus extras)• Plastic knives (1 per scout, plus extras)• Popsicle sticks (1 per scout, plus extras)• Sharpening Stone (1 per scout if possible)• Sails (cut from plastic cups) and masts (coffee stirrers), (1 per scout),if carving a sailboat• Wood for carving (balsa wood is good for beginners), OR a woodcarving kit-can be found at the scout store• Patterns for carving wood (optional)• Pocketknife (for display at first session, then 1 per scout for thirdsession)• A selection of kitchen knives, scissors, utility knives• Whittling Chip Card (1 per scout)• Whittling Chip patch (optional)• Whittling Chip Quiz• Whittling Chip Rules• Pocketknife Safety List