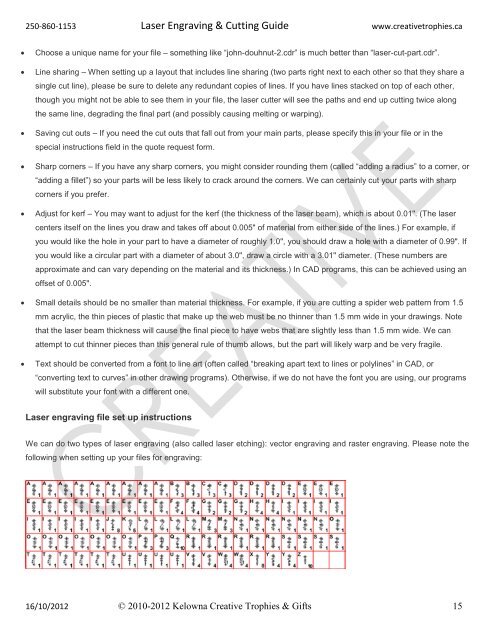
250-860-1153 Laser Engraving & Cutting Guide www.creativetrophies.caChoose a unique name for your file – something like “john-douhnut-2.cdr” is much better than “laser-cut-part.cdr”.Line sharing – When setting up a layout that includes line sharing (two parts right next to each other so that they share asingle cut line), please be sure to delete any redundant copies of lines. If you have lines stacked on top of each other,though you might not be able to see them in your file, the laser cutter will see the paths and end up cutting twice alongthe same line, degrading the final part (and possibly causing melting or warping).Saving cut outs – If you need the cut outs that fall out from your main parts, please specify this in your file or in thespecial instructions field in the quote request form.Sharp corners – If you have any sharp corners, you might consider rounding them (called “adding a radius” to a corner, or“adding a fillet”) so your parts will be less likely to crack around the corners. We can certainly cut your parts with sharpcorners if you prefer.Adjust for kerf – You may want to adjust for the kerf (the thickness of the laser beam), which is about 0.01". (The lasercenters itself on the lines you draw and takes off about 0.005" of material from either side of the lines.) For example, ifyou would like the hole in your part to have a diameter of roughly 1.0", you should draw a hole with a diameter of 0.99". Ifyou would like a circular part with a diameter of about 3.0", draw a circle with a 3.01" diameter. (These numbers areapproximate and can vary depending on the material and its thickness.) In CAD programs, this can be achieved using anoffset of 0.005". Small details should be no smaller than material thickness. For example, if you are cutting a spider web pattern from 1.5mm acrylic, the thin pieces of plastic that make up the web must be no thinner than 1.5 mm wide in your drawings. Notethat the laser beam thickness will cause the final piece to have webs that are slightly less than 1.5 mm wide. We canattempt to cut thinner pieces than this general rule of thumb allows, but the part will likely warp and be very fragile.Text should be converted from a font to line art (often called “breaking apart text to lines or polylines” in CAD, or“converting text to curves” in other drawing programs). Otherwise, if we do not have the font you are using, our programswill substitute your font with a different one.Laser engraving file set up instructionsWe can do two types of laser engraving (also called laser etching): vector engraving and raster engraving. Please note thefollowing when setting up your files for engraving:16/10/2012 © 2010-2012 Kelowna <strong>Creative</strong> <strong>Trophies</strong> & <strong>Gifts</strong> 15
250-860-1153 Laser Engraving & Cutting Guide www.creativetrophies.caVector engraved lines should be indicated with different RGB colors (each color indicating a different engraving depth) asshown in this file of Vulcan Scrabble tile set with vector cuts shown in red and the engraving in black. Please group allitems of the same color and indicate the approximate engraving depths that you would like for each color. We can alsovector engrave parts up to 18" x 24". Raster-engraved areas in your file should not have an outline around it (otherwise the laser may cut along that outline –convert all raster lines to curves). The depth of the engraving is specified by the gray-scale color of the pixel (black getsengraved the deepest, gray is engraved to medium depth, and white is left un-engraved). Please specify the depth of theblack (deepest) portions of your image and color everything else with the appropriate grays (50% black will get engravedabout half as deep as the black portion). We can raster-engrave parts that are up to 18" x 24".Engraving depths – We can vary the laser speed and power to change the raster engraving and vector engraving depths.If you just want your engraving to be clearly visible, we recommend that you allow us to select the appropriate engravingdepth (usually very shallow, just scratching the surface of the plastic enough to leave an attractive, clearly visibleengraving). If you must have particular depths, please let us know the rough depth you would like (for example, "vectorengrave blue lines to be about 1/32" deep, green lines just enough to be clearly visible, and raster engrave black areas tobe about 1/64" deep). We will try our best to achieve the depths you specify by playing with the laser speed and power,but note we cannot guarantee any particular accuracy with engraving depths. Raster and vector engraving are best formaking cosmetic markings and are not suitable for making mechanical grooves and features with precise depths.Front or back engraving – We can engrave clear and transparent plastic from the front or back of the material. Whenengraving from the back, we will be sure to set up your file correctly (mirror image) so that any text and all images lookcorrect when viewed from the front. Mirrored acrylic is typically engraved from the back (the matte gray side) so thatwhen you look at the piece from the front, mirrored side, you can see the engraved areas that have been etched away inthe mirror substrate.Text for engraving should be converted from a font to line art (often called “breaking apart text to lines or polylines” inCAD, or “converting text to curves” in other drawing programs). Be sure to fill the line-art text black and remove any thin,black outlines that would otherwise get cut.Protective masking – We typically remove the paper masking on acrylic when engraving (to avoid goo-ing up theengraving with the glues in the masking, and to make peeling the masking easier for you), and we re-mask the materialduring cutting (to protect the plastic from residues that are created during cutting). You might consider requesting that weengrave with the masking left on if you plan to paint the engraved areas a different color (so that the masking will serveas a mask during painting). If you need a high-contrast engraving, you might consider using two-tone acrylic (top thinlayer is a different color than the core).Files with cutting, raster engraving, and vector engraving – We can laser cut, vector engrave, and raster engrave a partall as a single job. All images, lines, text, etc. to be raster engraved or vector engraved should be a part of the same fileas the cutting file (see the above section about laser cutting file set up for details). You do not need to split the cuttingand engraving among different files.16/10/2012 © 2010-2012 Kelowna <strong>Creative</strong> <strong>Trophies</strong> & <strong>Gifts</strong> 16