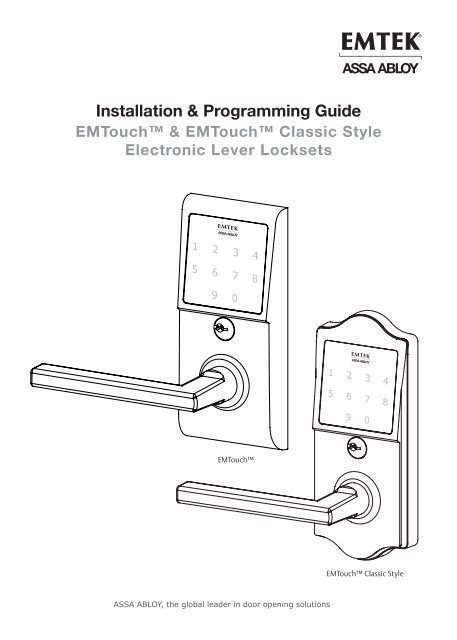
Installation & Programming Guide - Emtek
Installation & Programming Guide - Emtek
Installation & Programming Guide - Emtek

Create successful ePaper yourself
Turn your PDF publications into a flip-book with our unique Google optimized e-Paper software.
3. Install Outside Trim Plate AssemblyStep 1: While holding Outside Trim Plate Assembly, Press the Plastic Extender (A) intoend of Spindle Shaft (B). The Shaft is properly aligned when the marking ‘TOP’ can beseen from an overhead view.!THIS SIDE ON TOP.BAStep 2: Position the Outside Trim Plate Assembly through the bore hole.!ONCE POSITIONED,OUTSIDE TRIM PLATEASSEMBLY REQUIRESSUPPORT.Feed wire harnessthrough the bore hole.Fit Plastic Extenderthrough latch.Step 3: With the Outside Trim Plate Assembly flush to the door, REMOVE the PlasticExtender.5
Step 3: Fasten Inside Chassis using two #8-32 x 11/2”Flat Head Machine Screw (item #5).!CHECK ALIGNMENT BEFOREFULLY TIGHTENING SCREWS.Step 4: Connect Wire Harness (A) and tuck Connectors as shown (B).ABStep 5: Install Battery.9V BatteryFor optimal performance, always use a good quality battery.7
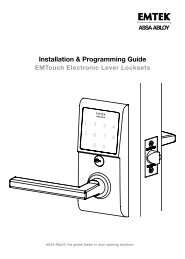
5. Install Inside Trim PlateFasten Inside Trim Plate using two #8-32 x 3/8” Flat Head Machine Screws(item #4c).!USER CODES ARE LOCATEDON THE INSIDE TRIM PLATE &ON PAGE 11.InsideScan QR code forinstallation video!Correct position forinstallation.Thumbcammust be positioned asshown (Neutral Position)**Neutral position is required for installation and removal of the InsideTrim Plate Assembly. (Does not apply to Keypad Storeroom/Gate product)Screws (item #4c)8
How to UseYour Lock is Ready to UseYour <strong>Emtek</strong> lock is shipped with two 4-digit user codes and a 6-digitprogramming code. These codes are randomly generated at the factory.(Turn to next page for <strong>Programming</strong> Instructions.)To Unlock:1. Press EMTEK key or touch3 fingers across screen.2. Enter 4-digit user codes.(See sticker located on the insidetrim plate or on page 11).3. Turn Handle.312Passage feature(Does not apply to Keypad Storeroom/Gate product)Activate by turning the inside thumbturn to the unlocked position.This will engage the outside lever so a code is not required to enter.To Lock:1. Rotate Thumbturn from inside.LockedUnlocked9
How to Program<strong>Programming</strong> Your LockIn order to perform each of the following six functions, the lock must first beplaced in <strong>Programming</strong> Mode:1. Press and hold EMTEK button for 3 seconds2. Yellow LED flashes, then remains solid*, number keys also illuminate3. Enter <strong>Programming</strong> Code4. Yellow LED flashes, then 2 beeps5. Yellow LED remains solid (awaiting button press; see following Table)If you wish toChange<strong>Programming</strong>Code(6 digits)PressButton1 Enter New<strong>Programming</strong>Code(6 digits)ActionsRe-EnterNew<strong>Programming</strong>Code(6 digits)Indicators• 1 Green LED flash• 1 beep• 1 Green LED flash• 1 beep• 2 Green LED flashes• 2 beepsAdd User Code(4 digits)(Store up to 20User Codes)2 Enter NewUser Code(4 digits)Re-EnterNew UserCode(4 digits)• 1 Green LED flash• 1 beep• 1 Green LED flash• 1 beep• 2 Green LED flashes• 2 beepsDelete User Code 3 Enter UserCode to beDeleted** Enable/DisableAll User CodesDelete All UserCodesTurn Beeper On/OffRe-EnterUser Code tobe Deleted4 Entering ‘4’ disables all Users(enables all if disabled)• 1 Green LED flash• 1 beep• 1 Green LED flash• 1 beep• 2 Green LED flashes• 2 beeps• 2 Green LED flashes• 2 beeps5 Re-Enter <strong>Programming</strong> Code • 1 Green LED flash• 1 beep• 2 Green LED flashes• 2 beeps6 Entering ‘6’ turns OFF (or ON) • 1 Green LED flash• 1 beep• 2 Green LED flashes• 2 beeps*If no input within 20 seconds, Yellow LED goes out, Red LED flashes and lock exits <strong>Programming</strong> Mode.**Also referred to as “vacation mode”. This command temporarily disables all user codes (metal keyoverride will still work).10
Scan QR code forinstallation videoASSA ABLOY is the global leader in door opening solutions, dedicated to satisfying end-user needs for security, safety andconvenience.Copyright © 2013, <strong>Emtek</strong> Products, Inc. an ASSA ABLOY Group company. All rights reserved. Reproduction in whole or in partwithout the express written permission of <strong>Emtek</strong> Products, Inc. is prohibited.