How to connect to StudentNet using Secure Wireless ... - DWU Intranet
How to connect to StudentNet using Secure Wireless ... - DWU Intranet
How to connect to StudentNet using Secure Wireless ... - DWU Intranet
- No tags were found...

Create successful ePaper yourself
Turn your PDF publications into a flip-book with our unique Google optimized e-Paper software.
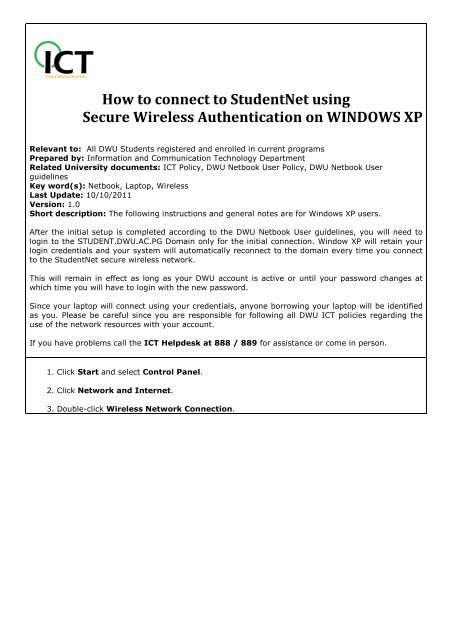
<strong>How</strong> <strong>to</strong> <strong>connect</strong> <strong>to</strong> <strong>StudentNet</strong> <strong>using</strong><strong>Secure</strong> <strong>Wireless</strong> Authentication on WINDOWS XPRelevant <strong>to</strong>: All <strong>DWU</strong> Students registered and enrolled in current programsPrepared by: Information and Communication Technology DepartmentRelated University documents: ICT Policy, <strong>DWU</strong> Netbook User Policy, <strong>DWU</strong> Netbook UserguidelinesKey word(s): Netbook, Lap<strong>to</strong>p, <strong>Wireless</strong>Last Update: 10/10/2011Version: 1.0Short description: The following instructions and general notes are for Windows XP users.After the initial setup is completed according <strong>to</strong> the <strong>DWU</strong> Netbook User guidelines, you will need <strong>to</strong>login <strong>to</strong> the STUDENT.<strong>DWU</strong>.AC.PG Domain only for the initial <strong>connect</strong>ion. Window XP will retain yourlogin credentials and your system will au<strong>to</strong>matically re<strong>connect</strong> <strong>to</strong> the domain every time you <strong>connect</strong><strong>to</strong> the <strong>StudentNet</strong> secure wireless network.This will remain in effect as long as your <strong>DWU</strong> account is active or until your password changes atwhich time you will have <strong>to</strong> login with the new password.Since your lap<strong>to</strong>p will <strong>connect</strong> <strong>using</strong> your credentials, anyone borrowing your lap<strong>to</strong>p will be identifiedas you. Please be careful since you are responsible for following all <strong>DWU</strong> ICT policies regarding theuse of the network resources with your account.If you have problems call the ICT Helpdesk at 888 / 889 for assistance or come in person.1. Click Start and select Control Panel.2. Click Network and Internet.3. Double-click <strong>Wireless</strong> Network Connection.
4. Click Change advanced settings on the left.
5. Click the <strong>Wireless</strong> Networks tab at the <strong>to</strong>p of the window.Note: If you do not see the <strong>Wireless</strong> Networks tab, you willneed <strong>to</strong> enable the <strong>Wireless</strong> Zero Configuration service under: Start> All Programs > ControlPanel >Administrative Tools >Services6. Check Use Windows <strong>to</strong> configure my wireless network settings.
7. Click Add.8. Network name (SSID): (Case Sensitive)<strong>StudentNet</strong>9. Check Connect even if this network is not broadcasting.10. Network Authentication:WPANote: If WPA is not an option, a patch needs <strong>to</strong> be downloaded and installed <strong>to</strong> enable thisoption. A link <strong>to</strong> download this patch can found below this section. If the patch has been installed,and WPA is still not an option, then the computer’s network card cannot support WPA, and theWPA option should be selected.11. Data Encryption:For WPA: TKIP12. Check The key is provided for me au<strong>to</strong>matically.
13. Click the Authentication tab at the <strong>to</strong>p of the window.14. Check Enable IEEE 802.1.x authentication for this network.15. EAP type:Protected EAP (PEAP)16. Click Properties.
17. Check Validate Server certificate.18. Select Authentication Method:<strong>Secure</strong>d Password (EAP-MSCHAP v2)
19. Click Configure.20. Uncheck Au<strong>to</strong>matically use my Windows logon name and password (and domain ifany).21. Click OK on all open windows.22. Double-click <strong>to</strong> <strong>connect</strong> <strong>to</strong> <strong>StudentNet</strong>.23. You are <strong>connect</strong>ed.
The computer should now <strong>connect</strong>ed <strong>to</strong> the <strong>StudentNet</strong> <strong>Wireless</strong> Network withWPA Encryption and802.1x Authentication. If you have problems call the <strong>DWU</strong> ICT Help Desk at 888 / 889 for assistanceor come in person.