INSTALLING BOCHS AND MINIX ON WINDOWS XP
INSTALLING BOCHS AND MINIX ON WINDOWS XP
INSTALLING BOCHS AND MINIX ON WINDOWS XP
- No tags were found...

Create successful ePaper yourself
Turn your PDF publications into a flip-book with our unique Google optimized e-Paper software.
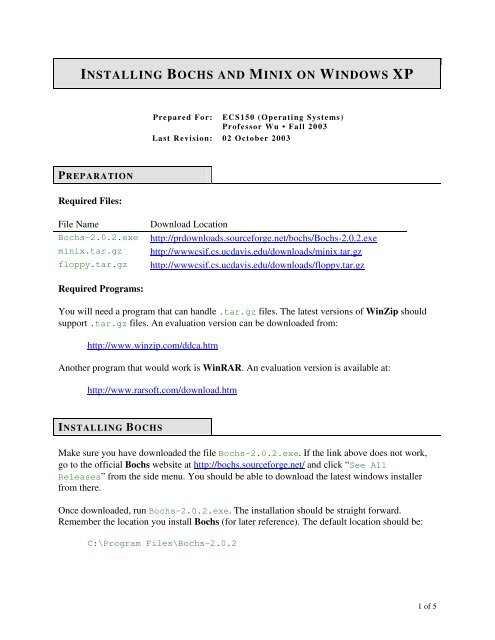
<strong>INSTALLING</strong> <strong>BOCHS</strong> <strong>AND</strong> <strong>MINIX</strong> <strong>ON</strong> <strong>WINDOWS</strong> <strong>XP</strong>Prepared For: ECS150 (Operating Systems)Professor Wu • Fall 2003Last Revision: 02 October 2003PREPARATI<strong>ON</strong>Required Files:File NameDownload LocationBochs-2.0.2.exe http://prdownloads.sourceforge.net/bochs/Bochs-2.0.2.exeminix.tar.gz http://wwwcsif.cs.ucdavis.edu/downloads/minix.tar.gzfloppy.tar.gz http://wwwcsif.cs.ucdavis.edu/downloads/floppy.tar.gzRequired Programs:You will need a program that can handle .tar.gz files. The latest versions of WinZip shouldsupport .tar.gz files. An evaluation version can be downloaded from:http://www.winzip.com/ddca.htmAnother program that would work is WinRAR. An evaluation version is available at:http://www.rarsoft.com/download.htm<strong>INSTALLING</strong> <strong>BOCHS</strong>Make sure you have downloaded the file Bochs-2.0.2.exe. If the link above does not work,go to the official Bochs website at http://bochs.sourceforge.net/ and click “See AllReleases” from the side menu. You should be able to download the latest windows installerfrom there.Once downloaded, run Bochs-2.0.2.exe. The installation should be straight forward.Remember the location you install Bochs (for later reference). The default location should be:C:\Program Files\Bochs-2.0.21 of 5
Below is a sample Bochs installation prompt:The installation program should place a Bochs icon on your desktop. If not, you can start Bochsby running bochs.exe (located in the installation folder). Below is what you should see whenrunning Bochs for the first time:2 of 5
<strong>INSTALLING</strong> <strong>MINIX</strong>Now that Bochs is installed, it is time to install Minix.I recommend creating a directory for Minix somewhere on your system. For this example,assume this directory is:C:\ECS150\MinixUsing WinZip, WinRAR, or an equivalent program, uncompress the contents ofminix.tar.gz into the above directory. You should now have the following files:C:\ECS150\Minix\bochsrc.txtC:\ECS150\Minix\minix203.imgAt this point, Minix is now “installed”. However, some configuration must occur before you canrun Minix under Bochs.RUNNING <strong>MINIX</strong> <strong>ON</strong> <strong>BOCHS</strong>The easiest way to run Minix on Bochs is to rename the file bochsrc.txt to bochsrc.bxrc.Then, you should be able to double-click bochsrc.bxrc to start Minix. You should then seethe following screen popup:3 of 5
Pressing the “=” key will boot Minix. The login is root, with no password. At this point, youhave successfully installed and run Minix on Bochs.If changing the extension of bochsrc.txt to bochsrc.bxrc did not work, please see me.There are a couple other ways to get Minix running on Bochs that we can try.FLOPPY DISK SUPPORTYou may be required to turn in homework assignments using a floppy disk, or a virtual floppyimage. (More on homework hand-in procedures will be posted later.)Virtual Floppy Disk Image:First, let’s configure Minix to support a virtual floppy disk image. You will need to use WinZip,WinRAR, or an equivalent program to uncompress the contents of floppy.tar.gz intoC:\ECS150\Minix. The folder should now look something like this:Note: The file bochsout.txt is automatically created by Bochs after the first time you run Minix.This should be all that is required to use floppy.img as a virtual floppy image. For moreinformation on mounting and unmounting this floppy image under Bochs and Minix, see thedocument minix_bochs.pdf available from the course website at:http://www.cs.ucdavis.edu/~wu/ecs150/minix_bochs.pdf4 of 5
Physical Floppy Disk:To use a physical floppy drive, you must edit the bochsrc.bxrc file. Line 35 should read as:floppya: 1_44=/dev/fd0, status=insertedYou will have to change this to the following:floppya: 1_44=a:, status=insertedYou should then be able to follow all the steps in minix_bochs.pdf to mount/unmount thisdevice.5 of 5