exposed thermostatic shower with Aquadimmer function ... - GROHE
exposed thermostatic shower with Aquadimmer function ... - GROHE
exposed thermostatic shower with Aquadimmer function ... - GROHE

You also want an ePaper? Increase the reach of your titles
YUMPU automatically turns print PDFs into web optimized ePapers that Google loves.
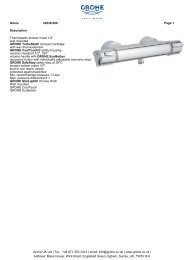
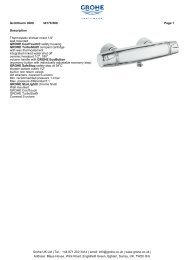
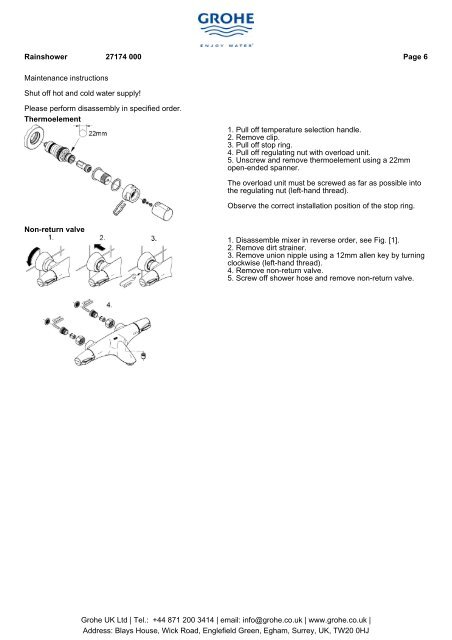
Rain<strong>shower</strong> 27174 000 Page 6Maintenance instructionsShut off hot and cold water supply!Please perform disassembly in specified order.Thermoelement1. Pull off temperature selection handle.2. Remove clip.3. Pull off stop ring.4. Pull off regulating nut <strong>with</strong> overload unit.5. Unscrew and remove thermoelement using a 22mmopen-ended spanner.The overload unit must be screwed as far as possible intothe regulating nut (left-hand thread).Observe the correct installation position of the stop ring.Non-return valve1. Disassemble mixer in reverse order, see Fig. [1].2. Remove dirt strainer.3. Remove union nipple using a 12mm allen key by turningclockwise (left-hand thread).4. Remove non-return valve.5. Screw off <strong>shower</strong> hose and remove non-return valve.Grohe UK Ltd | Tel.: +44 871 200 3414 | email: info@grohe.co.uk | www.grohe.co.uk |Address: Blays House, Wick Road, Englefield Green, Egham, Surrey, UK, TW20 0HJ