exposed thermostatic shower with Aquadimmer function ... - GROHE
exposed thermostatic shower with Aquadimmer function ... - GROHE
exposed thermostatic shower with Aquadimmer function ... - GROHE

You also want an ePaper? Increase the reach of your titles
YUMPU automatically turns print PDFs into web optimized ePapers that Google loves.
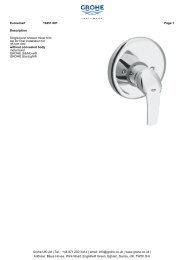
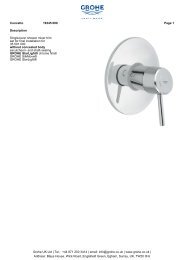
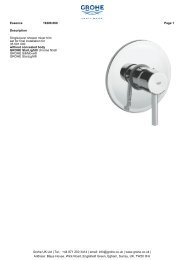
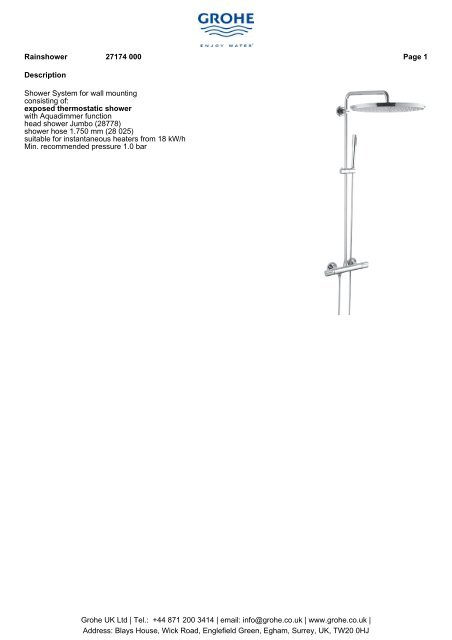
Rain<strong>shower</strong> 27174 000 Page 1DescriptionShower System for wall mountingconsisting of:<strong>exposed</strong> <strong>thermostatic</strong> <strong>shower</strong><strong>with</strong> <strong>Aquadimmer</strong> <strong>function</strong>head <strong>shower</strong> Jumbo (28778)<strong>shower</strong> hose 1.750 mm (28 025)suitable for instantaneous heaters from 18 kW/hMin. recommended pressure 1.0 barGrohe UK Ltd | Tel.: +44 871 200 3414 | email: info@grohe.co.uk | www.grohe.co.uk |Address: Blays House, Wick Road, Englefield Green, Egham, Surrey, UK, TW20 0HJ
Rain<strong>shower</strong> 27174 000 Page 2Dimensional drawingGrohe UK Ltd | Tel.: +44 871 200 3414 | email: info@grohe.co.uk | www.grohe.co.uk |Address: Blays House, Wick Road, Englefield Green, Egham, Surrey, UK, TW20 0HJ
Rain<strong>shower</strong> 27174 000 Page 3Flow chartGrohe UK Ltd | Tel.: +44 871 200 3414 | email: info@grohe.co.uk | www.grohe.co.uk |Address: Blays House, Wick Road, Englefield Green, Egham, Surrey, UK, TW20 0HJ
Rain<strong>shower</strong> 27174 000 Page 4Explosional drawingGrohe UK Ltd | Tel.: +44 871 200 3414 | email: info@grohe.co.uk | www.grohe.co.uk |Address: Blays House, Wick Road, Englefield Green, Egham, Surrey, UK, TW20 0HJ
Rain<strong>shower</strong> 27174 000 Page 5Part listPos. Description Order No Unit1 Temperature Scale handle 47239 000 11.1 Repl.kit f.fastening 47248 000 12 Thermo-element 47217 000 12.1 Stop ring and regulating nut 47300 000 12.1.1 Fixing clamp 05744 00M 22.2 O-Ring Ø21 x Ø2 05999 00M 102.3 O-Ring Ø24 x Ø2 01196 00M 103 Thermostat seat 47399 000 14 Sound absorber 47398 000 15 Handle for shut-off valve 47730 000 16 Temperature limiter 47626 000 17 <strong>Aquadimmer</strong> 47364 000 18 Water flow 47376 000 19 Screw joint 47323 000 19.1 Filter 07264 00M 29.2 O-Ring Ø17 x Ø2 03055 00M 109.3 Non-return valve 08565 000 110 Non-return valve 08565 000 111 Sliding piece 12140 000 112 strainer 07002 00M 213 Inlet valve assembly 45933 000 1Special accessories:14 spacer 27180 000 115 Socket Spanner 19070 000 116 Thermostatic insert cartridge 47657 000 1Grohe UK Ltd | Tel.: +44 871 200 3414 | email: info@grohe.co.uk | www.grohe.co.uk |Address: Blays House, Wick Road, Englefield Green, Egham, Surrey, UK, TW20 0HJ
Rain<strong>shower</strong> 27174 000 Page 6Maintenance instructionsShut off hot and cold water supply!Please perform disassembly in specified order.Thermoelement1. Pull off temperature selection handle.2. Remove clip.3. Pull off stop ring.4. Pull off regulating nut <strong>with</strong> overload unit.5. Unscrew and remove thermoelement using a 22mmopen-ended spanner.The overload unit must be screwed as far as possible intothe regulating nut (left-hand thread).Observe the correct installation position of the stop ring.Non-return valve1. Disassemble mixer in reverse order, see Fig. [1].2. Remove dirt strainer.3. Remove union nipple using a 12mm allen key by turningclockwise (left-hand thread).4. Remove non-return valve.5. Screw off <strong>shower</strong> hose and remove non-return valve.Grohe UK Ltd | Tel.: +44 871 200 3414 | email: info@grohe.co.uk | www.grohe.co.uk |Address: Blays House, Wick Road, Englefield Green, Egham, Surrey, UK, TW20 0HJ
Rain<strong>shower</strong> 27174 000 Page 7<strong>Aquadimmer</strong>1. Pull off shut-off handle.2. Unscrew screw and remove snap insert.3. Detach stop.4. Unscrew and remove <strong>Aquadimmer</strong> using a 19mm openendedspanner.Observe the correct installation position.1. The dissimilar pins must engage in the correspondingholes in the race.2. Fit stop so that the marking aligns <strong>with</strong> the marking onthe housing.3. Fit snap insert. The faces coincide in only one position.4. Turn snap insert so that the arrow aligns <strong>with</strong> themarking on the housing.5. Screw in screw and fit shut-off handle.Assemble in reverse order.Readjustment is necessary after each maintenance operation on the <strong>thermostatic</strong> cartridge.Temperature adjustment1. Open shut-off valve and measure temperature of thewater using a thermometer.2. Pull off temperature selection handle.3. Turn regulating nut until the water temperature hasreached 38 °C.4. Fit temperature selection handle so that the 38° markingfaces to the front.Grohe UK Ltd | Tel.: +44 871 200 3414 | email: info@grohe.co.uk | www.grohe.co.uk |Address: Blays House, Wick Road, Englefield Green, Egham, Surrey, UK, TW20 0HJ