MWK Tied Using The Wall Knot Method Tie your ... - Charles HAMEL
MWK Tied Using The Wall Knot Method Tie your ... - Charles HAMEL
MWK Tied Using The Wall Knot Method Tie your ... - Charles HAMEL

You also want an ePaper? Increase the reach of your titles
YUMPU automatically turns print PDFs into web optimized ePapers that Google loves.
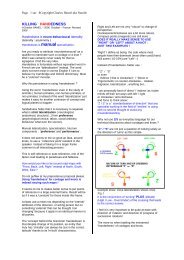
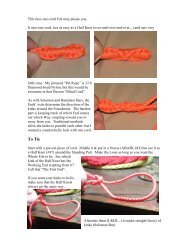
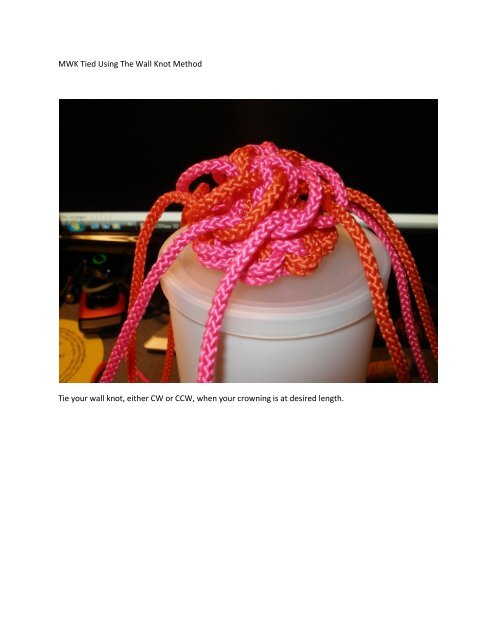
<strong>MWK</strong> <strong><strong>Tie</strong>d</strong> <strong>Using</strong> <strong>The</strong> <strong>Wall</strong> <strong>Knot</strong> <strong>Method</strong><strong>Tie</strong> <strong>your</strong> wall knot, either CW or CCW, when <strong>your</strong> crowning is at desired length.
Now take each lead and take it through the next loop. This will make each strand go through 2 loops.
When all lead have gone through 2 loops, pull the slack out and tighten the stands loosely as shown.
At this point I roll the cords together and begin to pull the knot from the sides of the crowning to the topedge. You can tug on each strand to tighten it evenly around the edges
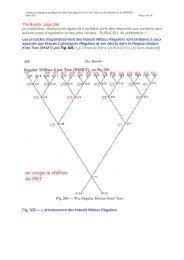
Your knot should now start to look like a narrow <strong>MWK</strong> but not flared out quit enough yet. <strong>The</strong> next stepwill position the knot correctly.
I tie an over two complex crown here and tighten it down into the center of the <strong>MWK</strong>. This sets the<strong>MWK</strong> out to full flare and evens it out to a solid knot
Continue with <strong>your</strong> crowning or add another <strong>MWK</strong>. Two crowns on top of the <strong>MWK</strong> will leave a smallgap between <strong>MWK</strong>s. One crown will make the <strong>MWK</strong> lay together
Two <strong>MWK</strong>s with two crowns between them.