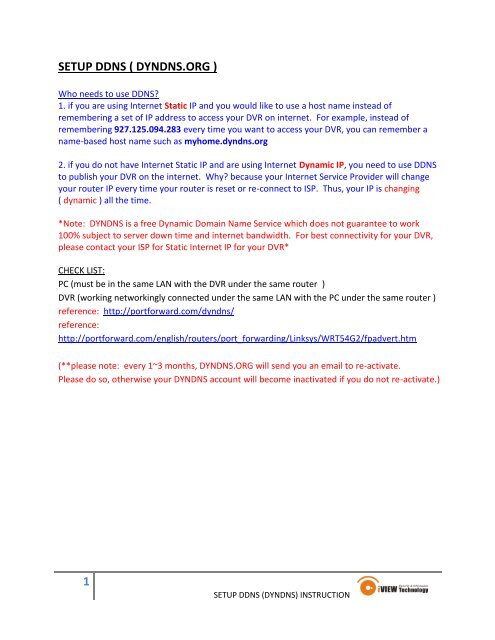
1 SETUP DDNS ( DYNDNS.ORG )
1 SETUP DDNS ( DYNDNS.ORG )
1 SETUP DDNS ( DYNDNS.ORG )

You also want an ePaper? Increase the reach of your titles
YUMPU automatically turns print PDFs into web optimized ePapers that Google loves.
<strong>SETUP</strong> <strong>DDNS</strong> ( <strong>DYNDNS</strong>.<strong>ORG</strong> )Who needs to use <strong>DDNS</strong>?1. if you are using Internet Static IP and you would like to use a host name instead ofremembering a set of IP address to access your DVR on internet. For example, instead ofremembering 927.125.094.283 every time you want to access your DVR, you can remember aname-based host name such as myhome.dyndns.org2. if you do not have Internet Static IP and are using Internet Dynamic IP, you need to use <strong>DDNS</strong>to publish your DVR on the internet. Why? because your Internet Service Provider will changeyour router IP every time your router is reset or re-connect to ISP. Thus, your IP is changing( dynamic ) all the time.*Note: <strong>DYNDNS</strong> is a free Dynamic Domain Name Service which does not guarantee to work100% subject to server down time and internet bandwidth. For best connectivity for your DVR,please contact your ISP for Static Internet IP for your DVR*CHECK LIST:PC (must be in the same LAN with the DVR under the same router )DVR (working networkingly connected under the same LAN with the PC under the same router )reference: http://portforward.com/dyndns/reference:http://portforward.com/english/routers/port_forwarding/Linksys/WRT54G2/fpadvert.htm(**please note: every 1~3 months, <strong>DYNDNS</strong>.<strong>ORG</strong> will send you an email to re-activate.Please do so, otherwise your <strong>DYNDNS</strong> account will become inactivated if you do not re-activate.)1<strong>SETUP</strong> <strong>DDNS</strong> (<strong>DYNDNS</strong>) INSTRUCTION
2. Name your DVR ( domain host name ) and scroll up to select “dyndns.org”3<strong>SETUP</strong> <strong>DDNS</strong> (<strong>DYNDNS</strong>) INSTRUCTION
3. Continue with setup process. Enter your information and activate the account.4<strong>SETUP</strong> <strong>DDNS</strong> (<strong>DYNDNS</strong>) INSTRUCTION
4. keep your domain host name, user name and password at safe keeping.hint: put a sticker under the DVR for future reference5<strong>SETUP</strong> <strong>DDNS</strong> (<strong>DYNDNS</strong>) INSTRUCTION
5. <strong>DYNDNS</strong>.com will send you an email for confirmation. Check your email.6<strong>SETUP</strong> <strong>DDNS</strong> (<strong>DYNDNS</strong>) INSTRUCTION
6. You will receive an email from <strong>DYNDNS</strong>.<strong>ORG</strong> to verify account. Please reply and activate yourfree dyndns account.7<strong>SETUP</strong> <strong>DDNS</strong> (<strong>DYNDNS</strong>) INSTRUCTION
7. your domain host name is mapped to your router IP address successfully.iview1.dyndns.org --> router IP address8<strong>SETUP</strong> <strong>DDNS</strong> (<strong>DYNDNS</strong>) INSTRUCTION
8. Login in DVR to setup <strong>DDNS</strong>. Right click on main DVR screen. Go to Network setting9<strong>SETUP</strong> <strong>DDNS</strong> (<strong>DYNDNS</strong>) INSTRUCTION
9. Go to <strong>DDNS</strong> setup:note: *PLEASE INPUT DNS IP TO ENSURE <strong>DDNS</strong> work PROPERLY*10<strong>SETUP</strong> <strong>DDNS</strong> (<strong>DYNDNS</strong>) INSTRUCTION
10. Enable <strong>DDNS</strong> setup screen & select <strong>DYNDNS</strong>.<strong>ORG</strong>11. Enter dyndns account information(* PLEASE NOTE: make sure input exact account infomration. It is cap sensitive *)11<strong>SETUP</strong> <strong>DDNS</strong> (<strong>DYNDNS</strong>) INSTRUCTION
12<strong>SETUP</strong> <strong>DDNS</strong> (<strong>DYNDNS</strong>) INSTRUCTION
12. Now you can access your DVR using thd Dynamic Name you created.13<strong>SETUP</strong> <strong>DDNS</strong> (<strong>DYNDNS</strong>) INSTRUCTION