Chapter 5 Measurement of Atmospheric Pressure
Chapter 5 Measurement of Atmospheric Pressure
Chapter 5 Measurement of Atmospheric Pressure

You also want an ePaper? Increase the reach of your titles
YUMPU automatically turns print PDFs into web optimized ePapers that Google loves.
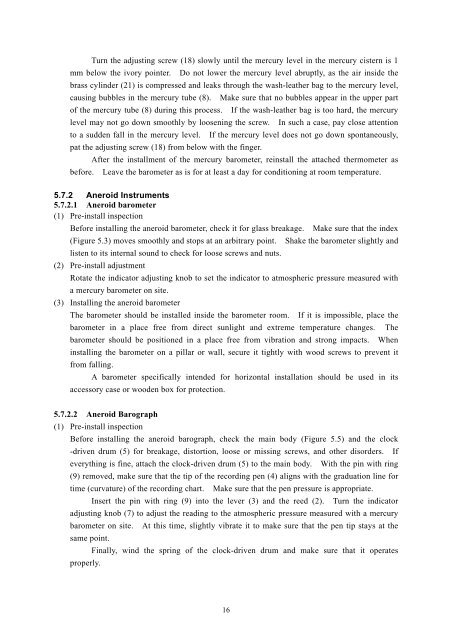
Turn the adjusting screw (18) slowly until the mercury level in the mercury cistern is 1mm below the ivory pointer. Do not lower the mercury level abruptly, as the air inside thebrass cylinder (21) is compressed and leaks through the wash-leather bag to the mercury level,causing bubbles in the mercury tube (8). Make sure that no bubbles appear in the upper part<strong>of</strong> the mercury tube (8) during this process. If the wash-leather bag is too hard, the mercurylevel may not go down smoothly by loosening the screw. In such a case, pay close attentionto a sudden fall in the mercury level. If the mercury level does not go down spontaneously,pat the adjusting screw (18) from below with the finger.After the installment <strong>of</strong> the mercury barometer, reinstall the attached thermometer asbefore. Leave the barometer as is for at least a day for conditioning at room temperature.5.7.2 Aneroid Instruments5.7.2.1 Aneroid barometer(1) Pre-install inspectionBefore installing the aneroid barometer, check it for glass breakage. Make sure that the index(Figure 5.3) moves smoothly and stops at an arbitrary point. Shake the barometer slightly andlisten to its internal sound to check for loose screws and nuts.(2) Pre-install adjustmentRotate the indicator adjusting knob to set the indicator to atmospheric pressure measured witha mercury barometer on site.(3) Installing the aneroid barometerThe barometer should be installed inside the barometer room. If it is impossible, place thebarometer in a place free from direct sunlight and extreme temperature changes. Thebarometer should be positioned in a place free from vibration and strong impacts. Wheninstalling the barometer on a pillar or wall, secure it tightly with wood screws to prevent itfrom falling.A barometer specifically intended for horizontal installation should be used in itsaccessory case or wooden box for protection.5.7.2.2 Aneroid Barograph(1) Pre-install inspectionBefore installing the aneroid barograph, check the main body (Figure 5.5) and the clock-driven drum (5) for breakage, distortion, loose or missing screws, and other disorders. Ifeverything is fine, attach the clock-driven drum (5) to the main body. With the pin with ring(9) removed, make sure that the tip <strong>of</strong> the recording pen (4) aligns with the graduation line fortime (curvature) <strong>of</strong> the recording chart. Make sure that the pen pressure is appropriate.Insert the pin with ring (9) into the lever (3) and the reed (2). Turn the indicatoradjusting knob (7) to adjust the reading to the atmospheric pressure measured with a mercurybarometer on site. At this time, slightly vibrate it to make sure that the pen tip stays at thesame point.Finally, wind the spring <strong>of</strong> the clock-driven drum and make sure that it operatesproperly.16

![関東地方の「紅葉の見ごろ予想」[PDF形式:250KB] - 気象庁](https://img.yumpu.com/47747063/1/184x260/pdf250kb-.jpg?quality=85)
![雨に関する各市町村の50年に一度の値一覧[PDF形式:417KB] - 気象庁](https://img.yumpu.com/47450161/1/190x134/50pdf417kb-.jpg?quality=85)
![1か月予報[九州北部地方]解説資料](https://img.yumpu.com/47153516/1/184x260/1.jpg?quality=85)
![職員募集案内パンフレット[PDF形式:約9MB] - 気象庁](https://img.yumpu.com/45714300/1/184x260/pdf9mb-.jpg?quality=85)
![ダウンロードファイル[PDF形式: 約15MB] - 気象庁](https://img.yumpu.com/43657928/1/190x135/pdf-15mb-.jpg?quality=85)