Nappa EB210 Product Guide - Enermax Technology Corporation
Nappa EB210 Product Guide - Enermax Technology Corporation
Nappa EB210 Product Guide - Enermax Technology Corporation

Create successful ePaper yourself
Turn your PDF publications into a flip-book with our unique Google optimized e-Paper software.
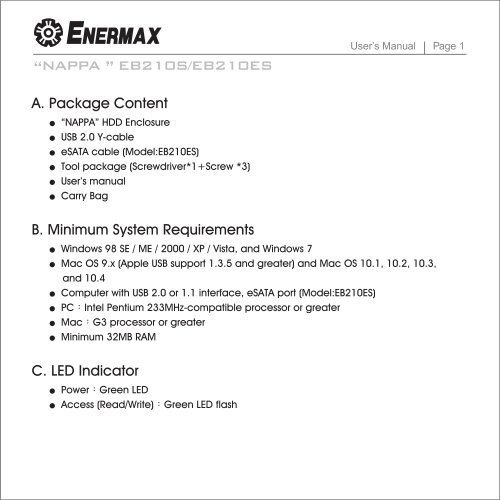
“NAPPA ” <strong>EB210</strong>S/<strong>EB210</strong>ESUser’s Manual Page 13A. E.Using Package your Content <strong>EB210</strong>S/<strong>EB210</strong>ES“NAPPA” Introduction HDD EnclosureUSBDriver2.0installationY-cableis not required when using Windows ME / 2000 / XP / Vista / 7eSATA cable (Model:<strong>EB210</strong>ES)When using Windows 98SE, please log on to www.enermax.com for drivers. Do notTool package (Screwdriver*1+Screw *3)connect the enclosure to the computer until the driver is completely installed.User’s manualCarry BagPlease make sure you format the HDD before the first time use.The eSATA interface does NOT supply power to device. So please make sure the USBB. Minimum System Requirementscable is also connected when using eSATA.User’s manualWindows If your computer 98 SE / ME fail / to 2000 detect / XP the / Vista, device and when Windows connecting 7 eSATA, please tryMac “Computer OS 9.x Management””Disk (Apple USB support 1.3.5 Management””Action””Rescan and greater) and Mac OS 10.1, 10.2, Disk” 10.3, to findand the device. 10.4ComputerThe USB cable with with USB two 2.0 or USB 1.1 plugs interface, is designed eSATA for port efficient (Model:<strong>EB210</strong>ES) power supply. Generally youPCIntelonly need Pentium one USB 233MHz-compatible connection to drive processor the external or greater HD. Some desktops or laptops limitMacG3the power processor supply of the or greater USB ports or some HDDs require more power. In those cases,Minimumyou need 32MB to plug RAM two USB plugs to get enough power supply.C. LED IndicatorPowerGreen LEDAccess (Read/Write)Green LED flashLeather & Aluminum HDD Enclosure
“NAPPA ” <strong>EB210</strong>S/<strong>EB210</strong>ESUser’s Manual Page 42F. D.Hardware Unplug Procedure InstallationUnplug 1. Open the Procedure front panel. on a PC (Microsoft Windows)*1. Click on the taskbar icon for the external hardware2. Connect the SATA HDD to the SATA connectors on the PCBA.2. Choose the external HDD and confirm to remove it3. A. Make sure it’s tightly connected.Unplug Procedure on a Macintosh (Apple Mac OS)*B. Slide it back.1. Drag the external HDD icon into the trash bin4.2Fasten.Turntheoff yourenclosuredevicewith screws enclosed.Unplug Procedure of eSATAeSATA connection is hot swappable only if motherboard supports this feature. Otherwise,we suggest you to unplug the connection after the power is off.*For safe removal of your drive and assure no data is lost, always follow the unplugprocedure. If not, errors message might show up.Copyright 2009 <strong>Enermax</strong> <strong>Technology</strong> <strong>Corporation</strong>. All Rights Reserved.The information contained in this manual is believed to be accurate and reliable.<strong>Enermax</strong> <strong>Technology</strong> <strong>Corporation</strong> assumes no responsibility for any errors contained in this manual. <strong>Enermax</strong><strong>Technology</strong> <strong>Corporation</strong> reserves the right to make changes in the specifications and/or design of this productwithout prior notice.The diagrams contained in this manual may also not fully represent the product that you are using and arethere for illustration purposes only.www.enermax.comforum.enermax.comAll mentioned company and product names are trademarks or registered trademarks of their respectable owners.