36 DV XL Owner's Manual - Travis Industries Dealer Services Login ...
36 DV XL Owner's Manual - Travis Industries Dealer Services Login ...
36 DV XL Owner's Manual - Travis Industries Dealer Services Login ...

Create successful ePaper yourself
Turn your PDF publications into a flip-book with our unique Google optimized e-Paper software.
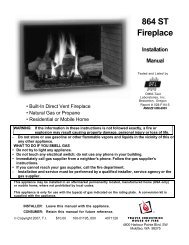
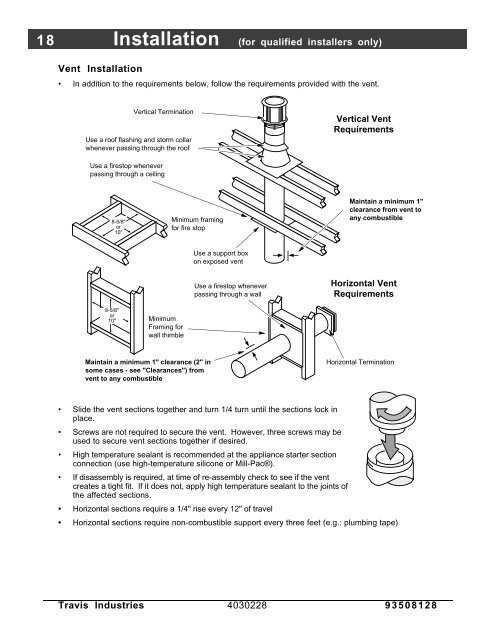
18 Installation (for qualified installers only)Vent Installation• In addition to the requirements below, follow the requirements provided with the vent.Vertical TerminationUse a roof flashing and storm collarwhenever passing through the roofVertical VentRequirementsUse a firestop wheneverpassing through a ceiling8-5/8"or10"Minimum framingfor fire stopMaintain a minimum 1"clearance from vent toany combustibleUse a support boxon exposed ventUse a firestop wheneverpassing through a wallHorizontal VentRequirements8-5/8"or10"MinimumFraming forwall thimbleMaintain a minimum 1" clearance (2" insome cases - see "Clearances") fromvent to any combustibleHorizontal Termination• Slide the vent sections together and turn 1/4 turn until the sections lock inplace.• Screws are not required to secure the vent. However, three screws may beused to secure vent sections together if desired.• High temperature sealant is recommended at the appliance starter sectionconnection (use high-temperature silicone or Mill-Pac®).• If disassembly is required, at time of re-assembly check to see if the ventcreates a tight fit. If it does not, apply high temperature sealant to the joints ofthe affected sections.• Horizontal sections require a 1/4" rise every 12" of travel• Horizontal sections require non-combustible support every three feet (e.g.: plumbing tape)<strong>Travis</strong> <strong>Industries</strong> 4030228 93508128