

AMATEUR RADIO
Fig. - Free and Open Source Software
Fig. - Free and Open Source Software
- No tags were found...

Create successful ePaper yourself
Turn your PDF publications into a flip-book with our unique Google optimized e-Paper software.
John J. Marlatt K7AGI<br />
N. 6707 Standard #3<br />
Spoka.ne WA 99208<br />
Build<br />
a<br />
$2 Drill<br />
- - and put your razor to work<br />
I<br />
f you need to drill small<br />
holes, th is little motor is<br />
handy and inex pensive. It<br />
easily drills thr ough 1{8" of<br />
bakelite, fiberglass or aluminum.<br />
It beats putting a #60<br />
(.040") drill in a motor and<br />
immediately breaki ng the bit.<br />
Small sizes need speeds up to<br />
7000 rpm or more.<br />
The following describes<br />
conve rsion of Sunbeam<br />
"Shavemaster" razor motors<br />
into usefu l hand-held drills.<br />
Model "W" seems to be plentiful<br />
at local salvage sto res of<br />
Goodwill Industries, St.<br />
Vincent dePaul and Volunteers<br />
of America, at prices<br />
from 15¢ to 504.<br />
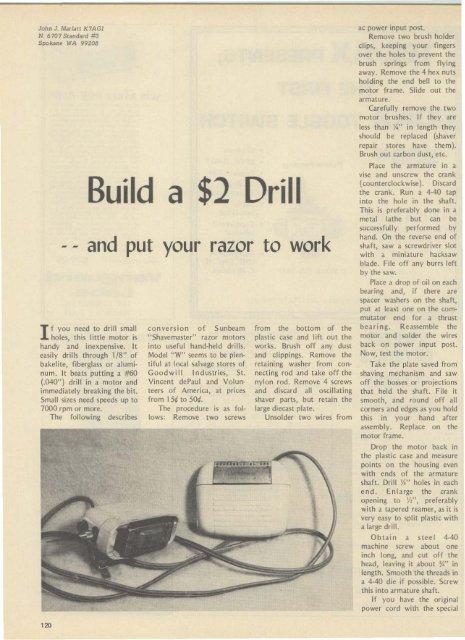
The procedure is as fo l<br />
lows: Remove two screws<br />
from the bottom of the<br />
plastic case and lift out the<br />
works. Brush off any dust<br />
and cli ppings. Remove the<br />
retaining washer from connect<br />
ing rod and take off the<br />
nyl on rod. Remove 4 screws<br />
and discard all oscillating<br />
shaver parts, but retain the<br />
large diecast plate.<br />
Unsolder two wires from<br />
ac power input post.<br />
Remove two brush holder<br />
clips, keeping your fi ngers<br />
over the holes to prevent the<br />
brush springs fro m flying<br />
away. Remove the 4 hex nuts<br />
holding the end bell to the<br />
motor frame. Sli de out the<br />
armature.<br />
Carefull y remove the two<br />
motor brushes. If they are<br />
less than W' in length they<br />
shou ld be replaced (shaver<br />
repair stores have them).<br />
Brush out carbon dust, etc.<br />
Place the armature in a<br />
vise and unscrew the crank<br />
(counterclockwise). Discard<br />
the crank. Run a 4-40 tap<br />
into t he hole in the shaft.<br />
This is preferably done in a<br />
metal lathe but can be<br />
successful ly performed by<br />
hand . On the reverse end of<br />
shaft, saw a screwdriver slot<br />
with a miniatu re hacksaw<br />
blade. Fi le off any burrs left<br />
by the saw.<br />
Place a drop of oil on each<br />
bearing and, if there are<br />
spacer washers o n the shaft,<br />
put at least one o n the commutator<br />
end for a th rust<br />
bear ing. Re assem ble the<br />
motor and solder the wires<br />
back on power input post.<br />
Now, test the motor.<br />
Take the plate saved from<br />
shaving mechanism and saw<br />
off the bosses or projections<br />
that held the shaft. File it<br />
smooth, and round off all<br />
corners and edges as you hold<br />
this in your hand after<br />
assembly. Replace on the<br />
motor frame .<br />
Drop the motor back in<br />
the plastic case and measure<br />
points o n the ho using even<br />
with ends of the armature<br />
shaft . Dri ll W' holes in each<br />
end . Enl arge the crank<br />
opening to W', preferably<br />
with a tapered reamer, as it is<br />
very easy to split plastic with<br />
a large drill.<br />
O b ta in a steel 4-40<br />
machi ne screw about one<br />
inch long, and cut off the<br />
head , leaving it about W' in<br />
length. Smooth the threads in<br />
a 4-40 die if possible. Screw<br />
this into armature shaft.<br />
If you have the original<br />
power cord with the spec ial<br />
120


