Polymeric Paver Sand – A Weed-Free and Insect-Free Solution
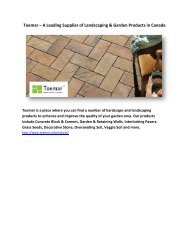
Give finishing touches to your interlocking paver installation with polymeric and paver sand from Toemar. This sand is easy to use and is environment friendly. http://www.toemar.ca/products/tools-and-accessories/polymeric-and-paver-sand/
Give finishing touches to your interlocking paver installation with polymeric and paver sand from Toemar. This sand is easy to use and is environment friendly. http://www.toemar.ca/products/tools-and-accessories/polymeric-and-paver-sand/

Create successful ePaper yourself
Turn your PDF publications into a flip-book with our unique Google optimized e-Paper software.
<strong>Polymeric</strong> <strong>Paver</strong> <strong>S<strong>and</strong></strong> <strong>–</strong> A <strong>Weed</strong>-<strong>Free</strong> <strong>and</strong> <strong>Insect</strong>-<strong>Free</strong><br />
<strong>Solution</strong><br />
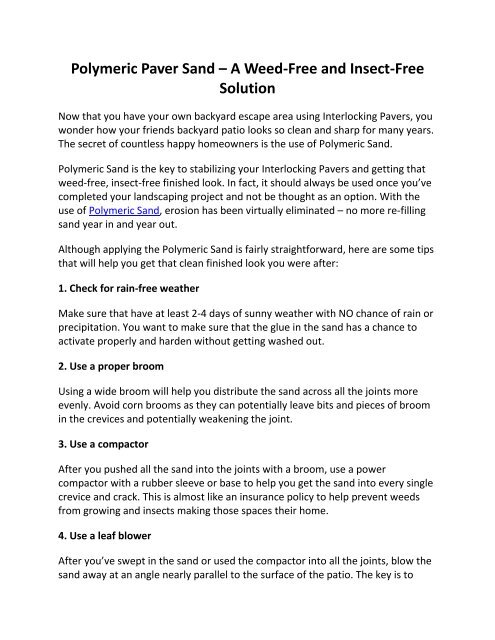
Now that you have your own backyard escape area using Interlocking <strong>Paver</strong>s, you<br />
wonder how your friends backyard patio looks so clean <strong>and</strong> sharp for many years.<br />
The secret of countless happy homeowners is the use of <strong>Polymeric</strong> <strong>S<strong>and</strong></strong>.<br />
<strong>Polymeric</strong> <strong>S<strong>and</strong></strong> is the key to stabilizing your Interlocking <strong>Paver</strong>s <strong>and</strong> getting that<br />
weed-free, insect-free finished look. In fact, it should always be used once you’ve<br />
completed your l<strong>and</strong>scaping project <strong>and</strong> not be thought as an option. With the<br />
use of <strong>Polymeric</strong> <strong>S<strong>and</strong></strong>, erosion has been virtually eliminated <strong>–</strong> no more re-filling<br />
s<strong>and</strong> year in <strong>and</strong> year out.<br />
Although applying the <strong>Polymeric</strong> <strong>S<strong>and</strong></strong> is fairly straightforward, here are some tips<br />
that will help you get that clean finished look you were after:<br />
1. Check for rain-free weather<br />
Make sure that have at least 2-4 days of sunny weather with NO chance of rain or<br />
precipitation. You want to make sure that the glue in the s<strong>and</strong> has a chance to<br />
activate properly <strong>and</strong> harden without getting washed out.<br />
2. Use a proper broom<br />
Using a wide broom will help you distribute the s<strong>and</strong> across all the joints more<br />
evenly. Avoid corn brooms as they can potentially leave bits <strong>and</strong> pieces of broom<br />
in the crevices <strong>and</strong> potentially weakening the joint.<br />
3. Use a compactor<br />
After you pushed all the s<strong>and</strong> into the joints with a broom, use a power<br />
compactor with a rubber sleeve or base to help you get the s<strong>and</strong> into every single<br />
crevice <strong>and</strong> crack. This is almost like an insurance policy to help prevent weeds<br />
from growing <strong>and</strong> insects making those spaces their home.<br />
4. Use a leaf blower<br />
After you’ve swept in the s<strong>and</strong> or used the compactor into all the joints, blow the<br />
s<strong>and</strong> away at an angle nearly parallel to the surface of the patio. The key is to
emove all the s<strong>and</strong> on the surface of the patio pavers. You don’t want the glue<br />
<strong>and</strong> s<strong>and</strong> to sit on the surface of the stone once it has been activated, especially if<br />
it is smooth patio stones.<br />
5. Use water misting only<br />
By using water misting to activate the glue in the s<strong>and</strong>, you do not wash away the<br />
s<strong>and</strong> between the patio stones before it has a chance to harden.<br />
http://www.toemar.ca/


![What’s Hot In Backyard Design in 2018 [6 Tips to an Amazing Yard]](https://img.yumpu.com/60436469/1/190x245/whats-hot-in-backyard-design-in-2018-6-tips-to-an-amazing-yard.jpg?quality=85)